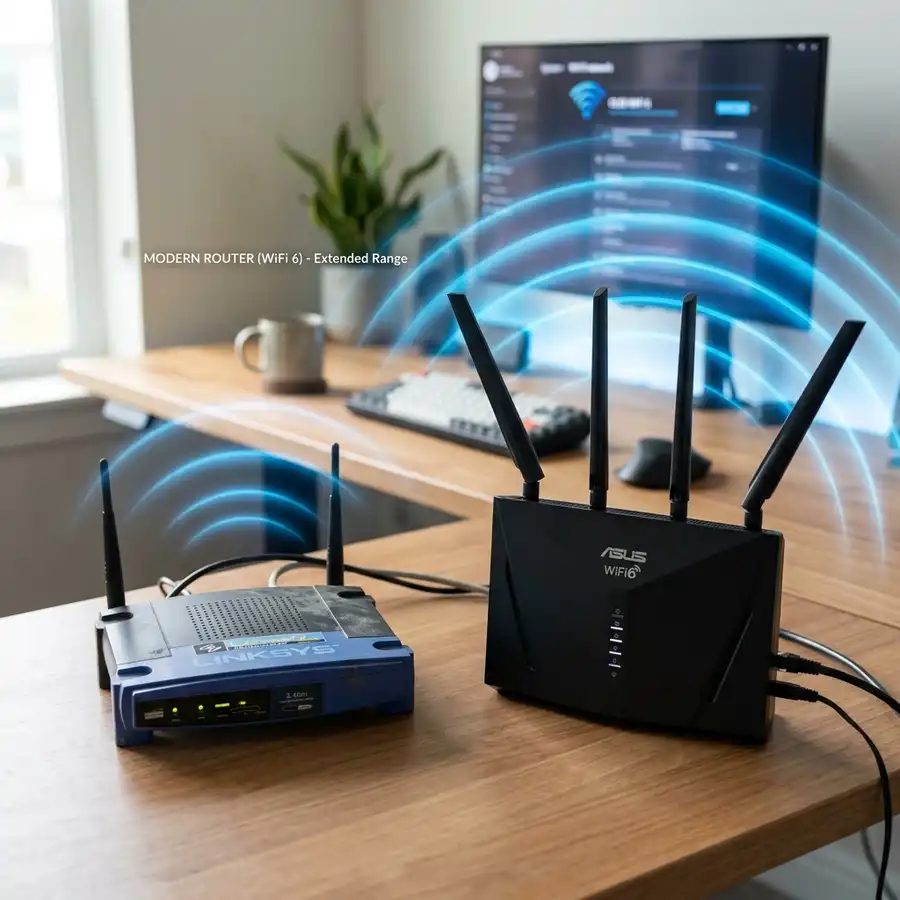
In the modern digital landscape, establishing a seamless and reliable wireless network across your entire household or office space is crucial. Dead zones, where the Wi-Fi signal drops completely, or weak signal areas that cause buffering, are common annoyances that disrupt daily workflows and entertainment activities. While purchasing a brand-new mesh system is one solution, a more sustainable and cost-effective approach is to repurpose older networking hardware. The D-Link DIR-615 router, a widely used N300 wireless router, is an excellent candidate for this task, capable of serving as a dedicated wireless range extender.
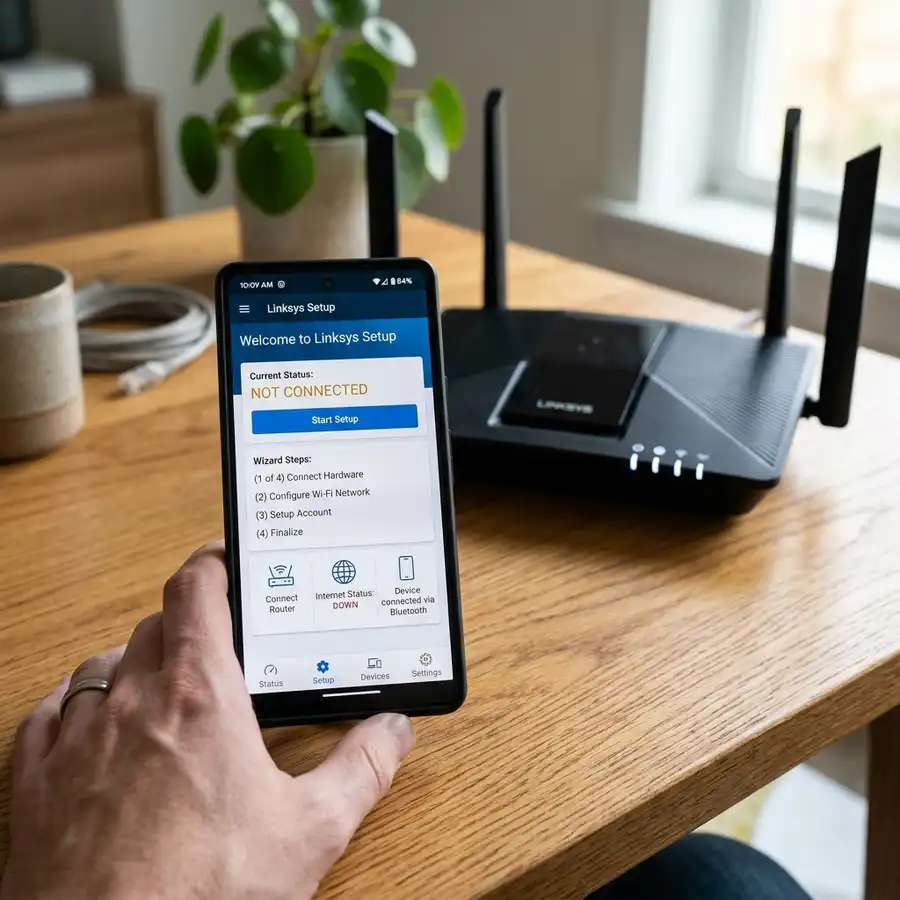
To set up a D-Link DIR-615 as a Wi-Fi repeater, access the settings page at 192.168.0.1, disable DHCP, and configure repeater mode. This procedure allows the legacy device to capture your primary router's wireless signal and re-broadcast it, effectively eliminating weak coverage zones in hard-to-reach areas without running expensive Ethernet cables throughout the building.
1. Understanding the Repeater Mode and Hardware Revisions
Before embarking on the configuration process, it is vital to understand the operational principles of a wireless repeater and how the D-Link DIR-615 executes this function. A wireless repeater, or range extender, acts as a bridge. It establishes a wireless connection to your primary router and broadcasts a secondary network using its internal antennas. Because it uses a single radio chip to both receive and transmit data packets, there is a theoretical throughput reduction of approximately fifty percent. However, for standard activities like web browsing, high-definition video streaming, and office work, this speed reduction is negligible compared to the benefit of having a stable connection where none existed before.
The D-Link DIR-615 router operates on the 2.4 GHz frequency band, using the 802.11n standard (commonly referred to as Wi-Fi 4). This frequency band is ideal for extending coverage because 2.4 GHz signals travel farther and penetrate solid obstacles, such as concrete walls and wooden doors, much better than 5 GHz signals. The N300 designation means the router supports a maximum physical link rate of 300 Mbps, achieved through Multiple Input, Multiple Output (MIMO) technology with two external antennas. Depending on the physical hardware revision of your DIR-615 (which can be checked on the sticker underneath the device, such as revision T1, U1, or E4), the interface and firmware might look slightly different, but the core settings remain identical.
Repurposing an old device is highly beneficial. For example, instead of buying new hardware, you can easily turn an old router into a Wi-Fi repeater to save money and reduce electronic waste. Furthermore, setting up this older N300 device as a secondary node is a practical way to learn the basic principles of wireless networking, subnets, and local IP routing without risking the stability of your primary internet gateway configuration. Additionally, understanding how the wireless driver handles multi-path propagation and spatial streams helps you optimize performance when adjusting the physical placement later.
2. Gathering Network Credentials and Planning IP Addresses
Successful network integration requires careful planning to prevent IP address conflicts, which can crash your entire network. You must collect details about your main router and design a specific configuration map for the D-Link DIR-615. First, verify the exact SSID (the name of your wireless network) and the WPA2 security password of your main Wi-Fi network. The security settings, including encryption protocols like AES or TKIP, must match perfectly on both devices to allow the repeater to authenticate successfully.
Next, determine the LAN IP address of your primary router, which is typically 192.168.0.1 or 192.168.1.1. You must assign a static IP address to the D-Link DIR-615 that resides within the exact same subnet but outside the DHCP range of the main router. For example, if your main router's IP is 192.168.0.1 and its DHCP server distributes addresses between 192.168.0.100 and 192.168.0.199, you should assign the static IP 192.168.0.250 to your D-Link router. This layout ensures you can always access the D-Link configuration page in the future without causing conflicts with other connected devices like smartphones and laptops.
Finally, understand that you must disable the DHCP server on the D-Link DIR-615. Having two active DHCP servers on the same local network leads to IP allocation conflicts, where two devices receive the same address, resulting in total loss of connectivity. By disabling DHCP on the repeater, the main router remains the sole authority for assigning IP addresses, DNS servers, and default gateways to all client devices, ensuring a unified and stable network environment. Furthermore, this setting prevents default configuration loops where the client attempts to request DHCP leases from the closer access point instead of the primary server.
3. Accessing the D-Link Web Interface and Performing a Factory Reset
To configure the D-Link DIR-615, you must access its web-based management portal. If the router has been used previously, it likely contains old configuration data, custom passwords, or modified IP settings. Therefore, the very first step is to perform a complete factory reset. With the router plugged into a power source, find the small reset button on the back panel. Use a paperclip or a pin to press and hold this button for fifteen seconds. The LED lights on the front panel will flash and turn amber, indicating the system is rebooting back to its original factory defaults.
Once the reboot is complete, connect your computer directly to one of the four local LAN ports (colored black or blue) on the D-Link DIR-615 using an Ethernet cable. Avoid using Wi-Fi for configuration, as the wireless connection will drop during the setup process. Open a web browser on your computer and type the default IP address, which is 192.168.0.1, into the address bar. Press Enter, and the login page will load. The default username is admin, and you should leave the password field completely blank. Click login to enter the main configuration dashboard.
If you prefer configuring devices wirelessly, you might find it useful to learn how to configure TP-Link router from phone interfaces, as the steps for accessing administrative settings are conceptually identical across various router manufacturers. However, for this old D-Link model, a stable wired connection to a laptop or desktop computer is the most reliable method to prevent connection loss during firmware adjustments. Always verify that your computer's local network adapter is set to obtain an IP address automatically (DHCP) before attempting to connect, otherwise you might face connection timeout errors.
4. Changing the LAN IP and Disabling DHCP on D-Link DIR-615
With the dashboard open, navigate to the Setup tab at the top and select Network Settings from the left sidebar menu. In the Router Settings section, locate the Router IP Address field. Change this value to your planned static IP address (such as 192.168.0.250). Ensure the Subnet Mask remains set to 255.255.255.0. This change is vital because it aligns the D-Link router with your primary network's IP structure, allowing seamless communication between all local nodes.
Directly below the IP address settings, locate the DHCP Server Settings section. Uncheck the box labeled Enable DHCP Server to disable it. Disabling this service ensures the D-Link DIR-615 will not attempt to assign IP configuration details to client devices, leaving that responsibility to the main router. After verifying these settings, click the Save Settings button. The router will prompt you to reboot. During this reboot, you will lose connection to the interface because the router's IP address has changed. You must type the new IP address (192.168.0.250) in your browser's address bar to log back in.
Here is a configuration quick-reference table outlining the physical parameters and software settings required for a successful repeater setup:
| Parameter Name | Default Value | Repeater Configuration Value | Technical Reason |
|---|---|---|---|
| Router LAN IP | 192.168.0.1 | 192.168.0.250 (Static) | Prevents IP conflicts with primary gateway router |
| DHCP Server | Enabled | Disabled (Unchecked) | Avoids double DHCP allocation issues on the subnet |
| Operation Mode | Router Mode | Repeater / Wireless Bridge | Instructs wireless chip to act as a client receiver |
| Security Mode | None / WEP | WPA2-PSK (AES) | Matches primary network security credentials for auth |
Having applied these settings, the router is now prepared to act as a transparent bridge, passing traffic back and forth between clients and the primary access point.
5. Configuring the Wireless Repeater Settings and Site Survey
Log back into the D-Link DIR-615 web portal using the new static IP address (192.168.0.250). Go to the Setup tab at the top and click on Wireless Settings in the left menu. On the main page, click the Manual Wireless Connection Setup button to access advanced parameters. Look for the Wireless Mode dropdown menu. Depending on your firmware revision, change this setting from Access Point to Wireless Repeater or Repeater Mode. If you are using a newer firmware revision, this option might be located under a dedicated Operation Mode menu in the administrative tools.
Once repeater mode is activated, a new section will appear allowing you to scan for available networks. Click on the Site Survey or Scan button. A pop-up window will scan the local frequencies and list all detected SSIDs. Find your primary Wi-Fi network name in the list, select it, and click Connect. The D-Link router will automatically copy the SSID and channel settings of your main network. Next, navigate to the security options, select WPA2-PSK as the security mode, choose AES encryption, and type the exact Wi-Fi password of your main network. Save your settings and allow the router to perform a full system reboot to establish the link.
After saving, the router binds its wireless MAC to the main router's BSSID. The wireless card operates in client and repeater modes simultaneously. Set channel width to 20 MHz or Auto for better stability in crowded areas.
6. Troubleshooting Signal Quality and Physical Placement Issues
After the D-Link DIR-615 reboots, unplug the Ethernet cable and place the router in its permanent location. Finding the ideal location is crucial for maximizing throughput and minimizing packet loss. If you place the repeater too far from the main router, it will receive a degraded signal, resulting in slow speeds and dropped connections. If you place it too close, you won't extend the signal far enough. The ideal spot is exactly halfway between the main router and the wireless dead zone. Avoid placing the device near microwave ovens, thick concrete columns, or metal cabinets that block electromagnetic waves.
If devices connect to the D-Link network but have no internet, verify that you disabled DHCP. Perform a ping test using ping 192.168.0.1 -t. If you notice high latency or packet loss, adjust the antenna positions. If you ever need to change settings in the future, you can also change Wi-Fi password from phone browsers easily.
Lastly, keep the router's firmware updated to maintain security. Having the latest software version resolves stability issues and patches key security vulnerabilities.
Deploying the legacy D-Link DIR-615 as a wireless repeater exposes several hardware limitations inherent to older consumer-grade routing equipment. The device is constrained by a low-frequency single-core CPU and limited RAM (often just 16MB or 32MB depending on the hardware revision), which can lead to memory exhaustion and performance degradation when multiple devices stream high-bandwidth content simultaneously. To bypass the restrictive and often unstable stock D-Link firmware, advanced users frequently install alternative open-source firmware such as DD-WRT or OpenWrt. Installing these custom builds unlocks professional-grade routing features, dynamic channel selection, and superior wireless bridging protocols, while also providing updated security patches that are no longer offered by the manufacturer.
In addition to hardware limitations, operating a repeater in the highly saturated 2.4 GHz frequency band introduces significant wireless interference. The 2.4 GHz spectrum only contains three non-overlapping channels (1, 6, and 11). Nearby household appliances, Bluetooth transmitters, and neighboring Wi-Fi access points can congest these channels, leading to high packet retransmissions, increased jitter, and reduced bandwidth. To mitigate this signal degradation, administrators should use a Wi-Fi analyzer tool to locate the least congested non-overlapping channel and manually configure the primary router and the D-Link repeater to use that channel. Additionally, forcing a 20 MHz channel width instead of a wider 40 MHz channel reduces the physical spectrum footprint, improving connection stability and overall packet delivery rates across the extended local subnet.
Frequently Asked Questions
Can I use the D-Link DIR-615 as a repeater wirelessly without any Ethernet cables connected to the main router?
Yes, that is the primary function of the repeater mode. Once configured, the D-Link DIR-615 communicates with your main router entirely over the 2.4 GHz wireless frequency, requiring only a connection to a wall power outlet to operate.
Why is my internet speed slower when connected to the repeater?
A wireless repeater must use its single radio band to receive packets from client devices and forward them to the main router. This dual-transmission process cuts the maximum theoretical bandwidth in half, which is normal behavior for single-band repeaters.
What should I do if I cannot log into the default 192.168.0.1 page?
Ensure your computer is connected to a LAN port on the D-Link router via Ethernet. If it still fails, perform a factory reset by holding the reset button for 15 seconds to restore the default IP configuration and default credentials.
Does the D-Link DIR-615 support 5 GHz Wi-Fi networks in repeater mode?
No, the D-Link DIR-615 is a legacy single-band 2.4 GHz router. It cannot detect, connect to, or repeat 5 GHz wireless networks. It will only display and connect to 2.4 GHz SSIDs during the site survey phase.


