How to Perform Print Head Cleaning on Epson L3250 from PC
The Epson EcoTank L3250 is a highly popular and efficient multifunction ink tank printer. It is designed to lower operating costs through its high-capacity continuous ink system. However, like all inkjet printers, it relies on complex fluid dynamics to deposit ink onto the page. If the printer is left idle for extended periods, or if the ink levels drop too low, you may encounter print quality issues. These issues include white horizontal bands cutting through text, missing colors, or completely blank pages. To resolve these print quality issues, the most effective and precise method is to perform a printhead cleaning using the official Epson utility driver on your computer.
In this technical maintenance guide, we will examine the physical causes behind clogged nozzles on the Epson L3250. We will explain the mechanical design of the capping station and peristaltic vacuum pump, and provide a step-by-step guide for performing the cleaning procedure on both Windows and macOS systems. We will also analyze the difference between a standard printhead cleaning and a Power Cleaning, along with tips to prevent ink dry-out. Furthermore, if you are troubleshooting other devices in your home network, check out our guide on resolving Alexa Wi-Fi connection issues or our tutorial on fixing an Alexa pulsing yellow light ring.
1. The Physics of Printhead Clogging in MicroPiezo Systems
To understand why a printhead cleaning is necessary, we must examine the MicroPiezo printhead at a microscopic scale. The printhead assembly of the Epson L3250 contains hundreds of microscopic nozzles. Each nozzle is connected to a small chamber lined with a piezoelectric crystal actuator. This actuator flexes when an electrical voltage is applied, generating a mechanical force that pushes ink droplets out of the nozzle.
Epson ink formulations consist of water, organic co-solvents, surfactants, and colorant particles (either dyes or pigments) suspended in the fluid. Under normal operating conditions, the ink meniscus at the nozzle tip is kept moist and stable. However, if the printer is left unused, the water solvent in the ink at the tip of the nozzles slowly evaporates into the surrounding air. This evaporation leaves behind a concentrated, viscous sludge that hardens into a solid plug, blocking the nozzle.
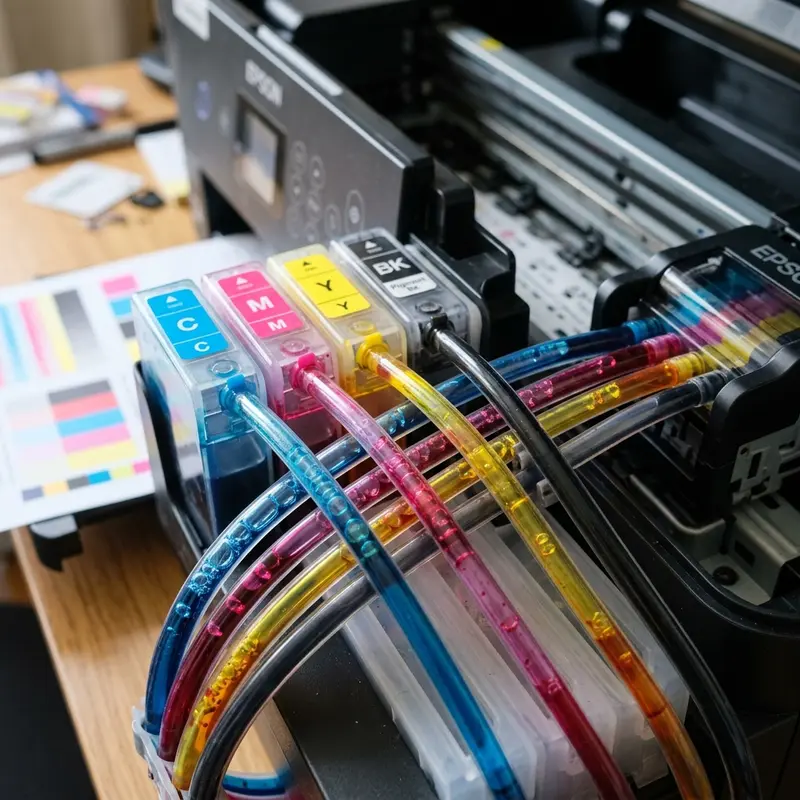
Another major issue is the introduction of air bubbles into the capillary tubes. If the ink level in the external tanks falls below the minimum fill line, the printer will draw air into the tubes. Air is highly compressible, whereas liquid ink is not. When the piezo crystal deforms to eject ink, the resulting pressure wave is absorbed by compressing the air bubble instead of pushing the liquid out of the nozzle. This results in a complete loss of ink flow for that color, even though the printhead is trying to print.
2. The Mechanical Action of the Cleaning Cycle
When you trigger a printhead cleaning cycle from your computer, the operating system sends a specialized command packet over USB or Wi-Fi to the printer's logic board. This command initiates a mechanical cleaning process:
- Carriage Alignment: The carriage stepper motor moves the printhead assembly to the far right side of the carriage guide rail, aligning it with the capping station.
- Sealing the Cap: A mechanical linkage lifts a rubber seal (the cap) to press firmly against the nozzle plate, creating an airtight chamber.
- Peristaltic Pump Activation: The printer's main paper-advance motor engages a peristaltic pump. The pump's rollers rotate over a flexible silicone tube, generating a vacuum inside the sealed cap chamber.
- Vacuum Extraction: The vacuum pulls fresh ink from the reservoirs, drawing dried ink plugs, dust, and trapped air bubbles out of the nozzles and into the cap.
This waste ink is pumped through a discharge tube into the waste ink felt pads located at the base of the printer. Because this process consumes ink, running unnecessary cleaning cycles will saturate the waste ink pads prematurely and lock the printer with a service error.
3. Step-by-Step: Printing Head Cleaning on Windows
For Windows users, the cleaning utility is accessed through the printer driver settings. Make sure your printer is turned on and connected to the PC via USB or on the same local network.
- Open the Control Panel from the Windows Start menu.
- Click on Hardware and Sound, then select Devices and Printers (or access "Printers & scanners" via Windows 10/11 Settings).
- Right-click on the EPSON L3250 Series icon and select Printing Preferences.
- Navigate to the Maintenance tab at the top of the window.
- Click on the Head Cleaning button.
- In the dialog box that appears, click Start. The printer will begin to cycle mechanically, and the power LED indicator will flash.
- WARNING: Do not turn off the printer or unplug the interface cable while the power light is flashing, as this can interrupt the cycle and corrupt the printer's firmware.
- Once the power light stops flashing and remains solid, the utility will ask if you want to print a nozzle check pattern. Click Print Nozzle Check Pattern to verify the results.
4. Step-by-Step: Printing Head Cleaning on macOS
On Apple macOS computers, the process is accessed via the system printer utility tools.
- Click the Apple logo in the top-left corner of the screen and select System Settings (or System Preferences).
- Scroll down the sidebar and select Printers & Scanners.
- Select your Epson L3250 printer from the list of devices.
- Click on Options & Supplies, then select the Utility tab.
- Click on Open Printer Utility.
- Click on the Head Cleaning option and follow the on-screen instructions to complete the process. Run a nozzle check afterwards.
5. Evaluating the Nozzle Check Pattern
The nozzle check prints a pattern consisting of staggered diagonal lines in Black, Cyan, Magenta, and Yellow. You must examine this printout to determine your next course of action:
Clean Grid: All lines are solid and continuous, without any gaps. The nozzles are clear, and you can resume normal printing.
Broken Grid: There are gaps, broken lines, or missing segments in the color blocks. This means some nozzles are still clogged. You will need to run another cleaning cycle.
If you run up to three cleaning cycles and the nozzle check pattern does not improve, stop. Running consecutive cleanings back-to-back can heat the printhead nozzles and whip the ink into a frothy emulsion of microbubbles, which will worsen the clogging. Turn the printer off and let it rest for at least 12 hours. This gives the air bubbles time to dissipate and allows the dried ink to soften before you attempt another cycle.
6. Performance Comparison: Head Cleaning vs Power Cleaning
For severe clogs that do not clear with standard cycles, Epson provides a Power Cleaning (or Power Flushing) utility. The comparison table below highlights the differences between these two options.
| Hardware Metric | Standard Head Cleaning | Power Cleaning (Power Flush) |
|---|---|---|
| Ink Consumption | Minimal (Approximately 1-2 ml per color channel) | Very High (Can consume up to 20% of the total tank volume) |
| Operation Time | 2 to 3 minutes | 5 to 10 minutes |
| Pump Pressure | Moderate (Intermittent pulses) | Maximum continuous pressure |
| Waste Pad Wear | Low impact | High impact (Significantly advances internal counter) |
| Use Case | Minor line banding due to short-term disuse | Severe, stubborn dry-out or airlocks in the ink lines |
To learn more about printers that offer excellent print yields and high-value features, you can read our comparison of the best Epson EcoTank printers for value.
Advanced Hardware Diagnostics and Preventative Maintenance for Epson L3250 / L4260
To preserve the mechanical reliability and print output quality of your Epson EcoTank printer, it is vital to monitor the structural components of the MicroPiezo printhead assembly and carriage assembly. Epson printheads utilize piezoelectric crystals that physically bend when subjected to electrical pulses. This deflection ejects ink drops with high precision without relying on heat. In contrast to thermal inkjet heads, which boil the ink, piezoelectric heads run at room temperature, which lowers thermal stress on the printhead nozzle plate. However, this configuration is highly vulnerable to micro-air bubbles and dried pigment residues clogging the channels.
| Mechanical Part | Primary Function | Common Failure Mode | Recommended Repair Procedure |
|---|---|---|---|
| Capping Station | Seals the printhead when idle; provides a vacuum seal for ink priming during purge cycles. | Rubber gasket degradation or ink crust buildup preventing airtight vacuum. | Gently clean the rubber gasket rim with a lint-free cotton swab moistened with distilled water. |
| Wiper Blade | Physically wipes the lower surface of the printhead nozzle plate to clear excess ink. | Paper dust accumulation combined with dry ink scratching the printhead surface. | Remove solid fibers using precision tweezers and apply printhead cleaning solution. |
| Pressure Dampers | Regulate ink pressure from external reservoirs and prevent air pocket movement. | Damper chamber drying out or emptying due to lack of ink pressure or bad ink viscosity. | Manually prime the damper using a syringe (without needle) connected to the damper valve to extract trapped air. |
| Linear Encoder Strip | Provides optical positioning reference for the carriage motor as it travels horizontally. | Lubricant grease or ink mist contamination on the strip, causing misaligned print lines or error codes. | Carefully wipe the strip horizontally with isopropyl alcohol and a clean microfiber cloth. |
To avoid damaging the power transistors on the motherboard of the Epson L3250 or L4260, never detach the internal ribbon cables while the printer is plugged in. If printhead ink leaks onto the electronic pin contacts, it can cause a short circuit that blows the driver chips (such as the F1 fuse or the main IC transistors), causing the printer to stop booting or display persistent double-blinking light errors. Maintaining these printers requires precision tools, anti-static safety gear, and patience during cleaning. For other technical maintenance issues, you can check our guide on how to connect the Epson L3250 printer to Wi-Fi from your phone.
Understanding Nozzle Firing Voltages and Maintenance Cycles
The printhead of the Epson L3250 utilizes advanced MicroPiezo technology, where physical piezoelectric crystals deform when an electrical voltage is applied, forcing microscopic ink droplets out of the nozzle chambers. During intensive print jobs, these piezo crystals fire millions of times per second. If the internal printhead temperature rises above threshold levels due to continuous operation without pause, the logic board will temporarily lower the firing voltage to prevent thermal damage to the silicon wafer.
This decrease in drive voltage can lead to reduced drop velocity, resulting in faint printing or slight banding. If you notice a sudden drop in output quality during a large print run, do not immediately run consecutive printhead cleanings. Instead, pause the print job and let the printer rest for 30 minutes to cool down the printhead. Running printhead cleanings when the printhead is hot will only introduce micro-bubbles into the nozzles due to the high suction pressure exerted by the capping assembly pump, worsening the banding issue instead of resolving it.
Frequently Asked Questions (FAQ)
How many cleaning cycles can I run in a row?
You should run no more than three standard cleaning cycles in a single session. If the nozzle check pattern still has gaps, turn off the printer and wait at least 12 hours before trying again to avoid damaging the printhead and wasting ink.
Why is one color completely missing after cleaning?
If a color is completely missing, it is usually caused by a large air lock in the corresponding ink tube, rather than a simple clogged nozzle. If standard cleanings do not help, check if the physical ink levels are low and consider running a Power Cleaning cycle.
Can I perform a head cleaning without a computer?
Yes, you can initiate a basic cleaning cycle directly from the printer. With the printer turned on, press and hold the physical Triangle (Stop) button for approximately 5 seconds until the power light begins to flash. The printer will then run a standard cleaning cycle.
Does head cleaning void my printer warranty?
No, printhead cleaning is a standard maintenance procedure designed by Epson. Running cleanings using the built-in system driver does not affect your warranty, though using non-original inks that cause severe clogs might.


