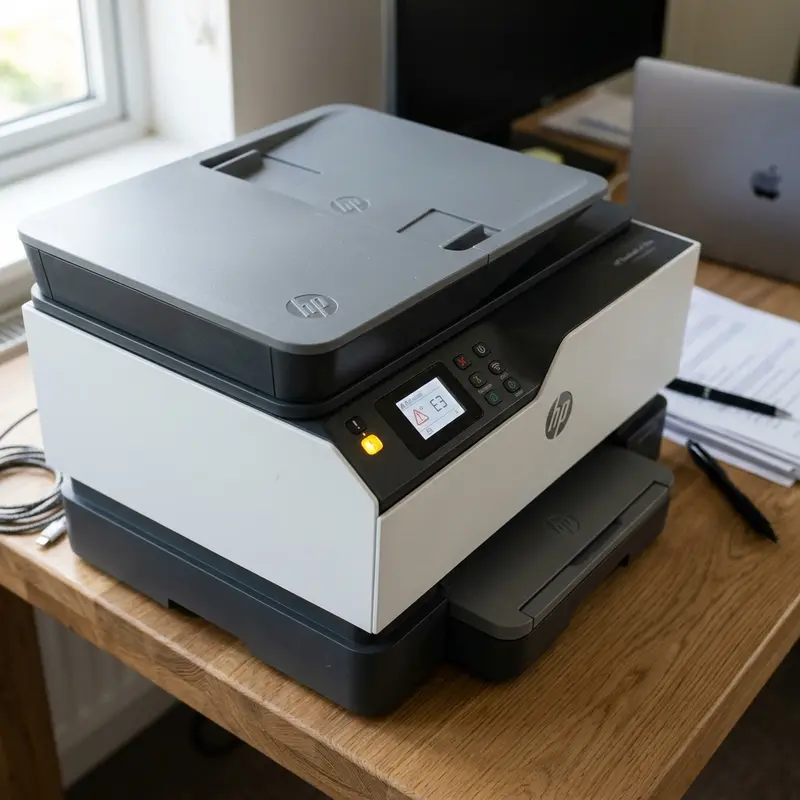
Technical Introduction to Factory Resetting the HP DeskJet 2776
The HP DeskJet Ink Advantage 2776 all-in-one printer is a budget-friendly consumer device based on a low-power System on Chip (SoC) architecture. Internally, printing workflow management, wireless transceiver processing, and stepper motor control are handled by a main logic board containing a non-volatile flash memory chip known as EEPROM (Electrically Erasable Programmable Read-Only Memory). This chip is responsible for storing persistent configuration data, such as Wi-Fi credentials (SSIDs and WPA2/WPA3 encryption keys), print cycle page counts, unique cartridge serial identifiers read via contact pins on the carriage, and internal hardware error flags.
During prolonged use, the EEPROM can end up recording inconsistent states due to sudden power outages during write cycles, network packet sync drops, or USB communications interruptions. When this happens, the printer's LCD screen might display generic error codes, the amber exclamation point light might blink, or the printer might completely refuse to respond to commands from Windows drivers or the HP Smart application. Performing a physical and electrical reset clears the volatile registers and restores the default variables in the EEPROM, forcing the SoC to re-execute a clean Power-On Self-Test (POST).
To better understand physical troubleshooting and circuit resets on other consumer electronics, you can also consult our technical analysis on the Liectroux C30B robot vacuum beeping and not moving, where we discuss stepper motors, optical encoder sensors, and mainboards.
Understanding the Physical and Electronic Mechanisms of the HP 2776
Before jumping into the step-by-step methods, it is crucial to understand the electro-mechanical assemblies making up the HP DeskJet 2776:
- Printhead Carriage Assembly and Contact Pins: The carriage holds two ink cartridges (HP 667 color and black in Latin America, HP 305/67 in other regions). Communication between the main PCB and the cartridges is maintained via a matrix of gold-plated leaf-spring contact pins. The printer uses thermal inkjet technology: tiny thin-film resistors in the nozzle plate heat the ink to roughly 300°C in microseconds, generating a vapor bubble that pushes a droplet through the orifice. If electrical contact pins oxidize or if the EEPROM locks out a cartridge serial number due to fluctuating electrical resistance, the carriage will park on the far left or flash a cartridge error light.
- Optical Encoder and Stepper Motors: A DC stepper motor drives the timing belt that moves the carriage laterally. Precision positioning is maintained by a transparent plastic strip containing microscopic vertical lines (the encoder strip) that runs through an optical sensor (photodiode pair) on the back of the printhead carriage. If dust, hair, or aerosolized ink grease builds up on the encoder strip, the optical photodiode will misread the position, prompting a carriage crash error that requires a hard reset.
- Wireless Interface SoC: The embedded Wi-Fi module operates at 2.4 GHz and stores configuration profiles in a designated sector of the flash memory. If the printer is powered down abruptly or the router shifts wireless channels, the TCP/IP stack in the printer's firmware can hang, causing the device to appear offline on local networks.
Method 1: Restoring Wireless Interface and Clearing Network Settings
Use this method if the printer is powered on but the Wi-Fi LED is flashing blue slowly or the HP Smart app cannot detect the printer over the network. This clears all saved network profiles and resets the wireless transceiver back to its initial setup mode.
Step-by-Step Wireless Reset:
- Verify that the printer is turned on and is in an idle state (no motors running, no carriage movement).
- Locate the Wireless button and the Cancel (X) button on the control panel.
- Press and hold both the Wireless and Cancel buttons simultaneously for approximately 3 to 5 seconds.
- Watch the Power button LED. It will begin to flash, signaling that the processor has accepted the debug button combo.
- Release both buttons.
- The printer will clean the wireless partition in the non-volatile memory and reboot its internal network stack. The Power light will flash for several seconds during this operation.
- Once the Power button LED glows solid again and the Wireless blue light starts to flash slowly, the printer has entered Wi-Fi Setup Mode and is ready to be reconfigured using HP Smart or Wi-Fi Direct.
Method 2: Electrical Hard Reset to Drain Residual Capacitance
If the printer panel is frozen, buttons are unresponsive, or you are experiencing physical motor carriage errors that do not resolve with the Power button, a physical hard reset is necessary to drain the filter capacitors on the power rail and force the SoC to boot fresh.
Instructions for a Hard Reset:
- With the printer turned on, pull the power cord out of the receptacle on the back of the unit. Do not press the Power button first.
- Unplug the power cord from the wall outlet or surge protector.
- Unplug the USB interface cable connecting the printer to the PC.
- Wait at least 60 seconds. This duration allows the energy stored in the primary and secondary electrolytic capacitors of the mainboard to drain completely.
- Press and hold the physical Power button on the front panel for 15 seconds while the unit is unplugged to discharge any remaining micro-charge.
- Plug the power cord directly back into a wall outlet (avoiding cheap extension strips or power hubs that might drop voltage).
- Reconnect the power cord to the back of the printer.
- The printer should power on automatically. If it does not, press the front Power button.
- Wait for the carriage to complete its initialization scan and become completely silent before attempting to send a print job.
Method 3: Full Factory Reset Using Front Panel Button Sequence
If you need to wipe all settings, delete custom print profiles, clear memory logs, and restore the printer's firmware parameters to out-of-the-box defaults, perform this advanced physical sequence:
- While the printer is powered on and connected to a working power source, press and hold the Power button.
- While holding the Power button down, press and hold the Color Copy button and the Cancel (X) button at the same time.
- Keep all three buttons pressed down for exactly 10 seconds.
- Release the Color Copy and Cancel buttons, but keep holding the Power button for an additional 3 seconds.
- Release the Power button.
- The printer will initiate a hardware diagnostic reboot. All LEDs on the control panel will blink sequentially, the paper feed stepper motor will rotate briefly, and the LCD segments will light up completely before returning to a normal idle state.
For users running into complex network issues where Wi-Fi routing configurations are tricky, it might also be helpful to refer to our guide on fixing a Yoosee Wi-Fi camera showing offline to learn about 2.4 GHz channel configurations and IP reservation tricks.
Troubleshooting Matrix: Symptoms vs. Reset Methods
Review the table below to determine which reset method is appropriate for specific hardware or network issues:
| Hardware / Software Symptom | Underlying Electronic Root Cause | Recommended Reset Action | Required Time |
|---|---|---|---|
| Wi-Fi LED blinking blue, printer refuses to connect or drops off HP Smart. | Network stack buffer overflow or corrupt WPA authentication keys. | Wireless Interface Reset (Method 1) | 1 min |
| LCD frozen, power button does not respond, carriage parked and humming. | Logic gate lockup in the firmware execution thread. | Electrical Hard Reset (Method 2) | 3 mins |
| "Unrecognized Ink Cartridge" or cartridge mismatch after clean install. | Corrupt cartridge serial register in the security sector of EEPROM. | Full Factory Reset (Method 3) | 2 mins |
| Carriage slam error (loud bangs against the plastic chassis walls). | Sensor photodiode misreading ticks on the encoder strip. | Clean Encoder Strip + Hard Reset (Method 2) | 5 mins |
| Printer randomly assigns dynamic IPs, conflicting with other home devices. | DHCP lease allocation failure or duplicate ARP entries. | Wireless Reset (Method 1) + Set Static IP | 5 mins |
Cleaning Electrical Contacts on HP Cartridges
If you performed a factory reset because of cartridge errors but the problem persists, it is likely a hardware contact barrier. Dried ink, paper dust, or fingerprints can act as insulators, blocking the high-frequency current pulses sent from the mainboard to the printhead resistors.
- Open the front access door. The carriage will slide to the center. If it does not, unplug the power and slide it by hand.
- Gently push down on the cartridge to release it, then pull it out of its slot.
- Take a lint-free material (such as a clean coffee filter or microfiber cloth) and moisten it slightly with 99.8% isopropyl alcohol or distilled water. Do not use tap water, as minerals can cause galvanic corrosion.
- Gently wipe the gold-colored contact pads on the back of the cartridge. Wipe the matching pins inside the carriage as well.
- Let the components dry for 3 minutes before reinstalling them.
- Perform the Full Factory Reset (Method 3) to clear the error loop from the memory chips.
If you need further technical guides for troubleshooting connected office or home appliances, check out our articles on connect Epson L3250 to Wi-Fi from phone or learn what to do when Epson L3250 paper ink lights flashing together.
Frequently Asked Questions (FAQ)
1. Will a factory reset void my HP printer warranty?
No. A factory reset only deletes user configuration parameters, network names, and calibration values. It does not tamper with the digital signature of the firmware, nor does it affect your official manufacturer warranty.
2. What if the Wireless button does not blink blue after doing a reset?
This suggests the wireless transceiver on the mainboard has failed, possibly due to a power surge, or the 3.3V circuit rail powering the Wi-Fi module is damaged. Run an electrical hard reset (Method 2) first, then try the Wireless reset again.
3. Does a factory reset restore the ink levels to full?
No. HP cartridges store their usage data directly on a microchip embedded on the flexible cable of the cartridge itself. Once the cartridge is detected as empty by the printer, that chip is permanently updated. Resetting the printer cannot erase the write-once memory cells on the cartridge chip.
4. Why does my printer ask for a PIN after a reset?
When connecting the printer to a new Wi-Fi network or using Wi-Fi Direct, the setup tool may prompt you for a security PIN. This default 8-digit PIN is printed on a white sticker located on the back or inside the cartridge access door of the printer.
5. Can I reset the printer if it refuses to feed paper?
Paper feed issues are mechanical. They occur when the rubber pickup roller accumulates micro-dust from paper sheets, causing it to slip. Clean the rubber pickup roller with a damp microfiber cloth instead of performing a reset.
6. Will a factory reset erase my printhead alignment parameters?
Yes. Resetting clears the alignment calibration values stored in the NVRAM. The printer will print an alignment page. You must place this page face down on the flatbed scanner and press the Color Copy button to recalibrate the optical sensor array.
Frequently Asked Questions (FAQ)
How do I factory reset my HP DeskJet 2776?
To perform a full factory reset, turn on the printer. Press and hold the Power button and the Cancel (X) button simultaneously for 5 to 10 seconds. Release them, and the printer will run a complete hardware reset sequence.
How do I reset only the wireless settings on the HP 2776?
To restore the Wi-Fi network settings, make sure the printer is powered on. Press and hold the Wireless and Cancel (X) buttons together for 5 seconds. The wireless light will begin flashing, indicating the printer is back in Setup mode.
Why does my HP DeskJet 2776 fail to connect to Wi-Fi after a reset?
The HP 2776 internal Wi-Fi chip is only compatible with the 2.4 GHz radio frequency. If your router uses a single band for 5 GHz or has WPA3-only security protocols enabled, the printer will fail the security handshake.
What should I do if the cartridge light flashes after resetting?
Clean the gold-colored contacts on the cartridges and inside the print carriage using a lint-free cloth slightly dampened with distilled water. If the error persists, the cartridge chip may be electronically damaged, requiring replacement.


