
Setting up a WordPress staging environment in cPanel is essential for testing changes safely before going live. A staging site allows developers and website owners to experiment with updates, plugins, and themes without affecting the live website. This not only minimizes risks but also ensures that any potential issues can be resolved before they impact the user experience on the main site.
By creating a staging environment, users can explore significant changes, perform debugging, and fine-tune their WordPress settings in a controlled setting.
Detailed Introduction to the Technical Concept of Web Servers and Hosting Related to the Theme
Understanding the technical landscape surrounding web servers and hosting is important for anyone looking to set up a WordPress staging site in cPanel. At its core, a web server is a system that stores, processes, and delivers web pages to users over the internet.
When a user requests a specific URL, the web server retrieves the associated files and serves them to the user's browser. This fundamental process is essential for all websites, but it becomes especially important when managing multiple environments, such as a staging site.
Hosting refers to the service that provides the infrastructure for web servers to operate. There are various types of hosting services, including shared hosting, VPS (Virtual Private Server), dedicated hosting, and cloud hosting.
For WordPress users, shared hosting is often the most common option due to its affordability and ease of use. However, as websites grow and require more resources, users may transition to more robust hosting solutions like VPS or dedicated servers.
These environments not only facilitate better performance but also offer increased control over server configurations, essential for tasks like setting up a staging site.
When creating a staging site, it is critical to understand the implications of your hosting choice. A robust hosting plan ensures that you have sufficient resources, such as RAM and CPU, to run multiple sites simultaneously without degrading performance.
Additionally, understanding how to manage files, databases, and server settings within cPanel is vital. cPanel is a popular hosting control panel that simplifies the management of websites, making it easier to duplicate WordPress sites for staging purposes. Familiarity with these concepts prepares you to effectively set up and manage your staging environment.
Step-by-Step Practical Guide for Setting Up a Staging Site in cPanel

Setting up a staging site for your WordPress installation in cPanel can be a straightforward process if you follow these detailed steps. First, log into your cPanel account. Navigate to the "File Manager" section, as this will allow you to manage all your WordPress files efficiently. Once inside the File Manager, locate the directory where your WordPress installation resides, typically within the public_html folder.
To create a staging site, you'll want to duplicate your existing WordPress installation. Begin by creating a new folder within the public_html directory, naming it something like "staging" or "test." This new folder will serve as the home for your staging site.
After creating the folder, select all the files from your existing WordPress installation, and use the "Copy" function to duplicate them into the new staging folder. This includes essential files such as wp-config.php, wp-content, and the wp-admin directory.
Next, you'll need to duplicate your database. Return to the cPanel dashboard and navigate to the "phpMyAdmin" section. Here, locate the database associated with your live WordPress site.
Select the database, and then use the "Export" function to download a copy of it. After exporting the database, create a new database for your staging site by returning to the cPanel main page and selecting the "MySQL Databases" option. Create a new database and a new database user, ensuring you grant this user all privileges to the new database.
Once the new database is set up, import the previously exported database file into it. Go back to phpMyAdmin, select the new database, and use the "Import" function to upload the SQL file you exported earlier. After the import completes, you'll need to update the wp-config.php file in your staging site's directory to point to the new database. Edit the database name, user, and password fields accordingly.
At this point, your staging site should be functional, but there’s one important step left: updating the site URL. Open the staging site's database in phpMyAdmin and navigate to the wp_options table. Here, find the rows labeled "siteurl" and "home" and change their values to reflect your new staging site URL (e.g., https://yourwebsite.com/staging). This ensures that your staging site operates independently of your live site.
Finally, you may want to implement a basic security measure by restricting access to your staging site. This can be accomplished by enabling password protection through cPanel’s "Directory Privacy" feature. This step is particularly important to avoid search engines indexing your staging site, as well as to protect any unfinished changes from public view.
Comparative Table of Hosting Options for Staging Sites
When considering the setup of a WordPress staging environment, choosing the right hosting plan is critical. To aid in this decision, the following table provides a comparative overview of various hosting options available for WordPress users, focusing on key features like performance, cost, and additional features.
| Hosting Type | Performance | Cost | Best For | Additional Features |
|---|---|---|---|---|
| Shared Hosting | Moderate | Low | Beginner Websites | Basic cPanel Access |
| VPS Hosting | High | Moderate | Growing Websites | Full Root Access |
| Dedicated Hosting | Very High | High | Enterprise Sites | Custom Server Configurations |
| Managed WordPress Hosting | High | Moderate to High | Users Needing Support | Staging Tools Included |
This table emphasizes the importance of selecting the right hosting type based on your unique needs for both a live site and a staging environment. For beginners, shared hosting may suffice, but as your site grows, consider transitioning to VPS or dedicated hosting for improved performance and flexibility. Managed WordPress hosting can also be an excellent choice, as it often includes built-in staging capabilities, simplifying the process significantly.

Additional Resources and Recommended Links
To further enhance your understanding of WordPress and cPanel, consider exploring additional resources. Articles such as Best WooCommerce Hosting for Online Store provide insights into selecting the optimal hosting solution for eCommerce platforms.
Additionally, if you're looking to automate tasks on your server, our guide on How to Setup Cron Jobs inside cPanel is invaluable. These resources can help deepen your knowledge and empower you to manage your WordPress installations more effectively.
Advanced Server Performance Tuning, Cache Policies, and Core Networking Metrics
Caching policies play a significant role in server performance as well. Implementing OPcache can significantly reduce the loading times of PHP scripts by storing precompiled script bytecode in shared memory, thus eliminating the need for PHP to load and parse scripts on each request.
Additionally, utilizing object caching solutions such as Redis or Memcached can further enhance your environment's efficiency. These caching systems store frequently accessed data in memory, reducing the need to retrieve it from the database, leading to faster response times and decreased server load.
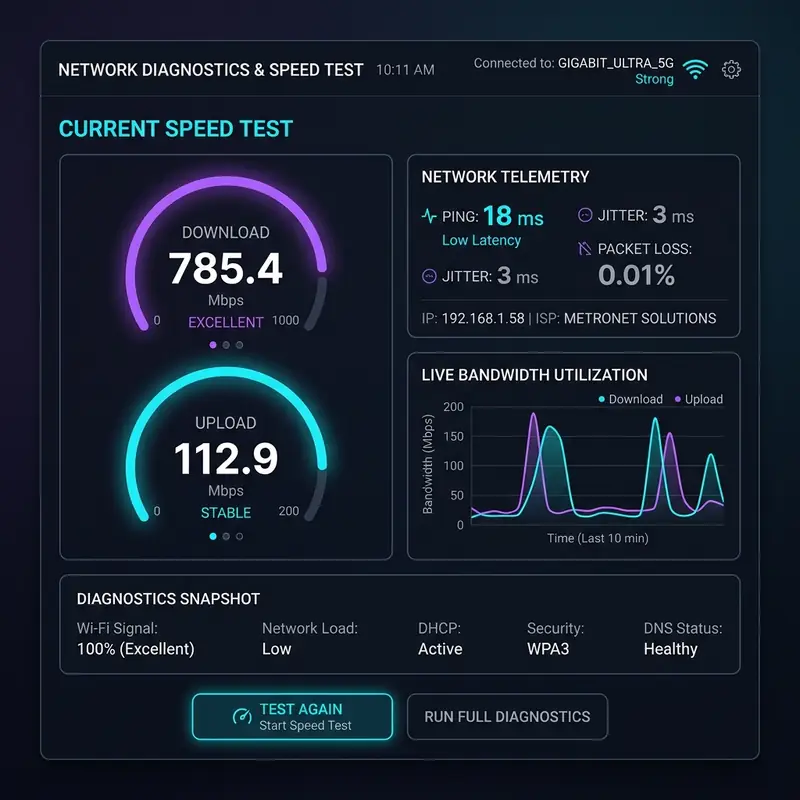
Understanding core networking metrics is essential for assessing the performance of your hosting environment. Time to First Byte (TTFB) is a critical metric, as it measures the time taken for the browser to receive the first byte of data from the server.
A lower TTFB indicates a more responsive server, which is particularly important for user experience and SEO rankings. Additionally, monitoring server load metrics allows you to identify potential bottlenecks.
High server load can lead to slow response times and degraded performance, necessitating proactive measures such as load balancing or server scaling to accommodate traffic spikes.
Bandwidth allocation is another important factor for performance tuning. Ensuring that your server has sufficient bandwidth can prevent slowdowns, particularly during peak traffic periods.
This is especially important for staging environments where developers may be testing resource-intensive applications. By analyzing bandwidth usage and adjusting limits, you can ensure that your staging site remains responsive, even under heavy loads.
Moreover, integrating a content delivery network (CDN) can help distribute traffic more evenly, reduce latency, and improve overall loading times across different geographical locations.
In conclusion, advanced server performance tuning, effective caching policies, and an understanding of core networking metrics are fundamental components for optimizing a WordPress staging environment. By implementing these strategies, you can ensure that your staging site not only meets the demands of development and testing but also mimics the performance characteristics of a live production environment.
This careful tuning process lays the groundwork for a robust and efficient workflow, enhancing both developer productivity and user experience.
Server-Side Cybersecurity Protocols for Robust Protection

Another essential aspect of server-side security is the implementation of IP tables. IP tables serve as a firewall mechanism that controls the incoming and outgoing network traffic based on predetermined security rules.
By configuring IP tables, you can restrict access to your staging environment to specific IP addresses, effectively creating a whitelist that limits exposure to potential attacks. This approach not only minimizes the risk of unauthorized access but also allows you to monitor and manage network traffic more effectively.
Additionally, regularly updating these rules is vital, as new vulnerabilities can emerge, necessitating adjustments to your security policies.
DDoS (Distributed Denial of Service) attacks pose a significant threat to server availability. Implementing a DDoS firewall can help mitigate the impact of such attacks by filtering out malicious traffic before it reaches your server.
DDoS firewalls use advanced algorithms to identify and block suspicious patterns, allowing legitimate traffic to pass through uninterrupted. For staging environments where developers may be testing new features, having a robust DDoS mitigation strategy is essential to maintain accessibility and prevent disruptions during critical development phases.
Directory permissions are a fundamental aspect of server security that is often overlooked. Properly setting permissions for your WordPress files and directories can significantly reduce the risk of unauthorized access.
For instance, the wp-config.php file, which contains sensitive configuration settings, should have restrictive permissions to ensure that it is not accessible to the public. Implementing a principle of least privilege means granting only the necessary permissions required for each file or directory, thereby minimizing the attack surface.
Regular audits of directory permissions can help identify any discrepancies and ensure that your staging environment remains secure.
In summary, implementing robust server-side cybersecurity protocols is vital for protecting your WordPress staging environment. By ensuring proper SSL configuration, utilizing IP tables, deploying a DDoS firewall, and carefully managing directory permissions, you can create a fortified environment that not only safeguards your development efforts but also prepares you for a smooth transition to a live production site.
A proactive approach to security not only protects your data but also instills confidence in your stakeholders, enhancing the overall integrity of your web projects.
Hosting Limitations and Their Impact on Development Environments
Hosting your WordPress staging environment comes with inherent limitations that can significantly impact your development workflow. One of the primary considerations is the difference between shared servers and dedicated or cloud machines. Shared hosting environments pool resources among multiple users, which can lead to performance bottlenecks, especially if one site experiences a surge in traffic. This can be detrimental to a staging site where developers need a reliable environment to test new features without interference from other users. On the other hand, dedicated or cloud hosting solutions provide personalized resources, allowing developers to configure environments tailored to their specific requirements.DNS propagation errors are another significant concern for staging environments. When changes are made to DNS records, it can take time for those changes to propagate across the internet.
During this period, developers may encounter inconsistencies when testing their site, as some users may still be directed to the old IP address while others reach the new one. This discrepancy can lead to confusion and hinder the testing process.
To mitigate these issues, developers should consider using temporary domain names or subdomains for staging sites, allowing for immediate access without being affected by DNS propagation delays.
Database optimization is also a critical factor that can trap developers into performance issues. As a staging environment may mirror the production database, it can develop unnecessary overhead due to redundant data, poor indexing, or lack of optimization strategies.
Regularly optimizing the database can help maintain performance by removing overhead, defragmenting tables, and ensuring that indexes are appropriately utilized. Developers should leverage tools such as phpMyAdmin or WP-CLI to conduct routine maintenance, which can prevent performance degradation over time.
Service Level Agreements (SLAs) play a important role in defining the expectations for uptime and support from your hosting provider. When choosing a hosting solution for your staging environment, it is essential to review the SLA carefully.
A reliable SLA should guarantee a certain level of uptime, typically above 99.9%, and provide clear guidelines for response times in case of issues. Understanding the terms of the SLA can help set realistic expectations and ensure that you have recourse in case of server outages or performance issues, which can be detrimental during critical development phases.
In conclusion, understanding the limitations of different hosting options, the implications of DNS propagation errors, the importance of database optimization, and the role of SLAs is vital for creating a resilient WordPress staging environment. By choosing the right hosting solution and proactively managing these limiting factors, developers can create a robust staging site that facilitates efficient testing and development, ultimately leading to a smoother transition to production.