
To power a Wi-Fi security camera with a solar panel, connect a compatible 5V solar panel to the device's micro-USB port. official NREL website
For more information, read our guide on whether a home solar panel kit is worth it and check how residential solar panels work under different conditions.
Understanding the Basics of Solar Power for Security Cameras
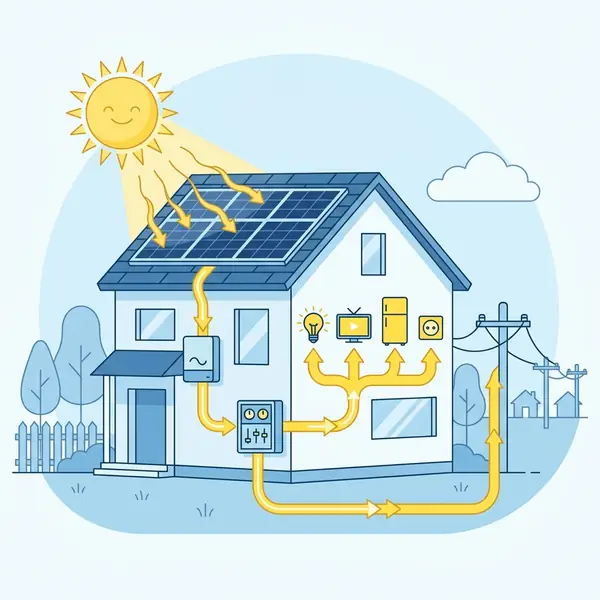
Solar power offers a sustainable solution for powering security cameras. This setup reduces reliance on traditional electrical sources. Homeowners can enjoy the benefits of energy savings and environmental sustainability.
Wi-Fi security cameras typically require a continuous power supply. A solar panel kit can provide this power efficiently. Let's explore how to set up a solar panel to keep your security camera running.
Components Needed for the Setup
To successfully power a security camera with solar energy, certain components are necessary. Here’s a list of the important points:
- 5V solar panel
- Charge controller
- Battery (optional but recommended)
- Wi-Fi security camera with micro-USB power input
- Cables to connect everything
The solar panel converts sunlight into electrical energy. The charge controller regulates the voltage, ensuring the camera operates safely. A battery stores excess energy for use during nighttime or cloudy days.
Choosing the Right Solar Panel
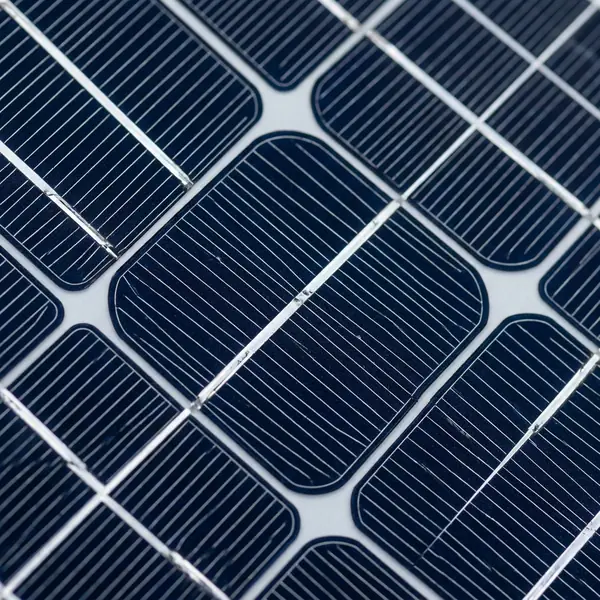
When selecting a solar panel, consider the wattage needed for your camera. Most Wi-Fi security cameras consume around 5 to 10 watts. A panel rated for at least 10 watts is advisable to ensure optimal performance.
Monocrystalline solar panels are popular for residential use. They tend to be efficient and have a smaller footprint. Polycrystalline options are also available but may require more space for the same output.
Understanding Solar Panel Specifications
Solar panels are rated by their wattage and efficiency. Higher wattage means more energy generation. Efficiency indicates how well a panel converts sunlight into electricity.
For example, a typical 100-watt solar panel can generate about 30 kWh per month under ideal conditions. In contrast, a smaller 20-watt panel may produce only 6 kWh in the same timeframe.
Installation Process for Solar-Powered Security Cameras
Setting up a solar panel to power your security camera involves several steps. The installation process is straightforward and can typically be completed in a few hours.
Step 1: Gather Your Tools and Materials
Before starting the installation, gather the necessary tools. You will need:
- Screwdriver
- Drill
- Wire cutters and strippers
- Wrench
- Mounting brackets (if needed)
Step 2: Mount the Solar Panel
The first step is to mount the solar panel. Choose a location with maximum sun exposure throughout the day. The ideal angle for solar panels is typically around 30 to 45 degrees.
Use mounting brackets to secure the solar panel in place. Ensure that it is firmly attached to withstand wind and other weather conditions. A sturdy installation is key for long-term performance.
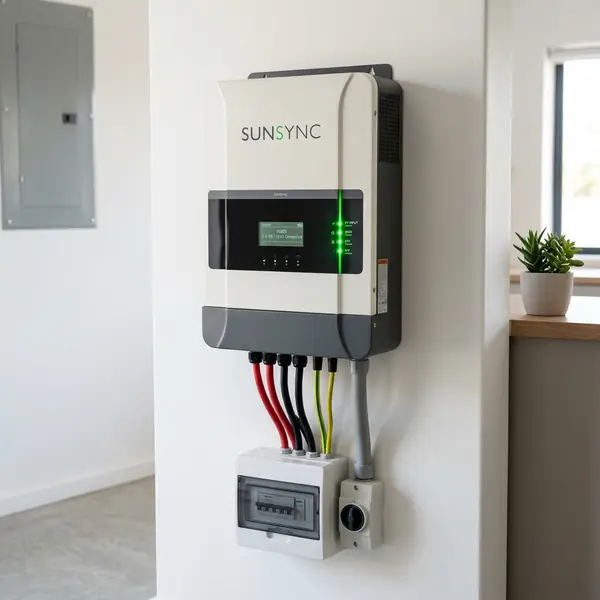
Step 3: Connect the Charge Controller
The charge controller regulates the voltage and prevents battery overcharging. Connect the solar panel to the charge controller following the manufacturer's instructions. Typically, this involves connecting positive and negative terminals correctly.
Ensure that all connections are secure. Loose connections can lead to power losses and potential damage to your devices.
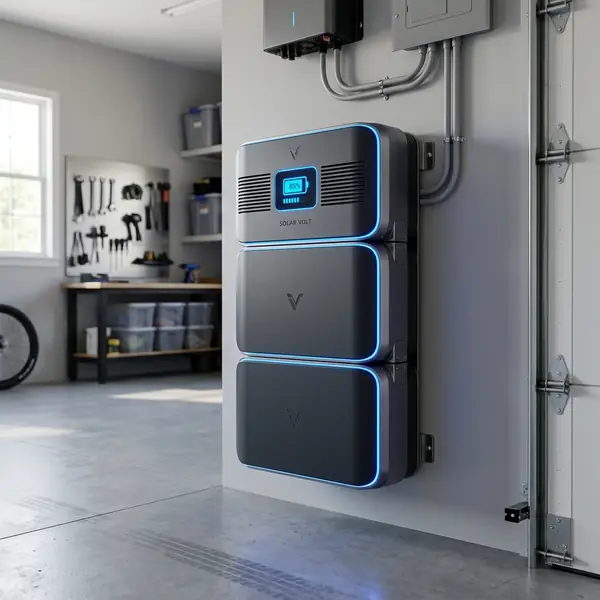
Step 4: Connect the Battery (Optional)
While a battery is not strictly necessary, it can enhance the reliability of your system. A battery stores excess power generated during the day. This stored energy can power your camera during the night or on cloudy days.
Connect the battery to the charge controller. Again, follow the manufacturer's recommendations for wiring. Proper installation ensures that your security camera receives a consistent power supply.
Step 5: Connect the Security Camera
The final step is to connect your security camera. Most Wi-Fi security cameras use a micro-USB connection. Use a suitable cable to connect the camera to the charge controller or battery.
After making all connections, check the system. Ensure that the camera powers on and functions correctly. Test the camera's connectivity to ensure that it is online and recording.
Cost Analysis of Solar-Powered Security Camera Setup
Investing in a solar-powered security camera system can save money in the long run. The initial costs might seem high, but the benefits outweigh the expenses.
Here’s a breakdown of potential costs:
| Component | Estimated Cost (USD) |
|---|---|
| 5V Solar Panel | $50 to $150 |
| Charge Controller | $20 to $50 |
| Battery | $50 to $200 |
| Wi-Fi Security Camera | $30 to $300 |
| Installation Materials | $20 to $100 |
Based on these estimates, the total setup cost could range from $170 to $700. This initial investment pays off through savings on electricity bills over time. Additionally, many homeowners find peace of mind knowing they are using renewable energy.
Maintenance Tips for Solar-Powered Security Cameras
Maintaining your solar-powered security camera is important for optimal performance. Regular maintenance ensures that your camera operates effectively over its lifespan.
Clean the Solar Panel Regularly
Dust, dirt, and debris can accumulate on solar panels, reducing their efficiency. Clean the panels regularly with water and a soft cloth. Avoid using abrasive materials that could scratch the surface.
Check Connections Periodically
Inspect all connections periodically to ensure they are secure. Loose or corroded connections can lead to power losses. Tighten any loose connections and replace corroded wires as needed.
Monitor Battery Health
If you have a battery in your system, monitor its health. Batteries can degrade over time and may need replacement. Check the manufacturer's guidelines for battery maintenance and lifespan.
DomineTec Tip: Consider using a battery with a built-in management system for optimal performance and longevity.
Conclusion
Powering a security camera with a solar panel kit is a practical solution for homeowners. It offers a sustainable energy source while ensuring the security of your property. Following the outlined steps can help you set up a reliable system.
With the right components and installation, you can enjoy the benefits of solar energy. Not only does it reduce your electricity costs, but it also contributes to a greener environment. Investing in solar technology is a step towards energy independence.
2. How much sunlight do solar panels need?
Solar panels require direct sunlight for optimal performance. Ideally, they should receive at least 4-6 hours of sunlight daily.
3. Do I need a battery for my solar-powered security camera?
While a battery is not mandatory, it is recommended. A battery ensures power availability during nighttime or cloudy conditions.
4. How long does a solar panel last?
Most solar panels have a lifespan of 25 years or more. Proper maintenance can help extend their efficiency and lifespan.
5. Where can I find solar panel kits for security cameras?
You can purchase solar panel kits from local hardware stores or online retailers. Check for compatibility with your specific camera model.
How to Power a Security Camera with a Solar Panel Kit
Powering a security camera with a solar panel kit is an innovative solution that enhances surveillance capabilities while reducing reliance on traditional electricity sources. This setup is especially beneficial for remote locations where access to electricity is limited or where running wires could be impractical. By leveraging solar energy, you can ensure your camera remains functional in various weather conditions and during power outages.
The first step in this process is selecting the appropriate solar panel kit. Look for a kit that includes a solar panel, a charge controller, a battery, and the necessary wiring. The solar panel should have sufficient wattage to meet the energy demands of your security camera, which typically ranges from 5 to 20 watts, depending on the model and features.


