How to Setup Skirt in PrusaSlicer: Purging Nozzle and Checking Calibration

Setting up a skirt in PrusaSlicer involves configuring the settings to effectively purge the nozzle and ensure proper calibration.
Understanding the Purpose of a Skirt
A skirt is a line of filament printed around the object to be printed. Its primary purpose is to prime the nozzle and ensure that the filament flows smoothly before the main print begins.
Additionally, a skirt can help in detecting any potential adhesion issues with the print bed, ensuring that the first layer adheres properly during the printing process.
Accessing PrusaSlicer Settings
To set up a skirt in PrusaSlicer, open the software and select the model for printing. Navigate to the print settings tab, which contains various configuration options.
Ensure that you are in the correct print profile, as different profiles may have distinct settings related to the skirt and other print parameters.
Configuring Skirt Settings
Locate the "Skirt" settings within the print settings. Here, you will find options to adjust the number of skirt outlines, the distance from the model, and the height at which the skirt will be printed.
Adjust the number of skirt outlines based on the model's complexity and the desired amount of filament purged. A typical setting is one to three outlines, depending on the filament type and nozzle condition.

Purging the Nozzle Effectively
Purging the nozzle is crucial for maintaining print quality. The skirt serves as an effective purging mechanism, allowing a small amount of filament to flow through the nozzle before the actual print begins.
Ensure that the filament is properly loaded and the nozzle temperature is set according to the filament specifications. This will help in achieving a consistent flow of material.
Checking Calibration Before Printing
Calibration is a vital step that precedes any print job. It includes confirming the bed leveling, ensuring the nozzle height is correct, and verifying that the filament feeds appropriately.
Refer to the calibration guide for detailed procedures on how to calibrate a 3D printer effectively.
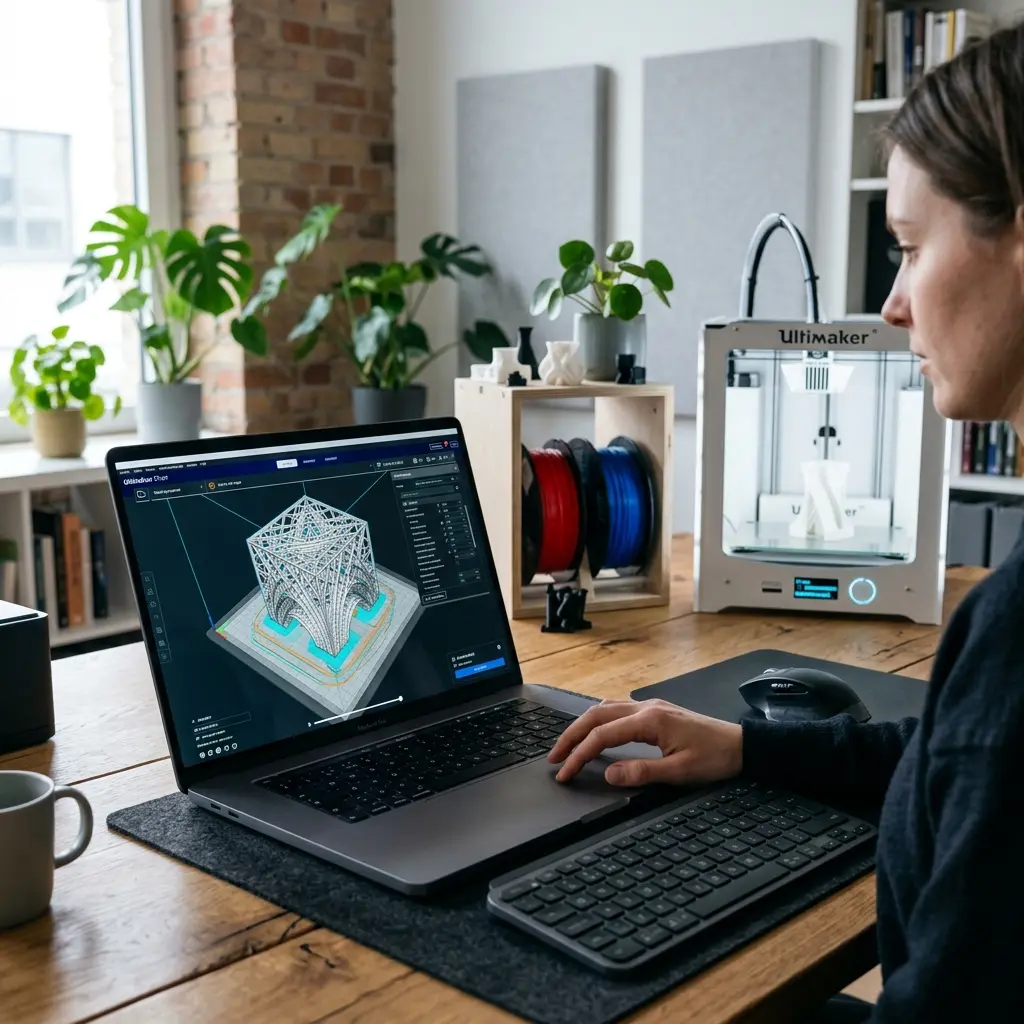
Step-by-Step Guide to Set Up a Skirt in PrusaSlicer
- Open PrusaSlicer and load the 3D model.
- Navigate to the print settings tab.
- Locate the "Skirt" section.
- Set the desired number of skirt outlines.
- Adjust the distance from the model as needed.
- Set the height for the skirt.
- Confirm nozzle temperature and filament type.
- Click "Slice Now" to apply settings.
DomineTec Tip: Regularly clean the nozzle to prevent clogs, especially when switching between filament types. Use a nozzle cleaning tool for maintenance.
Visualizing Your Print Setup
After configuring the skirt settings, preview the sliced model in PrusaSlicer to visualize the skirt's position relative to the print. This allows for adjustments before starting the print.
Ensure that the skirt is correctly placed and that the lines are clear and well-defined in the preview window. This can indicate a successful setup.
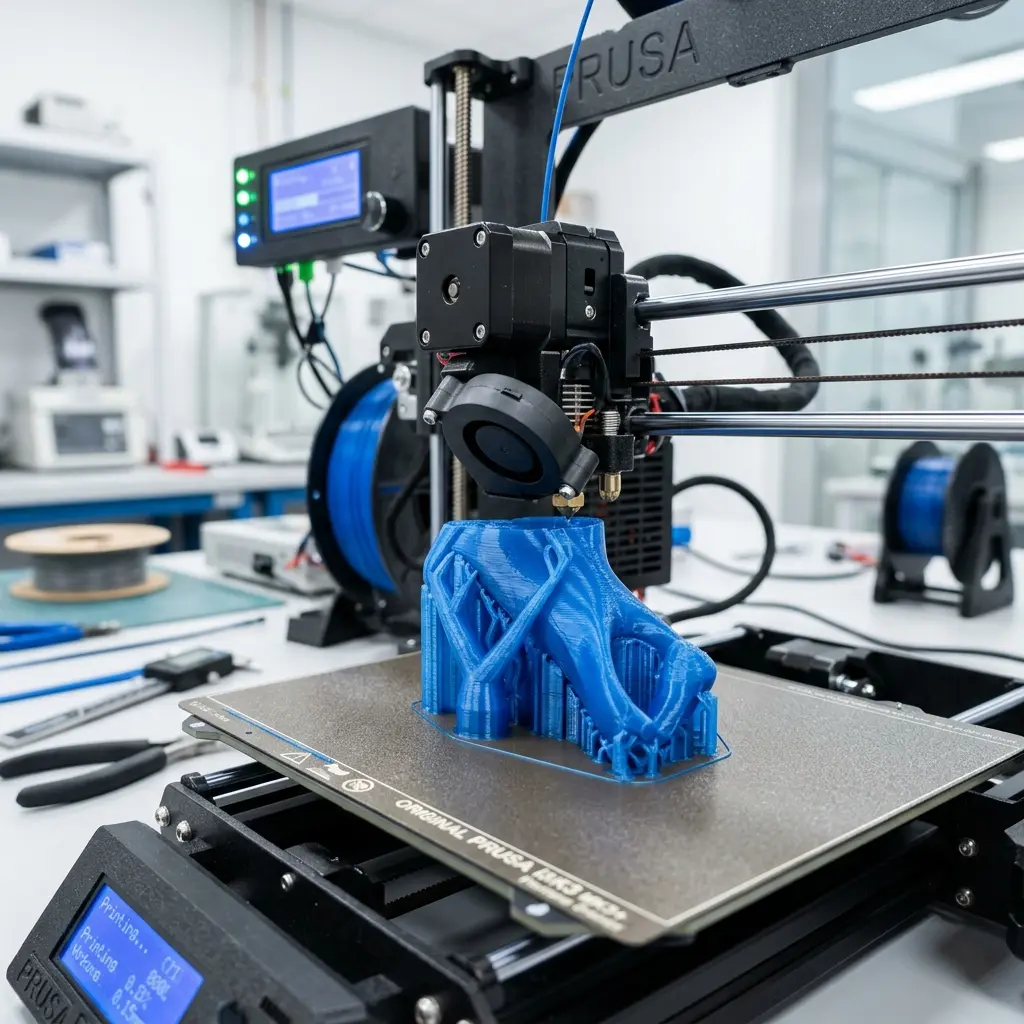
Common Issues and Troubleshooting
Even with the correct settings, issues may arise during printing. Common problems include poor adhesion, uneven skirt lines, or filament jams.
Adhesion problems can often be solved by ensuring the print bed is clean and properly leveled. Regular maintenance of the printer and its components can also prevent jams and clogs.
| Feature | PLA | ABS | PETG |
|---|---|---|---|
| Temperature Range | 180-220°C | 210-250°C | 220-250°C |
| Bed Adhesion | Moderate | High | Good |
| Post-Processing | Easy | Moderate | Easy |
Advanced Skirt Settings
In addition to the basic skirt configurations, PrusaSlicer provides advanced options to fine-tune the skirt's behavior. These settings can be found under the advanced section of the skirt settings.
Options such as "Skirt Loop" and "Skirt Distance from Object" can be adjusted for specific requirements. The skirt loop option allows for creating a closed loop around the model, which can be beneficial for certain types of prints.
Checklist for Setting Up a Skirt
- Ensure the 3D model is correctly oriented and positioned.
- Verify the selected filament type and its corresponding settings.
- Check bed leveling and nozzle height before slicing.
- Adjust skirt settings according to print requirements.
- Review the sliced model in the preview mode.
- Perform a test print with the skirt settings before starting the final print.
Frequently Asked Questions
What is the purpose of a skirt in 3D printing?
A skirt is used to prime the nozzle before printing the actual model, ensuring a smooth flow of filament throughout the print process.
How can I improve adhesion when using a skirt?
Improving adhesion can be achieved by ensuring the print bed is clean, leveled, and using the appropriate bed surface material for the filament type.
What are the recommended skirt settings for different filaments?
The recommended skirt settings vary by filament but generally include one to three outlines and a distance of 5-10mm from the model.
Can a skirt help with nozzle clogs?
Yes, a skirt can assist in purging the nozzle, reducing the likelihood of clogs by ensuring that the filament flows freely before the main print starts.
Why is calibration so important before printing?
Calibration ensures that the printer is set up correctly, which helps improve print quality and reduces the chances of failed prints.
Best Practices for Skirt Configuration
Implementing best practices can enhance the effectiveness of the skirt. Always use a clean print bed to prevent contamination of the first layer.
Consider the environment where the printer is located. Drafts or sudden temperature changes can affect adhesion, so ensure a stable environment.
Skirt vs. Brim vs. Raft
Understanding the differences between a skirt, brim, and raft can help in selecting the right option for your print. A skirt is primarily for priming the nozzle, while a brim increases adhesion by extending the first layer.
A raft serves as a base for the model, providing stability but consuming more filament. Evaluate the needs of your specific print to choose the most suitable option.
Conclusion
Setting up a skirt in PrusaSlicer is a straightforward process that can significantly affect print quality. By understanding the purpose of a skirt and following the configuration steps outlined, users can ensure successful prints.
Regular calibration and proper maintenance of the printer will further enhance the printing experience. Utilize the guidelines and troubleshooting tips provided to address common issues effectively.




