How to Scan Multiple Pages Into a Single PDF Document Using HP Deskjet Printer
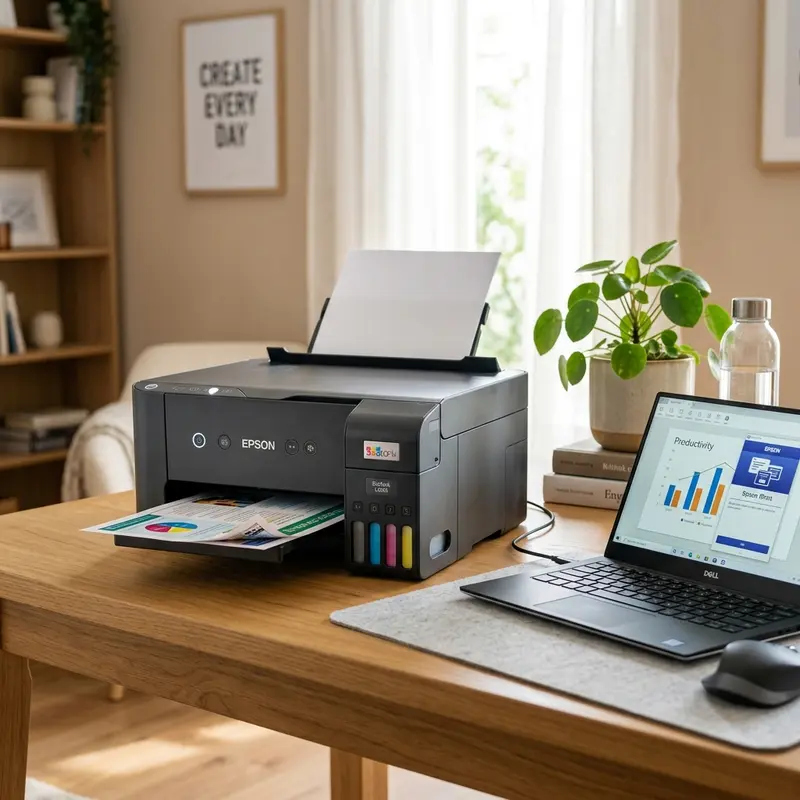
Scanning multiple pages into a single PDF document can seem daunting, especially if your printer lacks an Automatic Document Feeder (ADF). However, with HP Deskjet printers, particularly the HP 2700, 2300, and 3700 series, this task can be accomplished with relative ease using the HP Smart app. This guide will walk you through the step-by-step process, ensuring that you can efficiently digitize your documents without hassle.
HP Deskjet printers are compact, versatile, and user-friendly, making them an excellent choice for home and small office environments. However, scanning multiple pages requires a specific approach when working with flatbed glass scanning. In this guide, we’ll cover how to properly scan each page and combine them into a single PDF document, providing all the necessary details to streamline your workflow.
Understanding Your HP Deskjet Printer
Before diving into the scanning process, it's essential to familiarize yourself with the features of your HP Deskjet printer. These models are designed to handle various tasks, including printing, scanning, and copying. The flatbed scanner is particularly useful for scanning documents that are not suitable for ADF, such as fragile or irregularly sized pages.
Key Features of HP Deskjet Printers
- Flatbed Scanner: Ideal for scanning various document types, from standard letter-sized pages to photographs.
- HP Smart App: A powerful tool that allows you to manage printing and scanning tasks from your computer or mobile device.
- Wireless Connectivity: Easily connect your printer to your home Wi-Fi network to scan and print from anywhere.
Step-by-Step Scanning Process
Now that you have a clear understanding of your printer's capabilities, let’s move on to the actual scanning process. Below are the detailed steps to scan multiple pages into a single PDF document:
Step 1: Position Your First Page
Begin by preparing the first page you wish to scan. Make sure it is clean and free of any obstructions.
- Open the scanner lid of your HP Deskjet printer.
- Place the first page face-down on the flatbed glass, aligning it with the top left corner for accurate scanning.
Step 2: Launch the HP Smart App
To initiate the scanning process, you need to open the HP Smart app on your device. This app is compatible with Windows, Mac, and mobile platforms.
- Open the HP Smart app on your computer or mobile device.
- If prompted, select your HP Deskjet printer from the list of available devices.
Step 3: Start Scanning
Once the HP Smart app is open, you can begin scanning your document.
- Tap the “Scan” button in the app.
- Choose the appropriate scan settings, such as document type (select “Document” for text pages) and resolution.
Step 4: Add More Pages
After scanning the first page, you can easily add more pages to your document.
- Click the “+ Add Pages” button in the app.
Step 5: Replace the Page on the Flatbed
Now it’s time to scan the next page.
- Remove the first page from the flatbed scanner.
- Place the second page face-down on the flatbed glass, aligning it as before.
Step 6: Scan Additional Pages
Continue adding pages to your document using the same method.
- Repeat the scanning process for each additional page.
Step 7: Review Scanned Pages
After you have scanned all pages, it’s essential to review the order of the scanned thumbnails.
- Check the thumbnails in the HP Smart app to ensure they are in the correct order.
Step 8: Export as PDF
Finally, you can export your scanned pages into a single PDF file.
- Click the “Save” or “Export” option in the app.
- Select “PDF” as the file format.
- Choose a destination folder on your device and name your file.
Your multi-page PDF is now ready!
DomineTec Tech Tip: Always double-check the alignment of your pages on the flatbed scanner. Misalignment can lead to cropped images or incomplete scans.
Troubleshooting Common Issues
While scanning, you may encounter some common issues. Here are solutions to help you resolve them:
Issue 1: Scanned Pages Are Not in Order
If your scanned pages appear out of order, you can rearrange them in the HP Smart app before exporting.
Issue 2: Poor Scan Quality
Ensure that the scanner glass is clean and free from smudges. Adjust the resolution settings in the app for better quality.
Issue 3: Pages Are Cut Off
Check the alignment of the pages on the flatbed glass. Make sure they are positioned correctly.
Issue 4: Unable to Save as PDF
If the option to save as PDF is unavailable, ensure that the latest version of the HP Smart app is installed.
Issue 5: Connectivity Issues
If your printer is not connecting, check your Wi-Fi settings and ensure the printer is connected to the same network as your device.
Optimizing Your Scanning Settings
To ensure the best results when scanning documents, it’s crucial to adjust your settings based on the type of document you are scanning. Here’s how you can optimize your scanning settings for different scenarios:
Document Types and Settings
Selecting the right settings can dramatically improve your scan quality. Here are some recommendations:
- Text Documents: Use a resolution of 300 DPI (dots per inch) and select the “Document” option in the app. This setting ensures clear text and readable scans.
- Photographs: For photos, increase the resolution to 600 DPI for better detail. Choose the “Photo” setting to capture colors accurately.
- Color Documents: If scanning color documents, ensure the color option is enabled. This is particularly important for documents with charts or images.
Saving Your Scans
When saving your scans, consider the following:
- Choose the appropriate file format: PDF for documents, JPEG for images, and PNG for images that require transparency.
- Organize your files in clearly labeled folders to make them easy to find later. Consider including dates or topics in the folder names.
- Regularly back up your scanned documents to a cloud service or external drive to prevent data loss.
HP Deskjet Model Comparison
Below is a comparison table of popular HP Deskjet models to help you understand their features:
| Model | Printing Technology | Scanning Type | Wireless Connectivity | Recommended Monthly Volume |
|---|---|---|---|---|
| HP Deskjet 2700 | Inkjet | Flatbed | Yes | 300 pages |
| HP Deskjet 2300 | Inkjet | Flatbed | Yes | 300 pages |
| HP Deskjet 3700 | Inkjet | Flatbed | Yes | 300 pages |
| HP Deskjet 4100 | Inkjet | Flatbed | Yes | 400 pages |
| HP Deskjet 6000 | Inkjet | Flatbed | Yes | 500 pages |
Internal Resources
For further reading and resources, check out our articles on setting up the HP Smart app and troubleshooting common HP Deskjet printer issues.
Advanced Scanning Techniques
For users looking to enhance their scanning experience with the HP Deskjet series, several advanced techniques can help you achieve better results. These methods can be particularly useful for professionals who require high-quality scans for presentations or archival purposes.
Utilizing OCR (Optical Character Recognition)
Optical Character Recognition (OCR) technology allows you to convert scanned documents into editable text. Here's how to utilize OCR:
- Ensure that you have OCR software installed on your computer. Many PDF readers and scanning software options include this feature.
- After scanning your document, save it as a PDF.
- Open the PDF file in your OCR software.
- Select the option to perform OCR on the document. Follow the prompts to convert the scanned document into editable text.
This is particularly useful for documents that require editing or when you need to extract specific information without retyping.
Batch Scanning for Large Projects
If you're working on a project that requires scanning multiple documents, consider batch scanning to save time. Here’s how:
- Group your documents by size and type to streamline the scanning process.
- Scan several pages in one go by using the “Add Pages” feature in the HP Smart app.
- Label each batch clearly in your file system to maintain organization as you work through larger projects.
Batch scanning reduces the time spent on repetitive tasks and helps maintain a steady workflow.
Enhancing Image Quality Post-Scan
If you find that your scans require enhancement after the fact, consider using image editing software. Here’s a basic guide:
- Open your scanned image in an image editing software like Adobe Photoshop or GIMP.
- Adjust brightness and contrast to enhance visibility.
- Use the sharpening tool to clarify text and edges.
- Save your enhanced image in your preferred format.
This allows for professional-quality scans that are suitable for presentation or archival purposes.
Best Practices for Document Preservation
When scanning documents, especially important ones, it's crucial to follow best practices to ensure their preservation. Here are some tips:
Handling Physical Documents
Before scanning, ensure that your physical documents are in optimal condition:
- Repair any tears or folds with archival tape to prevent further damage during scanning.
- Handle documents with clean hands to avoid transferring oils and dirt.
- Store documents in a controlled environment, avoiding direct sunlight and high humidity.
Post-Scanning Storage
Once you've scanned your documents, consider how you will store the digital copies:
- Use a reliable cloud storage service to keep copies safe from local hardware failures.
- Consider using a file naming convention that includes the date and type of document for easier organization.
- Regularly back up your files to an external hard drive or another secure location.
These practices will help ensure that your digital documents remain accessible and well-preserved for future use.
Frequently Asked Questions (FAQ)
1. Can I scan both sides of a document using my HP Deskjet printer?
The HP Deskjet series does not support duplex scanning. You will need to manually flip the documents over and scan the reverse side separately.
2. What file formats can I save my scanned documents in?
You can save your scanned documents in various formats, including PDF, JPG, and PNG, depending on your preferences and needs.
3. How do I clean the scanner glass?
To clean the scanner glass, use a soft, lint-free cloth and a gentle glass cleaner. Make sure to unplug the printer before cleaning.
4. Is the HP Smart app available for mobile devices?
Yes, the HP Smart app is available for both Android and iOS devices, allowing you to scan and manage print jobs from your smartphone or tablet.
5. How do I update my HP Smart app?
To update the HP Smart app, visit the app store on your device, search for HP Smart, and select the update option if available.






