How to Scan Multiple Pages Into a Single PDF Document Using Epson L3250 Printer
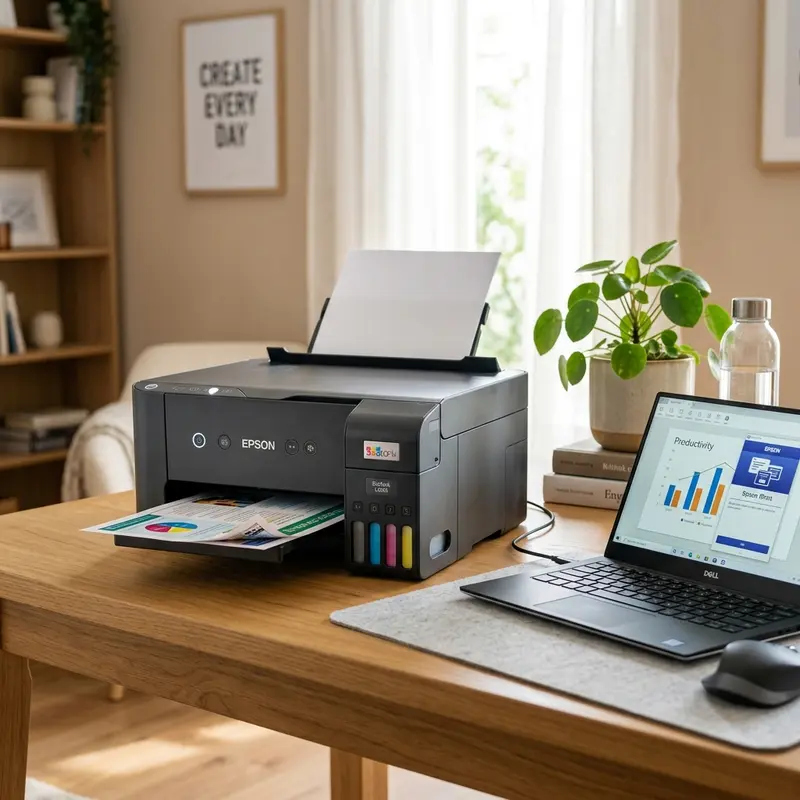
In today's fast-paced digital world, the ability to efficiently scan and organize documents is crucial. Many professionals, students, and home users find themselves needing to convert multiple physical pages into a single PDF document. This not only streamlines document management but also facilitates sharing and archiving. If you own an Epson EcoTank L3250 or L3150 printer, you are in luck! This comprehensive guide will walk you through the process of scanning multiple pages into one PDF document step-by-step.
Using the Epson Scan 2 software and the features of your EcoTank printer, you can easily create multi-page PDF files that are perfect for both personal and professional use. Whether you are scanning contracts, reports, or school assignments, this tutorial will cover everything you need to know to get started.
Understanding Your Epson L3250 Printer
The Epson EcoTank L3250 is an all-in-one printer that not only provides high-quality printing but also offers efficient scanning and copying capabilities. With its integrated ink tank system, this printer is designed for high-volume printing without the hassle of frequent cartridge replacements. Knowing the features of your printer will help you make the most of its scanning capabilities.
Key Features of the Epson EcoTank L3250
- All-in-one functionality: Print, scan, and copy with a single device.
- High-volume printing: Equipped with a large ink tank system for extended printing sessions.
- Wireless connectivity: Easily connect and print from your smartphone, tablet, or computer.
- User-friendly interface: Simple controls and LCD display for easy navigation.
- High-quality scanning: Capable of scanning at high resolutions for clear document reproduction.
Method 1: Scanning Multiple Pages Using Epson Scan 2 Desktop Utility
The Epson Scan 2 software is a versatile tool for managing your scanning tasks. In this section, we will detail the steps required to scan multiple pages into a single PDF document using the Epson Scan 2 utility.
Step 1: Prepare Your Document
Begin by gathering the physical pages you wish to scan. Ensure that they are free from staples, paper clips, or any other obstructions that might hinder the scanning process. Place the first page face-down on the scanner glass of the Epson L3250.
Step 2: Open Epson Scan 2
Launch the Epson Scan 2 application on your computer. If you haven't installed it yet, download it from the official Epson website and follow the installation instructions.
Step 3: Select PDF as the Image Format
In the Epson Scan 2 interface, locate the 'Image Format' dropdown menu. Select 'PDF' as the format for your scan. This setting ensures that your scanned pages will be compiled into a single PDF document.
Step 4: Configure Multi-Page Options
Click on the 'Options' button next to the Image Format selection. A new window will open, allowing you to configure various scanning options. Look for the 'Multi-Page PDF' option and enable it. Additionally, you may wish to enable the 'Add Page Prompt' feature to facilitate the scanning of subsequent pages.
Step 5: Initiate the Scanning Process
Once the options are configured, click on the 'Scan' button to begin the scanning process. The printer will scan the first page and prompt you for the next action.
Step 6: Add Additional Pages
After the first page has been scanned, you will see a prompt asking if you want to add another page. Swap the first page with the next page you wish to scan. Click the 'Add Page' button to continue.
Step 7: Repeat for Remaining Pages
Continue this process for all remaining pages. Each time you scan a new page, the software will compile it into the same PDF document.
Step 8: Save Your Final PDF Document
Once you have scanned all the pages, click the 'Save File' button. You will be prompted to choose a location on your computer to save the compiled PDF document. Name your file accordingly and click 'Save' to finalize.
Method 2: Scanning Multiple Pages Using the Epson Smart Panel App
If you prefer using mobile devices, the Epson Smart Panel app offers a convenient way to scan multiple pages into a single PDF document directly from your smartphone or tablet. This section will guide you through the process.
Step 1: Download and Install Epson Smart Panel
First, ensure that you have the Epson Smart Panel app installed on your device. It is available for both iOS and Android platforms. You can find it in the App Store or Google Play Store.
Step 2: Connect Your Device to the Printer
Open the Epson Smart Panel app and connect it to your Epson L3250 printer. Ensure that both devices are on the same Wi-Fi network for seamless communication.
Step 3: Select the Scanning Option
In the app, navigate to the scanning section. Choose the option to scan documents, and you will be presented with various scanning settings.
Step 4: Choose PDF Format
Similar to the desktop software, select 'PDF' as your desired scanning format. This ensures that all pages scanned will be combined into one PDF document.
Step 5: Configure Multi-Page Settings
Look for the multi-page scanning feature within the app. Enable the option that allows you to scan multiple pages into a single PDF file. This may be labeled as 'Multi-Page' or 'Combine Pages'.
Step 6: Begin Scanning
Place the first page face-down on the scanner glass and tap the 'Scan' button in the app. The printer will scan the page and prompt you to add more pages.
Step 7: Add More Pages
As with the desktop method, after scanning the first page, you will be prompted to add the next page. Replace the scanned page with the next document and select 'Add Page' to continue scanning.
Step 8: Finalize and Save Your PDF
Once all pages have been scanned, the app will compile them into a single PDF document. Tap 'Save' to store the file on your device or share it through various platforms directly from the app.
Comparison of Scanning Methods
| Feature | Epson Scan 2 | Epson Smart Panel | Ideal For | Ease of Use |
|---|---|---|---|---|
| Platform | Desktop | Mobile | Office/Professional | Intermediate |
| Multi-Page Capability | Yes | Yes | Students | Easy |
| File Format Options | PDF, JPEG, TIFF | PDF, JPEG | Home Users | Simple |
| Image Quality | High | High | Document Management | Intuitive |
| Device Connectivity | USB/Wi-Fi | Wi-Fi | Remote Workers | Friendly |
DomineTec Tech Tip: Always ensure your printer's firmware and software are up to date for the best performance and compatibility with scanning tasks.
Advanced Troubleshooting for Scanning Issues
Even with the best equipment, problems can occasionally arise during the scanning process. Below are some common issues you might encounter while scanning multiple pages with your Epson EcoTank L3250 and their solutions.
Issue 1: Scanner Not Recognized by Computer
If your scanner is not being recognized by your computer or the Epson Scan 2 software, try the following:
- Check Connections: Ensure that the USB cable is firmly connected to both the printer and the computer. If using Wi-Fi, confirm that both devices are connected to the same network.
- Restart Devices: Restart both your printer and your computer. This can often resolve temporary connectivity issues.
- Update Drivers: Visit the Epson website and check for the latest drivers for your printer model. Download and install any updates that are available.
- Firewall Settings: Sometimes, firewall settings can block communication between your printer and computer. Temporarily disable the firewall to see if this resolves the issue.
Issue 2: Poor Scan Quality
If your scanned documents appear blurry or have poor quality, consider these fixes:
- Clean Scanner Glass: Dust and smudges on the scanner glass can affect scan quality. Use a soft, lint-free cloth and a gentle glass cleaner to wipe the glass surface.
- Adjust Settings: Check the resolution settings in the Epson Scan 2 software. Higher resolution settings (like 300 DPI) will yield better quality scans but will result in larger file sizes.
- Check Document Condition: Ensure that the pages you are scanning are not wrinkled, torn, or stained, as this can affect the output quality.
Issue 3: Scanning Takes Too Long
If you find that the scanning process is taking longer than expected, consider the following:
- Check Scanner Settings: If you are scanning at a very high resolution or using color scanning, this can extend the scanning time. Adjusting these settings can help speed up the process.
- Limit Page Count: If scanning a large number of pages, consider breaking them into smaller batches to reduce scanning time and improve efficiency.
- Ensure No Background Processes: Close unnecessary applications on your computer that may be using resources and slowing down the scanning process.
Tips for Efficient Scanning and File Management
To maximize your productivity when scanning documents, consider the following practical tips:
Tip 1: Organize Documents Before Scanning
Before starting the scanning process, organize your documents in the order you wish to scan them. This saves time and ensures that your final PDF is in the correct sequence.
Tip 2: Use Batch Scanning Wisely
Take advantage of batch scanning features to scan multiple pages at once. This feature is especially useful for lengthy documents or reports. Ensure that the scanner settings are adjusted for speed and efficiency.
Tip 3: Regularly Clean the Scanner
Regular maintenance of your scanner will ensure optimal performance. Clean the scanner glass and the automatic document feeder (ADF) if applicable to prevent dust and debris from affecting scan quality.
Tip 4: Backup Scanned Documents
Always back up your scanned documents to a cloud storage service or an external hard drive. This protects your important files from accidental loss and ensures they are easily accessible.
Enhancing Your Scanning Workflow with Automation
Incorporating automation into your scanning process can significantly improve efficiency, especially for businesses or individuals dealing with large volumes of documents. Here’s how to set up a more automated scanning workflow.
Step 1: Use Optical Character Recognition (OCR)
Optical Character Recognition (OCR) technology allows you to convert scanned documents into editable and searchable text. To use OCR, ensure that your scanning software supports this feature. Here's how to enable it:
- Open the Epson Scan 2 software and go to the settings.
- Look for the OCR option and enable it before you start scanning.
- Scan your documents as you normally would. The software will convert images into text during the scanning process.
Step 2: Set Up Automatic File Naming
To keep your scanned documents organized, you can set up automatic file naming conventions. This can be done in the scanning settings:
- In the Epson Scan 2 software, navigate to the file naming options.
- Choose a format that includes the date, document type, or other relevant identifiers. For example, "YYYY-MM-DD_DocumentType_PageNumber.pdf".
- Save your settings so that future scans automatically follow this naming convention.
Step 3: Integrate with Document Management Systems
If you use a document management system, check if your scanner can directly integrate with it. This allows for seamless uploading of scanned documents, reducing the time spent managing files. Here's how to set it up:
- Consult your document management system’s documentation for integration options.
- Follow the setup instructions to connect your Epson printer directly to the system.
- Test the integration by scanning a document and ensuring it uploads correctly to the document management system.
Optimizing Your Scanning Environment
Creating the right environment for scanning can greatly impact the efficiency and quality of your scanned documents. Here are some tips to optimize your scanning space.
Step 1: Ensure Proper Lighting
Good lighting can help minimize shadows and ensure that documents are scanned clearly. If you are using a flatbed scanner, ensure that there’s no direct light hitting the scanner glass, which can create glare. Soft, diffused lighting works best.
Step 2: Maintain a Clean Workspace
A clutter-free workspace can help you stay organized and focused during the scanning process. Designate a specific area for scanning where all necessary materials (documents, folders, labels) are easily accessible. This will help you process documents more swiftly.
Step 3: Manage Cable Clutter
Ensure that all cables (power, USB, etc.) are neatly organized to avoid tripping hazards and accidental disconnections. Use cable ties or organizers to keep everything tidy and functional.
Frequently Asked Questions (FAQ)
1. Can I scan documents double-sided with the Epson L3250?
Yes, the Epson L3250 supports double-sided scanning. Ensure that you select the duplex option in the scanning settings to scan both sides of the page in one go.
2. What if my scanned PDF file is too large?
If your scanned PDF file is larger than expected, consider adjusting the scan resolution or using the 'Compress PDF' feature in the Epson software to reduce file size.
3. Is the Epson Scan 2 software compatible with Windows and macOS?
Yes, Epson Scan 2 is compatible with both Windows and macOS operating systems. Ensure that you download the correct version for your OS from the Epson website.
4. How can I improve scan quality?
To enhance scan quality, ensure that the scanner glass is clean and free from dust or smudges. Additionally, using a higher resolution setting can also improve the clarity of your scans.
5. Can I scan documents directly to cloud storage?
Yes, you can scan documents directly to cloud storage services like Google Drive or Dropbox using the Epson Smart Panel app by selecting the appropriate cloud option during the save process.






