How to Scan Documents Directly to PDF Using Epson Printer Utility
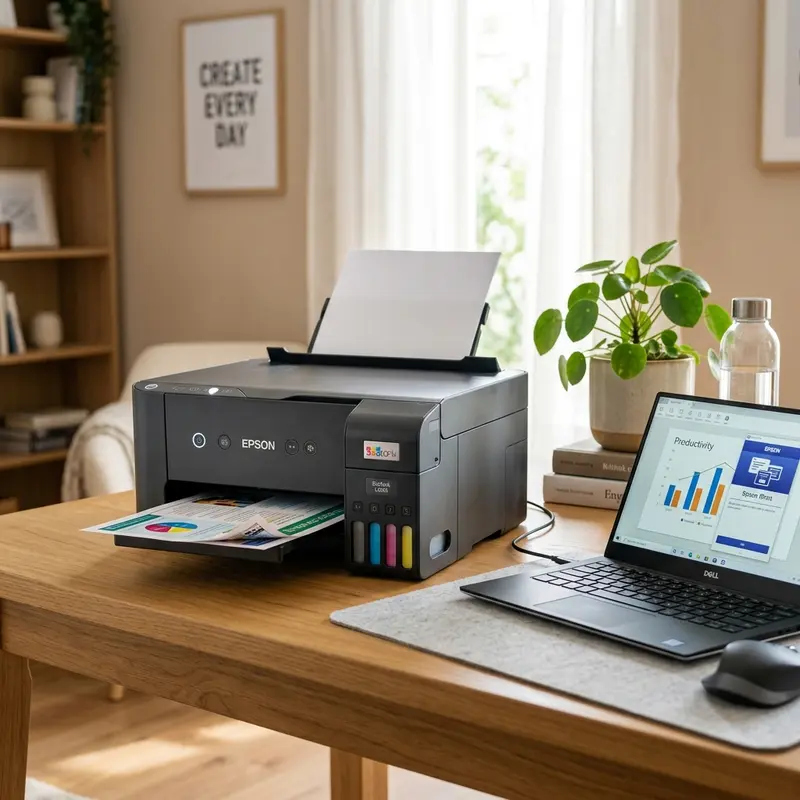
In our increasingly digital world, the ability to convert physical documents into electronic formats has become essential. If you own an Epson EcoTank printer, specifically models like the L3250, L3150, L4260, or L3210, you're in luck. This guide will walk you through the step-by-step process of scanning documents directly to PDF format, allowing for easy storage, sharing, and organization. Whether you prefer using desktop software, mobile apps, or the printer's built-in functionalities, we’ll cover all the methods to suit your preferences.
Scanning documents to PDF format not only preserves the content but also enhances accessibility and searchability. From contracts and invoices to receipts and photographs, converting these documents into PDFs can save you a lot of time and hassle down the line. With Epson's robust scanning utilities, you can effortlessly create high-quality PDFs. Let’s dive into the various methods available.
Method 1: Using Epson Scan 2 Desktop Application
The Epson Scan 2 application is a powerful tool that allows you to scan documents directly to PDF format on your computer. This section will provide a detailed guide on how to utilize this software effectively.
Step 1: Install Epson Scan 2
Before you can start scanning, ensure you have the Epson Scan 2 application installed on your computer. Follow these steps:
- Visit the Epson Support Website.
- Search for your printer model.
- Download the latest version of the Epson Scan 2 application compatible with your operating system.
- Run the installer and follow the on-screen instructions to complete the installation.
Step 2: Launch Epson Scan 2
Once installed, launch the Epson Scan 2 application:
- Open the application from your desktop or start menu.
- Ensure your printer is turned on and connected to the same network as your computer.
- In the application, select your printer from the drop-down menu.
Step 3: Configure Scan Settings
Configuring the right settings is crucial for obtaining the best scan quality:
- In the main interface, select Mode: Document Mode.
- Set Image Type: Color or Grayscale, depending on your document.
- Select Resolution: 300 DPI, which is ideal for text documents.
- Choose Image Format: PDF.
Step 4: Place Your Document
Now it’s time to prepare your document for scanning:
- Open the document feeder or scanner lid.
- Place your document face down on the scanner glass or in the document feeder.
- Close the lid securely.
Step 5: Start Scanning
With everything in place, proceed to scan:
- Click the Scan button in the Epson Scan 2 interface.
- Wait for the scanning process to complete. You will see a progress bar indicating the status.
- Once finished, the scanned document will be saved as a PDF in your selected location.
Step 6: Review Your PDF
After scanning, it’s essential to review the PDF:
- Navigate to the folder where you saved the file.
- Open the PDF using any PDF viewer.
- Check the quality and ensure all content is legible.
Method 2: Mobile Scanning via Epson Smart Panel App
If you prefer to scan documents using your smartphone or tablet, the Epson Smart Panel app is an excellent alternative. This method is perfect for those on the go.
Step 1: Install Epson Smart Panel
Start by downloading the Epson Smart Panel app:
- Visit the Epson Smart Panel page in your mobile device’s app store.
- Download and install the application.
Step 2: Connect Your Device
Ensure your mobile device is on the same Wi-Fi network as your Epson printer:
- Open the Epson Smart Panel app.
- Select your printer from the available devices.
Step 3: Select Scan Option
Navigate to the scanning features:
- In the app, tap on the Scan option.
- Choose the type of document you want to scan.
Step 4: Adjust Scan Settings
Configure the scan settings within the app:
- Select Image Type: Color or Grayscale.
- Set Resolution: 300 DPI for optimal quality.
- Choose Save as: PDF.
Step 5: Scan Your Document
Now you’re ready to scan:
- Place your document in the scanner.
- Tap the Scan button in the app.
- Wait for the scan to complete.
Step 6: Save and Share
Once the scan is complete:
- Name your file and select a save location.
- Share the PDF via email or other applications directly from the app.
Method 3: Direct Push-Button Scanning from Printer Control Panel
If you prefer a more hands-on approach, you can scan directly from your printer using its control panel. This method is straightforward and doesn't require a computer or mobile device.
Step 1: Prepare Your Document
Just like before:
- Open the scanner lid or document feeder.
- Place your document on the scanner glass or in the feeder.
- Close the lid securely.
Step 2: Select Scan Option
Using the printer’s control panel:
- Press the Home button.
- Navigate to the Scan option using the arrow keys.
Step 3: Choose Destination
Choose where you want to send the scanned document:
- Select Scan to PC or Scan to PDF, depending on your model.
Step 4: Start Scanning
Initiate the scan:
- Press the Scan button on the printer.
- Wait for the scan process to finish.
Step 5: Access Your Scanned Document
Finally, check your computer for the scanned PDF:
- Navigate to the designated folder on your PC.
- Open the scanned PDF to ensure quality.
Recommended DPI Settings
Choosing the right DPI (dots per inch) is crucial for scan quality. Here's a quick reference table to aid in your decisions:
| Document Type | Recommended DPI | Purpose | File Size | Scan Time |
|---|---|---|---|---|
| Text Documents | 300 DPI | Searchable PDFs | Medium | Quick |
| Photographs | 600 DPI | High-quality prints | Large | Longer |
| Receipts | 300 DPI | Archival purposes | Small | Quick |
| Artwork | 1200 DPI | Digital preservation | Very Large | Longest |
| Business Cards | 300 DPI | Digital storage | Small | Quick |
DomineTec Tech Tip: For best results, always perform a test scan first to ensure that your settings are optimal for the document you are scanning.
Epson Scan Settings Lookup Table
Understanding the various settings available in Epson Scan 2 can help you customize your scanning experience:
| Setting | Description | Default Value | Recommended Value | Notes |
|---|---|---|---|---|
| Document Mode | Optimizes settings for document scanning | Document | Document | Best for text and simple graphics |
| Image Type | Select Color, Grayscale, or Black & White | Color | Grayscale | Use Grayscale for text-based documents |
| Resolution | DPI setting for scan quality | 200 DPI | 300 DPI | Higher DPI for detailed images |
| File Format | Format for saving scanned files | PDF recommended for text documents | ||
| Multi-Page | Setting to scan multiple pages | Off | On | Use for contracts or forms |
Advanced Troubleshooting for Scanning Issues
Even with reliable equipment like the Epson EcoTank, you may encounter issues while scanning. Here’s a systematic approach to troubleshooting common problems:
1. Scanner Not Responding
If your scanner appears unresponsive, follow these steps:
- Check the power connection to ensure the printer is turned on.
- Verify that the USB or network connection is secure.
- Restart the Epson printer and your computer.
- Reinstall the Epson Scan 2 application if the problem persists.
2. Poor Scan Quality
If your scans appear blurry or pixelated, consider the following:
- Ensure the scanner glass is clean and free from dust or smudges.
- Adjust the resolution settings; increase DPI for better quality.
- Check if the document is placed correctly on the scanner.
- Try scanning a different document to see if the issue persists.
3. Unable to Scan Multiple Pages
If you’re having trouble scanning multiple pages into one PDF, follow these tips:
- Ensure the Multi-Page setting is enabled in the scan options.
- Check the document feeder for jams or misalignment.
- Use the recommended paper type that is compatible with the printer’s feeder.
Practical Tips for Efficient Scanning
Maximizing efficiency during your scanning process can save you time and improve overall output. Here are some practical tips:
1. Organize Your Documents
Before scanning, sort your documents into categories. This will streamline the scanning process, allowing you to adjust settings based on document type beforehand.
2. Use Batch Scanning
If you have multiple documents, consider using the batch scanning feature available in the Epson Scan 2 application. This allows you to scan several pages at once, saving time and effort.
3. Regular Maintenance
Maintain your printer by regularly cleaning the scanner glass and checking for updates for the Epson software. This ensures optimal performance and quality.
Best Practices for Document Preparation
Proper document preparation can significantly enhance the scanning process. Here’s how to prepare your documents effectively:
1. Remove Staples and Paper Clips
Before scanning, make sure to remove any staples or clips from your documents. These can cause paper jams in the scanner and may damage both the document and the scanner.
2. Flatten Creases and Folds
For best results, flatten out any creases or folds in your documents. This helps achieve a cleaner scan and prevents unwanted shadows or distortions.
3. Use the Right Paper Size
Ensure your documents are the correct size for your scanner. Most scanners can handle standard sizes like A4 or letter, so avoid using excessively large or small documents without adjusting settings accordingly.
Tips for Scanning in Different Environments
Scanning can vary greatly depending on your environment. Here are some tips to optimize your scanning in various settings:
1. Scanning in Bright Light
If you are scanning in a brightly lit area, ensure that the light does not create glare on the scanner glass. Position the scanner away from direct sunlight or use a light cover to mitigate reflections.
2. Scanning in Low Light
In low-light conditions, ensure that your documents are well illuminated. Use an external light source if necessary to avoid shadows that might distort the scanned image.
3. Keeping the Scanner in a Dust-Free Area
To maintain scan quality, keep the scanner in a dust-free environment. Dust can settle on the scanner glass and affect the clarity of your scans. Regularly clean the area around the scanner, and consider using a cover when it’s not in use.
Frequently Asked Questions (FAQ)
1. Can I scan documents without a computer?
Yes, you can scan documents directly from the printer’s control panel to a designated computer or email address without needing a computer nearby. Ensure your printer is connected to the same network as your mobile device or computer.
2. What is the best DPI for scanning text documents?
For text documents, a resolution of 300 DPI is typically recommended. This provides a good balance between file size and clarity.
3. Can I scan multiple pages into a single PDF?
Absolutely! Both the Epson Scan 2 application and the Epson Smart Panel app allow you to scan multiple pages into one PDF file. Just enable the multi-page setting before scanning.
4. Is it possible to scan documents in color?
Yes, you can scan documents in color by selecting the appropriate image type in your scanning settings. Make sure to choose Color as your image type when setting up your scan.
5. What should I do if my scanner is not recognized by my computer?
If your scanner is not recognized, ensure that it is connected to the same network as your computer. Restart both the printer and your computer, and check for any software updates for the Epson Scan 2 application.






