How to Connect Epson L3250 Printer to Wi-Fi Using Android Smartphone
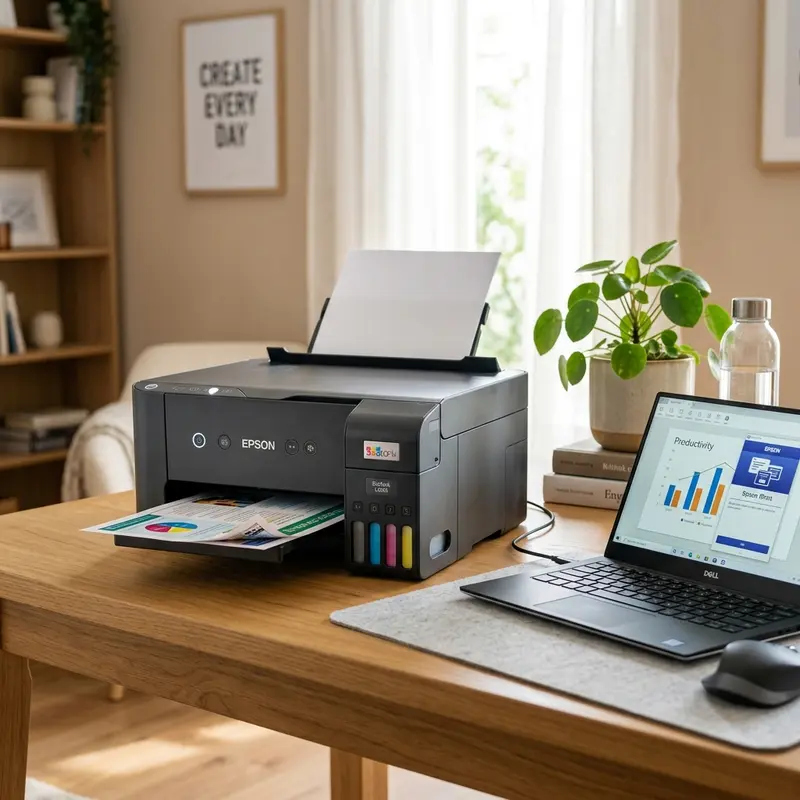
The Epson EcoTank L3250 is an all-in-one printer that not only offers high-quality printing but also provides the convenience of wireless connectivity. Connecting your printer to your home Wi-Fi network allows you to print documents and photos directly from your Android smartphone, making printing easy and efficient. This detailed guide will walk you through each step of the process to ensure a smooth setup.
In this tutorial, we will cover how to:
- Download the Epson Smart Panel App from Google Play.
- Grant necessary permissions on your Android device.
- Activate Wi-Fi setup mode on the Epson L3250 printer.
- Enter your Wi-Fi credentials.
- Print documents and photos directly from your Android smartphone.
Step 1: Download the Epson Smart Panel App
The first step in connecting your Epson L3250 to Wi-Fi is to download the Epson Smart Panel app from the Google Play Store. This app serves as a central hub for managing your printer and accessing its features.
1.1 Access Google Play Store
On your Android smartphone, locate and tap on the Google Play Store icon.
1.2 Search for Epson Smart Panel
In the search bar, type “Epson Smart Panel” and hit enter. Look for the app in the search results.
1.3 Install the App
Tap on the app and then select the “Install” button. Wait for the installation to complete.
Step 2: Grant Permissions to the App
Once the app is installed, you need to grant it the necessary permissions to function correctly. This includes location and Bluetooth permissions, which are essential for discovering your printer.
2.1 Open the Epson Smart Panel App
Tap on the Epson Smart Panel icon to open the app.
2.2 Allow Location Access
The app will prompt you to allow location access. Tap on “Allow” to enable this feature. This permission is crucial for the app to find nearby devices.
2.3 Enable Bluetooth
Similarly, the app may request Bluetooth access. Ensure that you grant this permission to enable easy connection to the printer.
Step 3: Activate Wi-Fi Setup Mode on the L3250
To connect your printer to Wi-Fi, you need to put it into Wi-Fi setup mode. This allows the printer to search for available Wi-Fi networks.
3.1 Locate the Wi-Fi and Wi-Fi Direct Buttons
On the front panel of the Epson L3250, find the Wi-Fi and Wi-Fi Direct buttons. These buttons are crucial for initiating the Wi-Fi setup mode.
3.2 Press and Hold the Buttons
Simultaneously press and hold the Wi-Fi and Wi-Fi Direct buttons until the LEDs on the printer start flashing alternately. This indicates that the printer is in Wi-Fi setup mode.
Step 4: Connect to Your Wi-Fi Network
Now that your printer is in Wi-Fi setup mode, it is time to connect it to your home Wi-Fi network.
4.1 Open the Epson Smart Panel App
Return to the Epson Smart Panel app on your Android device.
4.2 Select the Printer
The app should automatically detect your Epson L3250 printer. Tap on the detected printer name to proceed.
4.3 Choose Your Wi-Fi Network
The app will prompt you to select your Wi-Fi network from the list of available networks. Choose your home network.
4.4 Enter the WPA2 Wi-Fi Key
When prompted, enter your Wi-Fi password (WPA2 key) to connect the printer to your network. Ensure that the password is entered correctly to avoid connection errors.
Step 5: Confirm Connection
After entering your Wi-Fi credentials, the app will attempt to connect to the network. If successful, your printer will be connected to Wi-Fi.
5.1 Check LED Status
Check the LED indicators on the printer. If the Wi-Fi LED is lit, this confirms that the printer is connected to the network.
5.2 Test the Connection
To confirm that everything is functioning correctly, the app usually offers an option to print a test page. Select this option to ensure your printer is working properly.
Step 6: Print Photos and PDFs from Android
With your Epson L3250 now connected to Wi-Fi, you can easily print documents and photos directly from your Android smartphone.
6.1 Enable Epson Print Enabler
To print from your Android device, you need to enable the Epson Print Enabler plugin.
6.1.1 Open Android Settings
Go to your device’s Settings and tap on “Connected devices.”
6.1.2 Select Printing
Under the “Connected devices” menu, find “Printing” and tap on it.
6.1.3 Enable Epson Print Enabler
Toggle the switch next to “Epson Print Enabler” to enable it. This will allow your device to communicate with the Epson printer.
6.2 Print a Document or Photo
Now that everything is set up, you can print.
6.2.1 Open the Document or Photo
Open the document or photo you wish to print on your Android device.
6.2.2 Tap on the Print Option
Tap on the share icon and select “Print.”
6.2.3 Choose Your Printer
Select the Epson L3250 from the list of available printers and adjust settings as needed.
6.2.4 Print
Finally, tap on the “Print” button to send your document to the printer.
Step 7: Understanding Front Panel Shortcuts and Light Status
Familiarizing yourself with the front panel shortcuts and LED indicators can help you troubleshoot any issues during setup or operation.
| Button | Function | LED Status | Action | Notes |
|---|---|---|---|---|
| Power Button | Turns the printer on/off | Solid Green | Printer is on | Press to power on/off |
| Wi-Fi Button | Activates Wi-Fi setup | Flashing Green | Connecting to Wi-Fi | Hold until flashing |
| Wi-Fi Direct Button | Enables direct connection | Solid Blue | Wi-Fi Direct active | Use for direct printing |
| Cancel Button | Stops printing job | Flashing Red | Job canceled | Press to cancel print |
| Resume Button | Resumes paused job | Solid Green | Resuming print | Press to resume |
DomineTec Tech Tip: Always ensure your printer firmware is updated to the latest version. This can prevent connectivity issues and enhance functionality. Check the Epson website regularly for updates.
Advanced Troubleshooting Techniques
In some cases, you may encounter issues when connecting your Epson L3250 to your Wi-Fi network. Here are some advanced troubleshooting techniques to resolve potential problems.
1. Check Network Compatibility
The Epson L3250 is compatible with 2.4 GHz networks. If your router is set to 5 GHz only, the printer will not be able to connect. Ensure that your network settings include the 2.4 GHz band.
2. Restart Your Devices
Sometimes, simply restarting your printer, router, and Android device can resolve connectivity issues. Power off each device, wait for about 30 seconds, and then power them back on.
3. Reconfigure Wi-Fi Settings
If you continue to experience problems, consider resetting the Wi-Fi settings on the printer. To do this, access the printer menu, navigate to 'Network Settings,' and choose 'Restore Network Settings.' After restoring, you will need to set up the Wi-Fi connection again.
Alternative Settings for Enhanced Functionality
For users looking to optimize their printing experience, consider exploring these alternative settings.
1. Use Wi-Fi Direct for Instant Printing
If you encounter persistent Wi-Fi issues, using Wi-Fi Direct may be a viable alternative. This allows you to connect your Android device directly to the printer without the need for a wireless router. To enable Wi-Fi Direct, press the Wi-Fi Direct button on the printer and connect your device using the credentials displayed on the printer's screen.
2. Set Up a Static IP Address
For more stable connectivity, especially in environments with multiple devices, setting a static IP address for your printer can help. Access your router settings and assign a static IP to the printer based on its MAC address. This ensures the printer always uses the same IP, minimizing connection disruptions.
3. Configure Printer Sharing
If you have multiple devices that need to access the printer, consider setting up printer sharing. This allows other devices on the network to print through a designated computer that is connected to the printer. Configure this through the printer settings on your computer and ensure that the necessary sharing permissions are enabled.
Long-term Care Tips for Your Epson L3250
Caring for your printer can significantly extend its lifespan and maintain print quality. Here are some tips for long-term care.
1. Regularly Clean the Print Head
To prevent clogs and ensure high-quality prints, perform regular cleaning of the print head. Most printers, including the Epson L3250, have a built-in cleaning function accessible through the control panel. Schedule this maintenance every few months or whenever you notice print quality issues.
2. Use Quality Ink and Paper
Always use genuine Epson ink and high-quality paper to achieve the best results. Third-party inks may not be compatible and can lead to print quality issues or damage to the printer.
3. Keep the Printer in a Suitable Environment
Ensure that your printer is placed in a dry, dust-free environment. Avoid locations with high humidity or extreme temperatures, as these conditions can affect the printer's performance and longevity.
Frequently Asked Questions (FAQ)
1. What should I do if my Epson L3250 does not connect to Wi-Fi?
If your printer fails to connect, ensure you’ve entered the correct Wi-Fi password. Also, check if your router is functioning properly and that the printer is within range of the network.
2. Can I print from my Android device without the Epson Smart Panel app?
While it is possible to print using other applications, the Epson Smart Panel app offers a more streamlined experience and better compatibility with the L3250 features.
3. How can I find my printer's IP address?
You can find the IP address by printing a network status sheet from the printer's control panel. This will provide you with all necessary network information.
4. What should I do if the printer is offline?
Check the connection between your printer and Wi-Fi network. Make sure the printer is powered on and connected to the same network as your Android device.
5. How do I reset my Epson L3250 to factory settings?
To reset your printer, navigate to the settings menu on the printer control panel, select 'Restore Default Settings,' and confirm the action.






