How to Clean Epson L3250 and L3150 Printheads: Step-by-Step
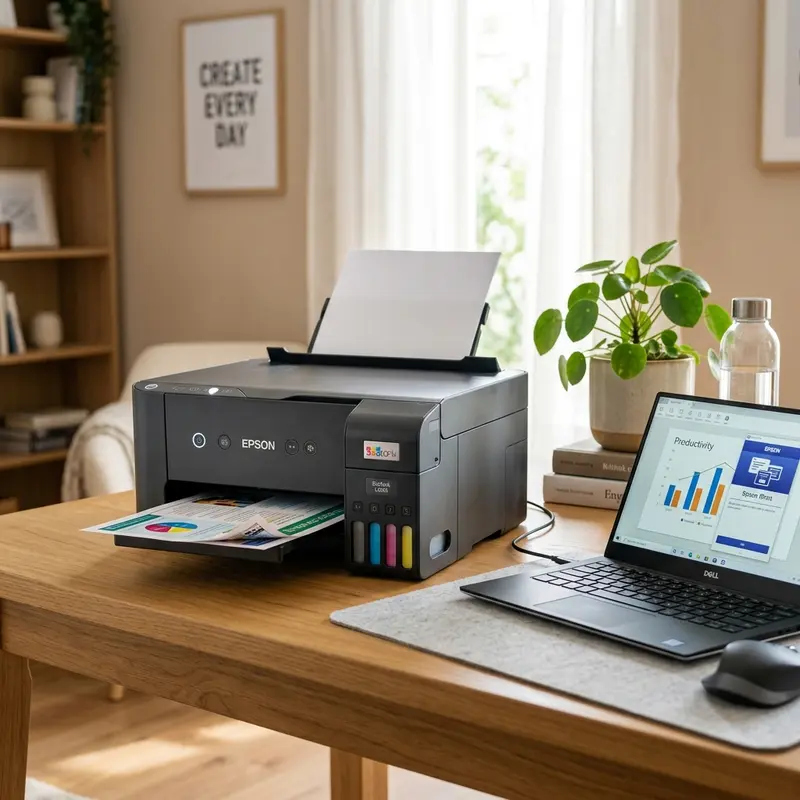
When your Epson EcoTank printer, such as the L3250 or L3150, starts producing prints with horizontal streaks, missing colors, or faded black text, it’s likely due to clogged printheads. This is a common issue among inkjet printers, especially when they haven’t been used for a while. Fortunately, cleaning the printheads is a straightforward process, and we’re here to guide you through it step by step.
In this comprehensive troubleshooting guide, we will cover various methods to clean the printheads on your Epson EcoTank series printers, including the L3250, L3150, L4260, L3210, and L1250. Whether you prefer using the control panel, utilizing the Epson Printer Utility software, or performing a more advanced Power Ink Flushing (Power Cleaning), you’ll find the necessary instructions here. Let’s dive in!
Symptoms of Clogged Printheads
Before we jump into the cleaning methods, it’s essential to identify the symptoms indicating that your printheads might be clogged. Common signs include:
- Horizontal streak lines in prints
- Missing colors in printed documents
- Faded or incomplete black text
Recognizing these issues early can save you time and help maintain the quality of your prints.
Method 1: Cleaning via Control Panel
Step-by-Step Instructions
- Make sure your printer is turned on and ready.
- Locate the Stop/Cancel button on your printer's control panel.
- Press and hold the Stop/Cancel button for about 5 seconds.
- Release the button. The printer will start the head cleaning process.
- Wait for the printer to complete the cleaning cycle. This may take a few minutes.
- After the cleaning is finished, print a nozzle check pattern to see if the issue is resolved.
Utilizing the control panel for cleaning is quick and does not require any software installation. However, if the problem persists, consider using the Epson Printer Utility.
Method 2: Epson Printer Utility for Windows or Mac
Using the Printer Utility
For a more thorough cleaning process, you can utilize the Epson Printer Utility, available for both Windows and Mac operating systems. Follow these steps:
- Ensure your printer is connected to your computer and turned on.
- Open the Epson Printer Utility on your computer.
- Select your printer model (L3250 or L3150) from the list.
- Navigate to the Nozzle Check option to check for clogged nozzles.
- If you detect any issues, proceed to the Head Cleaning option.
- Follow the prompts to initiate the head cleaning process.
- Once completed, print another nozzle check pattern to verify the cleaning effectiveness.
This method is beneficial as it allows you to assess the nozzle conditions before and after cleaning, ensuring that the process is effective.
Method 3: Power Ink Flushing (Power Cleaning)
When to Use Power Cleaning
If the previous methods haven’t resolved the clogging issue, it's time to use the Power Ink Flushing method. This technique is more intensive and is designed for stubborn clogs that regular cleaning cannot remove.
Steps for Power Ink Flushing
- Open the Epson Printer Utility on your computer.
- Select your printer model and navigate to the Power Cleaning option.
- Follow the on-screen instructions to begin the Power Cleaning process.
- Be aware that this method uses more ink than standard cleaning processes.
- Once complete, print a nozzle check pattern to determine if the issue has been resolved.
DomineTec Tech Tip: It’s recommended to limit the use of software cleaning methods to a maximum of three consecutive cycles. Doing more can lead to waste ink pad overflow and thermal strain on your printer.
Comparison of Cleaning Methods
| Method | Ease of Use | Ink Usage | Effectiveness | Time Required |
|---|---|---|---|---|
| Control Panel | Very Easy | Low | Moderate | 5-10 minutes |
| Epson Printer Utility | Easy | Moderate | High | 10-15 minutes |
| Power Cleaning | Moderate | High | Very High | 15-20 minutes |
| Manual Syringe Flushing | Advanced | Variable | Very High | 30+ minutes |
| No Cleaning | Easy | None | None | None |
Next Steps if Software Cleaning Fails
If all software cleaning methods fail to resolve the print quality issues, manual intervention may be necessary. One effective approach is syringe flushing, which involves using a syringe to manually inject cleaning solution into the printhead. This method requires precision and care but can often clear stubborn clogs that software methods cannot.
Manual Syringe Flushing Steps
- Obtain a syringe and a cleaning solution compatible with your printer.
- Turn off the printer and unplug it from the power source.
- Carefully remove the printhead from the printer (refer to your printer’s manual for instructions).
- Fill the syringe with the cleaning solution.
- Gently insert the syringe into the printhead’s ink inlet.
- Slowly inject the cleaning solution, allowing it to sit for a few minutes.
- After a short period, draw back the solution to see if any ink or debris is released.
- Reassemble the printer and run a nozzle check.
Keep in mind that performing manual cleaning can void warranties, so proceed with caution and consult your printer's documentation.
Advanced Troubleshooting Techniques
In addition to the standard cleaning procedures, there are advanced troubleshooting techniques that can help diagnose and resolve persistent print quality issues. Here are some methods worth considering:
1. Inspecting the Ink Cartridges
Sometimes, the issue may not be with the printhead but rather with the ink cartridges themselves. Follow these steps:
- Check the ink levels to ensure that you have enough ink in each cartridge.
- Remove the cartridges and inspect them for any signs of damage or blockages at the nozzles.
- Clean the contacts on the cartridges with a lint-free cloth to ensure a good connection.
- If you suspect a cartridge is faulty, consider replacing it with a new one.
Replacing old or damaged cartridges can often resolve print quality issues that cleaning alone cannot fix.
2. Performing a Printer Head Alignment
An alignment issue can cause poor print quality, even if the printheads are clean. To perform a head alignment:
- Access the printer settings through the control panel on your printer or via the Epson Printer Utility.
- Look for the option labeled Head Alignment or Print Head Alignment.
- Follow the on-screen instructions to print an alignment test page.
- Examine the printed alignment page and follow any adjustments suggested by the printer.
This process can help ensure that the printheads are correctly aligned, improving print quality.
3. Resetting the Printer
If all else fails, resetting your printer can sometimes resolve underlying software issues. Here’s how to reset your Epson printer:
- Turn off the printer and unplug it from the power source.
- Wait for about 5 minutes.
- Plug the printer back in and turn it on.
- Once the printer is powered on, navigate to the settings menu to perform a factory reset, if available.
A reset will clear any stored errors and can sometimes restore functionality.
Preventive Measures for Printhead Maintenance
Taking proactive steps can help prevent printhead clogs and prolong the life of your Epson EcoTank printer. Here are some best practices to follow:
1. Regular Use of the Printer
Using your printer regularly can prevent the ink from drying up and clogging the printheads. Aim to print at least a page or two each week, even if it’s just a test page.
2. Utilizing EcoTank Features
Your Epson EcoTank printer is designed for high-volume printing with refillable ink tanks. Make sure to use it to its full capacity by regularly checking ink levels and refilling them as necessary. This practice helps maintain optimal printing conditions.
3. Environmental Considerations
Keep your printer in a stable environment where temperature and humidity are controlled. Extreme conditions can affect ink performance and print quality. Ideally, maintain a temperature between 60°F and 75°F (15°C to 24°C) with moderate humidity levels.
Additional Print Quality Improvement Techniques
Beyond regular maintenance and cleaning, there are additional techniques you can implement to ensure the best print quality from your Epson EcoTank printer:
1. Selecting the Right Paper
The type of paper you use can significantly impact print quality. Here are some tips for selecting the right paper:
- Use paper that is compatible with inkjet printers to avoid smudging and bleeding.
- For high-quality prints, consider using specialty photo paper or high-resolution paper.
- Check the printer settings to match the paper type selected; this will optimize the ink usage and print quality.
2. Regular Firmware Updates
Keeping your printer’s firmware up to date can enhance performance and fix bugs that may affect print quality. To update your firmware:
- Visit the Epson support website and navigate to the firmware section for your printer model.
- Download the latest firmware version.
- Follow the instructions provided to install the update on your printer.
Regular updates can improve the printer’s efficiency and functionality, ensuring a smoother printing experience.
3. Utilizing the Correct Print Settings
Adjusting your print settings based on your project can lead to improved results. Consider the following:
- For documents, choose "Draft" mode to save ink while maintaining reasonable quality.
- For photos, select "Best" quality to ensure vibrant colors and sharp details.
- Always preview your print settings before printing to catch any potential issues.
Frequently Asked Questions (FAQ)
1. How often should I clean my Epson printheads?
It is recommended to clean your printheads whenever you notice a decline in print quality, such as streaking or missing colors. Regular use of the printer typically reduces the need for cleaning, but if it sits idle for extended periods, schedule a cleaning every couple of weeks.
2. Can I use third-party cleaning solutions for my printer?
While some users opt for third-party cleaning solutions, it is advisable to use only Epson-approved cleaning products to avoid damaging the printhead or voiding your warranty.
3. What should I do if my printer still shows issues after cleaning?
If you continue to experience print quality issues after cleaning, consider performing manual syringe flushing. If problems persist, professional servicing may be required.
4. Does cleaning the printheads use a lot of ink?
Yes, cleaning the printheads can consume a significant amount of ink, especially with methods like Power Cleaning. It's essential to be mindful of ink levels before initiating cleaning processes.
5. Is it safe to perform manual cleaning?
Manual cleaning can be safe if done carefully. However, it requires some technical knowledge and can void warranties if not performed correctly. Make sure to consult the printer’s manual and proceed with caution.






