How to Calibrate Z-Offset Using a BLTouch or CRTouch Auto Bed Leveling Sensor

Calibrating the Z-offset using a BLTouch or CRTouch sensor ensures optimal print quality by accurately setting the nozzle height above the print bed.
Understanding Z-Offset and Its Importance
The Z-offset is the vertical distance between the nozzle tip and the print bed. Proper calibration contributes to successful first layers, which are critical for adhesion and overall print quality.
An incorrect Z-offset can lead to issues such as poor adhesion, filament scraping against the bed, or even damaging the nozzle. Thus, understanding how to calibrate this offset effectively is essential for any 3D printing enthusiast.
What Are BLTouch and CRTouch Sensors?
BLTouch and CRTouch are auto bed leveling sensors that help printers adjust the nozzle height relative to the bed. BLTouch utilizes a retractable probe to measure the bed's surface, while CRTouch is based on a similar principle but may employ different technologies.
Both sensors enhance the printing process by automatically compensating for any bed unevenness, ensuring that the nozzle maintains a consistent distance from the print surface.
Preparing for Calibration
Before proceeding with the Z-offset calibration, ensure that the 3D printer is properly set up. This includes checking the installation of the BLTouch or CRTouch sensor, ensuring that the print bed is clean and level, and that the printer firmware is updated.
In addition, it is advisable to have a piece of paper or a feeler gauge handy for measuring gaps during the calibration process. This will serve as a reference to adjust the Z-offset accurately.
Step-by-Step Guide for Calibrating Z-Offset
- Start by homing the printer to ensure that the nozzle is in the correct starting position.
- Access the printer’s control panel and navigate to the bed leveling section.
- Initiate the auto bed leveling procedure. The probe will measure various points on the bed.
- Once the leveling is complete, lower the nozzle close to the bed using the printer’s control panel.
- Insert the piece of paper between the nozzle and the print bed.
- Adjust the Z-offset value in the firmware settings until you feel slight resistance when moving the paper.
- Save the new Z-offset value in the printer’s settings.
- Perform a test print to observe the first layer.
Testing the Calibration
After adjusting the Z-offset, conducting a test print is crucial. Choose a simple test object, such as a calibration cube or a first-layer test pattern.
Observe the first layer closely, ensuring that it adheres well to the bed without being squished or too far away. If the layer appears uneven or detached in areas, further adjustments to the Z-offset may be necessary.
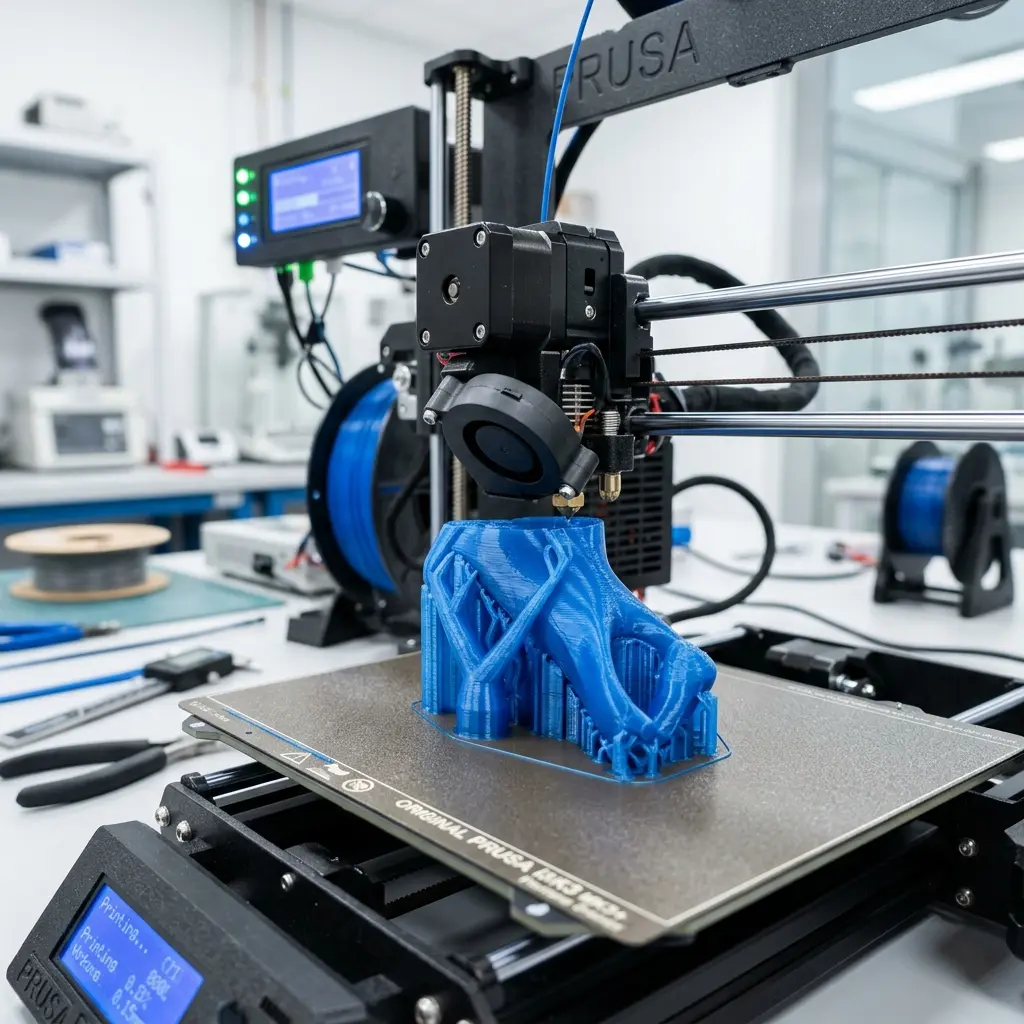
Common Issues and Troubleshooting
Inaccurate Z-offset calibration can lead to several issues during printing. If the first layer fails to adhere, consider checking the bed’s cleanliness, the filament quality, and the nozzle condition.
If the nozzle is too close to the bed, it may cause filament jamming or damage. Conversely, if it is too far, the filament may not adhere correctly.
Adjustments should be made carefully after each test print until optimal results are achieved.

Advanced Tips for Z-Offset Calibration
DomineTec Tip: Consider adjusting the Z-offset in small increments (0.01 mm) for fine-tuning, and always conduct a test print after each change.
Utilizing a digital caliper to measure the distance between the nozzle and the bed can enhance accuracy. Keeping a calibration log can also help track adjustments over time.
Comparative Overview of BLTouch and CRTouch
| Feature | BLTouch | CRTouch |
|---|---|---|
| Probe Type | Electromechanical | Optical |
| Compatibility | Wide variety of printers | Specific brands/models |
| Accuracy | High | Medium |
| Price Range | Moderate | Affordable |
| Ease of Installation | Moderate | Easy |
Best Practices for Z-Offset Calibration
Maintaining a consistent calibration process can significantly enhance print quality. Here are some best practices to follow:
- Always perform calibration after changing any hardware components.
- Use consistent materials for testing and printing.
- Document changes made during each calibration session.
- Regularly clean the print bed to prevent contamination.
- Consider environmental factors such as temperature and humidity that may affect printing.
Checklist for Successful Z-Offset Calibration
Use the following checklist to ensure that all aspects of the calibration process are addressed:
- Is the printer homed correctly?
- Is the print bed clean and free from debris?
- Is the BLTouch or CRTouch sensor properly installed?
- Have firmware updates been applied?
- Is the correct Z-offset measurement tool available?
- Have previous settings been documented for reference?
- Have environmental factors been considered?
Conclusion
Calibrating the Z-offset using a BLTouch or CRTouch sensor is a vital step in achieving high-quality prints in 3D printing. By following the outlined steps and considering potential troubleshooting methods, the calibration process can lead to successful and reliable results.
For further reading on enhancing printing quality, explore resources on how to use cura slicer and how to calibrate 3D printer. For those new to 3D printing, check out the best 3D printer for beginners.
Frequently Asked Questions
How often should Z-offset be calibrated?
It is advisable to recalibrate the Z-offset whenever changing the print bed, nozzle, or filament type, as these can affect the necessary distance.
Can a bad Z-offset cause print failures?
Yes, an incorrect Z-offset can lead to poor adhesion, layer separation, or even nozzle clogging, resulting in print failures.
What materials can affect Z-offset settings?
Different materials, such as PLA, ABS, or PETG, may require slight adjustments in Z-offset due to their varying adhesion properties.
Is it necessary to perform auto bed leveling every time?
While not mandatory, performing auto bed leveling before each print can help ensure optimal results, especially with larger models or varied bed surfaces.
Can Z-offset calibration be automated?
Many modern 3D printers with advanced firmware allow for automated Z-offset calibration, simplifying the process significantly.




