How to Use Ultimaker Cura Slicer: Complete Settings and Slicing Guide
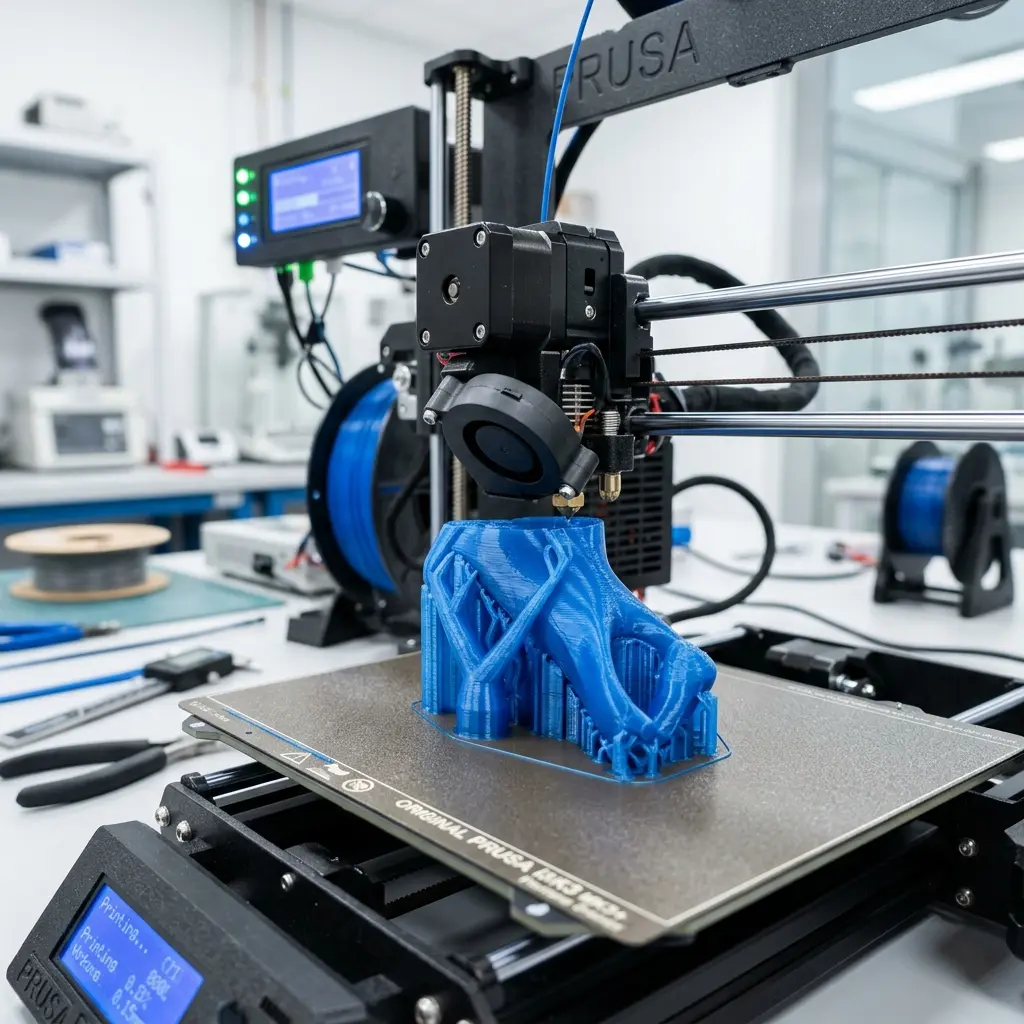
Ultimaker Cura is an intuitive slicing software that simplifies the 3D printing process, enabling users to configure print settings effectively.
Understanding the Basics of Ultimaker Cura
Ultimaker Cura serves as a bridge between a 3D model and the printer, translating the design into instructions the printer can understand. This software is compatible with various 3D printers, providing a broad range of customizable settings to optimize printing quality and efficiency.
Installing Ultimaker Cura
Begin by downloading the latest version of Ultimaker Cura from the official website. Installation is straightforward and supports Windows, macOS, and Linux operating systems.
Follow these steps for installation:
- Download the installer from the official Ultimaker website.
- Run the installer and follow the on-screen instructions.
- Launch the application after installation is complete.
Navigating the User Interface
The user interface of Ultimaker Cura is designed for ease of use, featuring a workspace where users can load and manipulate 3D models. Key components include the model view area, the sidebar with print settings, and the toolbar for file management.
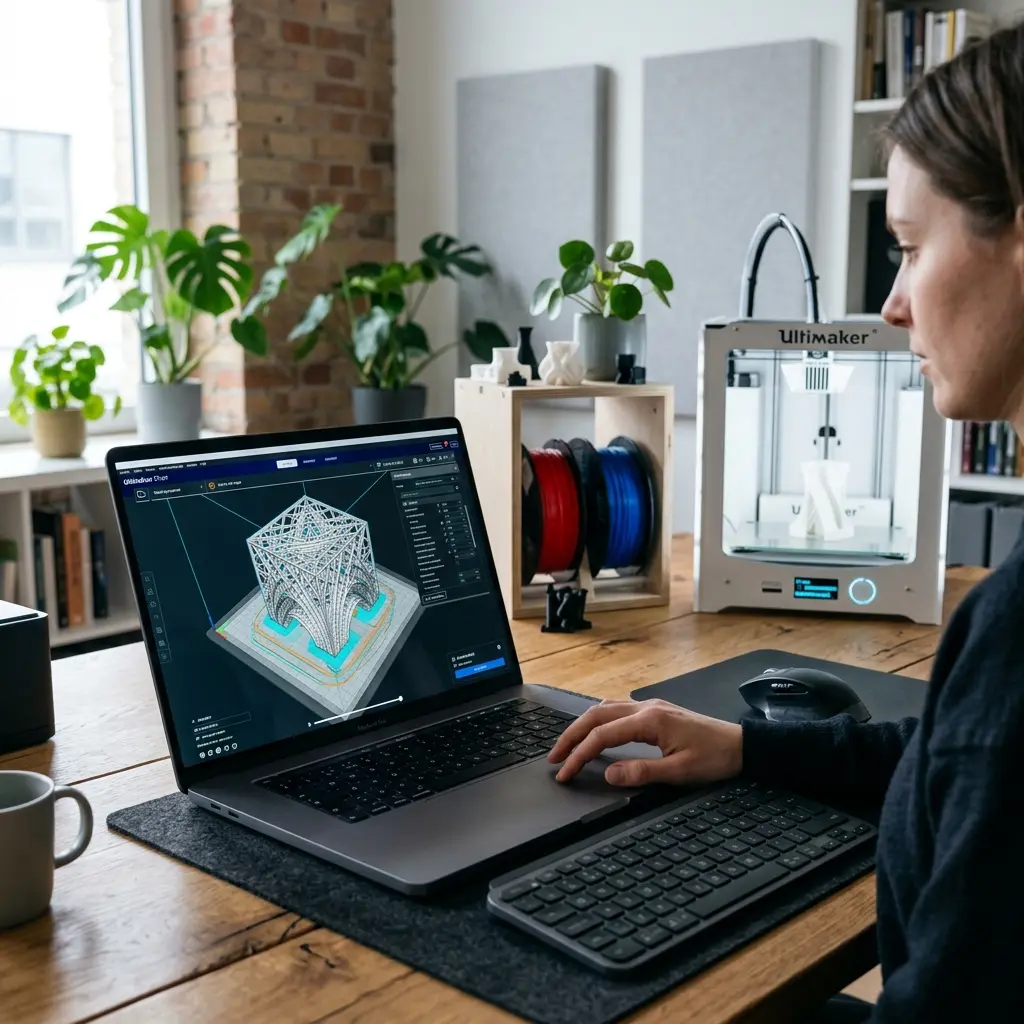
Configuring Print Settings
Print settings in Ultimaker Cura can be broadly categorized into basic and advanced settings. This enables users to tailor prints according to specific requirements.
Basic Settings
Basic settings include:
- Layer Height: Determines the thickness of each printed layer. A smaller value results in finer details.
- Print Speed: Affects the speed at which the printer moves. Slower speeds often yield better quality.
- Infill Density: Controls the amount of material inside the model. Higher densities improve strength.
Advanced Settings
Advanced settings encompass:
- Support Placement: Choose between adding supports everywhere or only where necessary.
- Build Plate Adhesion: Options like brim or raft can enhance adhesion to the print bed.
- Temperature Settings: Adjust nozzle and bed temperatures based on the filament type.
DomineTec Tip: Always consider the filament type when configuring temperature settings. For example, PLA typically requires a lower nozzle temperature compared to ABS, which can warp if printed too cool.
Choosing the Right Filament
Filament selection plays a critical role in the output quality of 3D prints. Commonly used filaments include PLA, ABS, and PETG, each with unique properties and applications.

PLA vs. ABS
PLA is user-friendly and ideal for beginners due to its ease of use and lower printing temperatures. In contrast, ABS is more robust and suitable for functional parts but requires careful handling due to warping concerns.
Understanding the difference between PLA and ABS is essential for selecting the appropriate filament for specific projects.
Preparing the Print Bed
Proper bed preparation is crucial for successful 3D printing. A well-leveled bed ensures even adhesion and minimizes the risk of print failure.

Follow these steps for optimal bed leveling:
- Ensure the printer is powered off before adjusting the bed.
- Use a piece of paper to gauge the distance between the nozzle and the bed.
- Adjust the bed height until the paper has slight resistance when slid between the nozzle and bed.
Slicing and Exporting the Model
Once all settings are configured, the next step is slicing the model. This process involves converting the 3D model into G-code, which the printer can understand.
Click the “Slice” button in Ultimaker Cura, and wait for the software to process the model. After slicing, export the G-code to an SD card or directly to the printer.
Common Troubleshooting Tips
Several issues may arise during printing. Identifying and resolving them can greatly enhance print quality.
Common problems include:
- First Layer Adhesion: Ensure the bed is clean and leveled properly.
- Stringing: Adjust retraction settings to minimize oozing of filament.
- Layer Misalignment: Check for any mechanical issues with the printer, such as loose belts or pulleys.
Frequently Asked Questions
What is Ultimaker Cura used for?
Ultimaker Cura is a slicing software that converts 3D models into G-code for 3D printers, allowing for precise control over print settings.
Can Ultimaker Cura support multiple printers?
Yes, Ultimaker Cura supports a wide variety of 3D printers, allowing users to select their specific printer model during setup.
How do I update Ultimaker Cura?
Updates can be downloaded directly from the Ultimaker website. It's advisable to check for updates regularly to access new features and improvements.
Why is my print failing?
Print failures can occur due to several reasons, including incorrect bed leveling, improper temperature settings, or filament issues. Careful review of each setting can help diagnose the problem.
Where can I find tutorials for Ultimaker Cura?
Numerous online resources, including forums and dedicated YouTube channels, offer tutorials and guides to help users maximize their use of Ultimaker Cura.
Advanced Techniques in Ultimaker Cura
For users looking to push the boundaries of their 3D printing capabilities, Ultimaker Cura offers advanced techniques that can significantly enhance the quality and functionality of printed models.
Custom Support Structures
Ultimaker Cura allows users to create custom support structures tailored to specific parts of a model. This feature is beneficial for complex geometries where traditional supports may not provide adequate support.
To create custom supports:
- Select the model and enable the support option.
- Navigate to the “Support” settings in the sidebar.
- Opt for “Custom Support” and adjust the settings for placement and density.
Utilizing Profiles for Different Materials
Creating specific profiles for different types of materials is crucial for achieving optimal results. Ultimaker Cura allows users to save and manage profiles for various filaments, making it easier to switch between materials without manually adjusting all settings each time.
How to Create a New Profile
- Go to the “Settings” menu and select “Profiles.”
- Click “Add New Profile” and name it according to the filament type.
- Adjust settings based on the filament specifications and save the profile.
Checklists for Successful 3D Printing
Utilizing checklists can streamline the 3D printing process and ensure that critical steps are not overlooked. Below are checklists for different stages of 3D printing.
Pre-Printing Checklist
- Is the model properly oriented and scaled?
- Has the correct printer been selected?
- Are print settings configured correctly for the filament type?
- Is the print bed leveled and clean?
- Has filament availability been checked?
During Printing Checklist
- Is the printer noise level normal?
- Is the filament feeding properly?
- Is the first layer adhering well?
- Are there any visible defects or issues during printing?
Post-Printing Checklist
- Has the print cooled sufficiently before removal?
- Is the model free from defects or warping?
- Has the print bed been cleaned for future prints?
- Is documentation of any adjustments being maintained for future reference?
Conclusion
Ultimaker Cura is a powerful tool for both novice and experienced 3D printing enthusiasts. By understanding its features, settings, and advanced techniques, users can optimize their printing process to achieve high-quality results.
Whether creating prototypes, functional parts, or artistic models, mastering Ultimaker Cura can significantly enhance the 3D printing experience.
```htmlAdvanced Configuration Options in Ultimaker Cura
Ultimaker Cura offers numerous advanced configuration settings that enable fine-tuning of print quality and speed. Parameters such as print speed, layer height, and infill density can be adjusted to meet specific project requirements.
Utilizing features like adaptive layers and custom support structures can enhance the printing process significantly. Understanding the implications of these settings on material consumption and print time is crucial for optimal results.
Common Calibration Mistakes to Avoid
Calibration is essential for achieving high-quality prints, yet many users overlook key aspects during the process. Failing to level the print bed correctly can lead to adhesion issues and uneven layer deposition.
Another common mistake involves incorrect extrusion multiplier settings, which can result in over-extrusion or under-extrusion. Regularly checking and adjusting these parameters can prevent many printing problems before they occur.
Cost Estimations for 3D Printing Projects
Estimating the cost of a 3D printing project involves considering material costs, machine wear, and operational expenses. Ultimaker Cura provides a cost estimation feature that calculates expenses based on filament type and weight.
Understanding the cost implications of different settings can help in budgeting for projects more accurately. Factors such as print time and material usage should be factored into the overall project cost analysis.
Security Precautions When Using Ultimaker Cura
When using Ultimaker Cura, it is important to implement security measures to protect sensitive designs and personal data. Ensuring that software is updated regularly can prevent vulnerabilities from being exploited.
Additionally, utilizing secure file storage and managing access permissions for design files can safeguard intellectual property. Being aware of potential cyber threats is essential for maintaining a secure printing environment.
Alternative Slicing Software Options
While Ultimaker Cura is a popular choice, several alternative slicing software options are available that may suit different needs. Programs like PrusaSlicer and Simplify3D offer distinct features and user interfaces, appealing to various preferences.
Exploring these alternatives can provide insights into different slicing methodologies and capabilities. Users may find that some software options offer better support for specific printer models or unique project requirements.
Understanding Material Profiles in Ultimaker Cura
Material profiles in Ultimaker Cura dictate how different filaments are printed, influencing temperature, speed, and cooling settings. Selecting the appropriate material profile is crucial for achieving optimal print quality and avoiding issues such as warping or stringing.
Users are encouraged to experiment with customizing these profiles based on specific filament characteristics. Adjustments to parameters like nozzle temperature and retraction settings can yield significant improvements in print outcomes.
Best Practices for Slicing Complex Models
Slicing complex models in Ultimaker Cura requires careful consideration of settings to ensure successful prints. Utilizing supports and modifying layer heights can help manage intricate geometries effectively.
Additionally, breaking down larger models into smaller sections can simplify the slicing process and improve print reliability. Employing these best practices can enhance the overall success rate of challenging prints.
``` ```htmlHow to Use Ultimaker Cura Slicer: Complete Settings and Slicing Guide
Ultimaker Cura is a powerful slicing software widely used for preparing 3D models for printing. Understanding its settings and functionalities can significantly enhance the quality of 3D prints. This guide provides a comprehensive overview of how to effectively use Ultimaker Cura, covering essential settings, features, and tips for optimizing prints.
Getting Started with Ultimaker Cura
Before diving into the settings, it is crucial to understand the initial setup process for Ultimaker Cura.
- Download and Install: Visit the official Ultimaker website to download the latest version of Cura. Follow the installation instructions specific to your operating system.
- Configure Printer Settings: Select your 3D printer model from the list or manually enter the specifications if it is not listed.
- Import 3D Models: Use the 'Open File' option to import .STL, .OBJ, or .3MF files into the workspace.
Basic Settings Overview
Ultimaker Cura comes with various settings that can be adjusted to suit specific printing needs. The following sections detail these settings:
Print Setup
The Print Setup section allows users to define the type of print job. Here are the common options:
| Print Setup Type | Description |
|---|---|
| Recommended | Best for beginners; provides a balance of quality and speed. |
| Custom | Advanced users can adjust detailed settings for specific requirements. |
Material Settings
Choosing the right material is crucial for print durability and quality. Common material settings include:
- Filament Diameter: Typically 1.75 mm or 2.85 mm.
- Print Temperature: Varies based on material; PLA usually prints at 200°C.
- Build Plate Temperature: Essential for materials like ABS to prevent warping.
Advanced Settings
For more experienced users, advanced settings allow fine-tuning of the print process. Key advanced settings include:
Layer Height
Layer height significantly affects print quality and speed. Common layer heights include:
| Layer Height | Quality Level | Typical Use |
|---|---|---|
| 0.1 mm | High | Detailed prints, miniatures. |
| 0.2 mm | Medium | General-purpose printing. |
| 0.3 mm | Low | Fast prints, prototypes. |
Infill Settings
Infill contributes to the strength and weight of a print. Common infill settings include:
- Infill Density: Ranges from 0% (hollow) to 100% (solid). A density of 20% is often used for standard prints.
- Infill Pattern: Various patterns such as Grid, Triangles, or Cubic can be selected based on strength and speed requirements.
Print Speed
Print speed affects both print quality and time. Typical speed settings are:
| Speed (mm/s) | Effect |
|---|---|
| 20-30 | High quality, slower printing. |
| 50-60 | Balanced quality and speed. |
| 80+ | Fast printing, lower quality. |
Support Structures
Support structures are essential for printing overhangs and complex geometries. Key support settings include:
- Support Enable: Turning this on allows Cura to generate supports automatically.
- Support Density: Determines the density of the support material.
- Support Pattern: Options include Zig Zag, Lines, or Grid, affecting ease of removal and print quality.
Previewing and Slicing
After adjusting settings, the next step is to preview and slice the model. Follow these steps:
- Preview Model: Use the 'Preview' mode to visualize the layers and ensure everything appears correct.
- Slicing: Click the 'Slice' button to generate the G-code file for the printer.
- Save G-code: Save the G-code to an SD card or directly to the printer, depending on the connection type.
Tips for Successful Prints
To achieve the best results from Ultimaker Cura, consider the following tips:
- Calibration: Regularly calibrate the printer to ensure accurate dimensions and adhesion.
- Material Profiles: Utilize pre-defined material profiles in Cura for optimal settings.
- Test Prints: Conduct test prints with smaller models to fine-tune settings before larger projects.
Conclusion
Ultimaker Cura is a versatile slicing tool that can significantly impact the quality of 3D prints. By understanding and utilizing its features and settings, users can optimize their printing process and achieve desirable results. Continuous experimentation and adjustment of settings will lead to improved print quality over time.
``` ```htmlUnderstanding Ultimaker Cura Interface
The Ultimaker Cura interface consists of several key components that streamline the slicing process. Familiarity with these components enhances user efficiency and effectiveness.
Main Toolbar
The main toolbar provides access to essential functions such as opening files, saving projects, and accessing settings. Key icons include import, export, and print settings.
3D Viewport
The 3D viewport displays the model and allows users to manipulate its position and orientation. Tools for scaling, rotating, and moving the model are readily accessible here.
Print Setup Panel
This panel contains all the slicing settings necessary for preparing the model for printing. Users can adjust parameters such as layer height, infill density, and support structures.
Basic Slicing Settings
Understanding basic slicing settings is crucial for optimal print results. These settings define the fundamental aspects of how the model is printed.
Layer Height
Layer height affects the print's detail and speed. A lower layer height results in finer detail but increases print time.
Infill Density
Infill density determines the amount of material used inside the model. Higher infill percentages provide stronger parts but use more filament and increase print duration.
Print Speed
Print speed dictates how quickly the printer moves during operation. Slower speeds generally improve print quality, especially for intricate designs.
Advanced Slicing Settings
Advanced settings offer further customization for experienced users. These settings allow for tailored print outputs based on specific project requirements.
Support Structures
Support structures are critical for models with overhangs. Cura provides options for support placement, including everywhere or touching build plate.
Build Plate Adhesion
Build plate adhesion settings help prevent warping during printing. Options include brim, raft, or no adhesion, depending on the model’s needs.
Material Settings
Material settings play a vital role in achieving the desired print characteristics. Different materials require specific configurations in Cura.
Temperature Settings
Temperature settings for the nozzle and build plate must be adjusted according to the filament type. Proper temperature ensures optimal adhesion and print quality.
Cooling Settings
Cooling settings influence layer adhesion and surface finish. Effective cooling is essential for certain materials, such as PLA, to improve print quality.
Troubleshooting Common Issues
Common issues can arise during slicing and printing, and understanding how to troubleshoot them is beneficial. This section provides solutions to frequent problems encountered in Ultimaker Cura.
Stringing
Stringing occurs when the printer extrudes filament while moving without printing. Reducing print temperature and increasing retraction settings can mitigate this issue.
Warping
Warping can lead to failed prints, especially with ABS materials. Ensuring proper bed adhesion and maintaining an optimal print temperature can help reduce warping.
Conclusion
Mastering Ultimaker Cura requires understanding both basic and advanced settings. Continuous experimentation and adjustment of these settings lead to improved printing outcomes.
```



