How to Setup TP-Link TL-WR840N Router Settings via Phone App
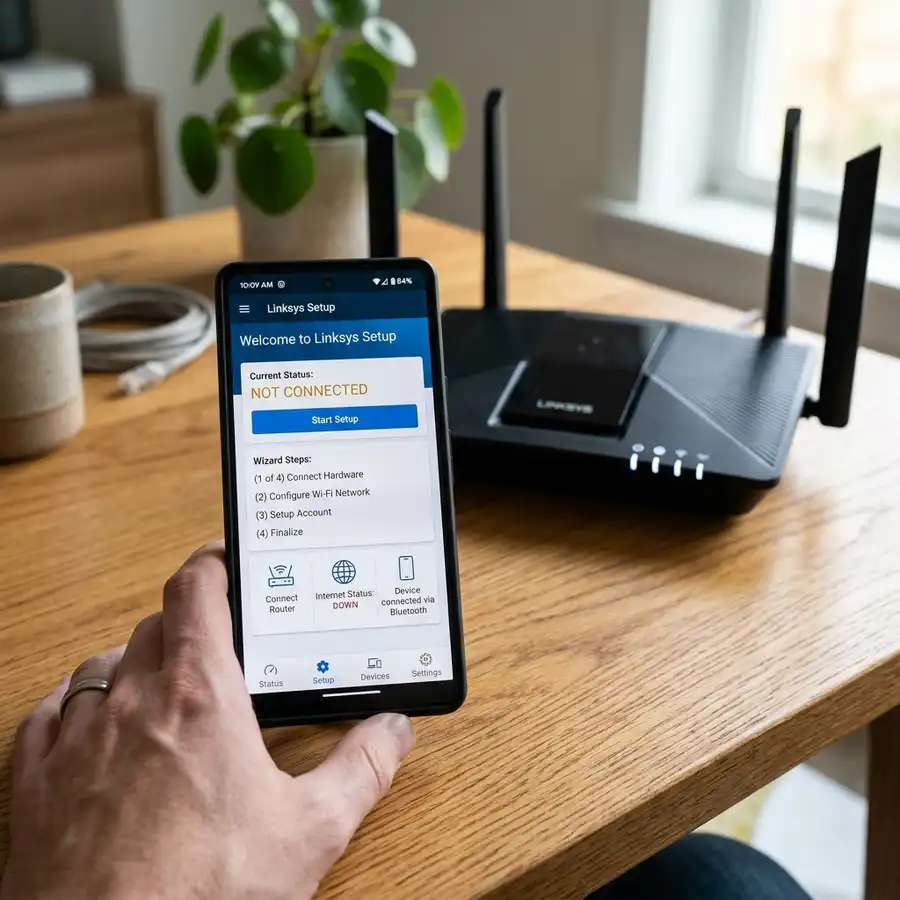
Modern mobile technology has advanced to the point where complex network administration tasks can be executed directly from the palm of your hand. Among these tasks, performing the initial setup of home network routers stands out as a highly common requirement. The TP-Link TL-WR840N wireless router is one of the most popular and budget-friendly devices on the market, delivering stable wireless connection speeds up to 300 Mbps on the 2.4 GHz frequency. While many users still believe that having a desktop computer or laptop connected via an ethernet cable is mandatory to perform a router installation, the entire configuration process can be completed in a few minutes using only a smartphone connected to the router's temporary default wireless signal.
To configure the TP-Link TL-WR840N router using your mobile phone, connect your smartphone to the default Wi-Fi network (usually named TP-Link_XXXX), open a mobile web browser to access tplinkwifi.net or 192.168.0.1, enter the default admin credentials (or create a new management password depending on the hardware revision), and complete the Quick Setup wizard to establish your WAN connection type and customize your Wi-Fi name and password. Completing this setup correctly ensures optimal performance of your broadband internet connection and protects your local home network from unauthorized connections from neighbors.
In this comprehensive technical guide, we will cover the step-by-step physical installation process, how to connect your phone to the default wireless network, how to configure settings through a web browser or the official TP-Link Tether app, and how to optimize features for maximum stability.
Physical Setup: Connecting the Cables Correctly
Before powering on the router and attempting to configure the software on your smartphone, the first critical step is ensuring the physical cables are connected correctly. The rear panel of the TP-Link TL-WR840N features five network ports: four yellow LAN ports and one blue WAN port. Properly routing these connections determines whether your connected devices will successfully access the internet or remain isolated within a local-only network loop.
Start by disconnecting your ISP's modem (whether fiber optic, coaxial cable, or DSL) from its wall outlet for approximately thirty seconds to clear the provider's ARP cache table. Next, take the Ethernet cable that was included in the box with your router and connect one end to the LAN output port on your operator's modem. Plug the other end of this ethernet cable directly into the blue WAN port on the back of your TP-Link router. Reconnect the power supply to the modem and wait a couple of minutes until all status lights stabilize. Finally, connect the power adapter of the TL-WR840N to a wall outlet and press the Power button on the rear panel. The LEDs on the front panel will light up and blink, indicating that the internal operating system is booting up.
Connecting Your Phone to the Default TP-Link Wi-Fi
Once the router is powered on, it automatically broadcasts a temporary, unsecured Wi-Fi signal to allow the installer to log into the system settings. This network is either completely open or secured with a default password, depending on the manufacturing batch of the device.
On your smartphone (Android or iOS), open the main Settings menu and navigate to the Wi-Fi connections panel. Turn on your phone's Wi-Fi receiver and let the list of available networks refresh. Look for a network name resembling TP-Link_XXXX (where XXXX corresponds to the last four characters of the router's unique MAC address). The default wireless password (PIN) required to connect to this initial network is printed on the barcode label located on the underside of the router chassis, listed next to Wireless Password/PIN. If the network is unsecured, simply tap it to connect immediately. Your phone might display a warning saying the network has no internet access. Choose to stay connected to this network anyway, as a local connection is required to load the router's internal configuration panel.
Accessing the Router Web Interface from Mobile
After connecting your smartphone to the default Wi-Fi, you must load the router's web-based management interface in order to configure the WAN settings and modify wireless security parameters.
Open any web browser on your phone (such as Google Chrome, Safari, or Mozilla Firefox). In the browser's address bar, type tplinkwifi.net and press Go or Enter. If this URL fails to load due to a local DNS cache conflict on your mobile device, enter the default numeric IP address: 192.168.0.1 or 192.168.1.1. In addition, you can check the exact default gateway IP address under your mobile phone's Wi-Fi network properties if the router's default subnet has been modified. Once the login page loads, you will be prompted to enter your administrative login credentials. On older hardware versions of the TL-WR840N, the default username and password are admin for both fields. On newer hardware revisions, the system requires you to create a unique, custom administrator password containing letters and numbers to prevent unauthorized remote changes. Choose a strong password and write it down for future network maintenance.
Step-by-Step Quick Setup Process
After successfully logging in, the main router admin dashboard will load in your mobile browser. The most straightforward method to configure the router is using the built-in Quick Setup wizard:
- Step 1: In the left-hand navigation menu, tap the Quick Setup option and click Next.
- Step 2: Choose the appropriate Operation Mode. For standard home use with an ethernet cable connected to your operator's modem, select Wireless Router mode and tap Next.
- Step 3: Select the WAN Connection Type utilized by your internet service provider. The most common option for local fiber and DSL providers is PPPoE, which requires a connection username and password. If your modem handles the authentication itself and automatically issues an IP address, select Dynamic IP. If your provider assigns a static IP address, select Static IP and input the parameters detailed in your subscription contract. Tap Next.
- Step 4: If you selected PPPoE, enter the authentication username and password exactly as provided by your broadband operator.
- Step 5: On the Wireless Settings screen, change the default name of your network in the Wireless Network Name (SSID) field to your preferred network name. In the Wireless Security field, choose WPA-PSK/WPA2-PSK to ensure strong security. In the Wireless Password field, create a new Wi-Fi password consisting of at least 8 characters, blending uppercase letters, lowercase letters, and numbers. Tap Next.
- Step 6: Review the configuration summary page. If all settings are correct, tap Save or Finish. The router will save the parameters to its flash memory and restart. The default TP-Link_XXXX network will disappear, and you must reconnect your phone to the newly created Wi-Fi network using the new name and password.
Alternative Configuration via TP-Link Tether App
For users who prefer a mobile-optimized interface instead of navigating web pages, TP-Link provides a free mobile application called Tether, available for both Android and iOS platforms.
Download and install the TP-Link Tether app from the Google Play Store or Apple App Store. Ensure your smartphone is connected to the default Wi-Fi network of the router, then open the application. The Tether app will automatically scan the local network and display the TL-WR840N under the My Devices section. Tap the router icon to connect. The app will prompt you to create a new administrator password to secure access to the hardware. Following this, the app will guide you through a simplified setup wizard identical to the web interface, allowing you to configure your WAN connection type, customize your SSID, and set a new wireless password with a few taps. Once complete, tap the Apply button to save the configuration. You can also associate the router with your TP-Link Cloud account, which allows you to manage your home network remotely from anywhere in the world.
Additional DHCP Server Settings
To ensure that all devices connected to your local network receive a unique IP address and avoid network conflicts, the internal DHCP server of the TP-Link TL-WR840N should remain active. Navigate to the DHCP menu in the admin panel and select DHCP Settings. Verify that the DHCP Server option is enabled. The default IP address pool spans from 192.168.0.100 to 192.168.0.199, which permits up to 100 simultaneous device connections on your network. The default Address Lease Time of 120 minutes is perfect for standard home environments.
Understanding the 2.4 GHz Single-Band Limitation
It is important to remember that the TP-Link TL-WR840N operates exclusively on the 2.4 GHz frequency band. Unlike modern dual-band routers, it does not support the 5 GHz band. This means its maximum theoretical bandwidth is capped at 300 Mbps, and real-world speeds will usually be lower due to signal congestion. However, the 2.4 GHz frequency provides superior signal propagation through solid obstacles like drywall, doors, and brick walls, ensuring a wide coverage area across your home even if the raw transfer speeds are lower.
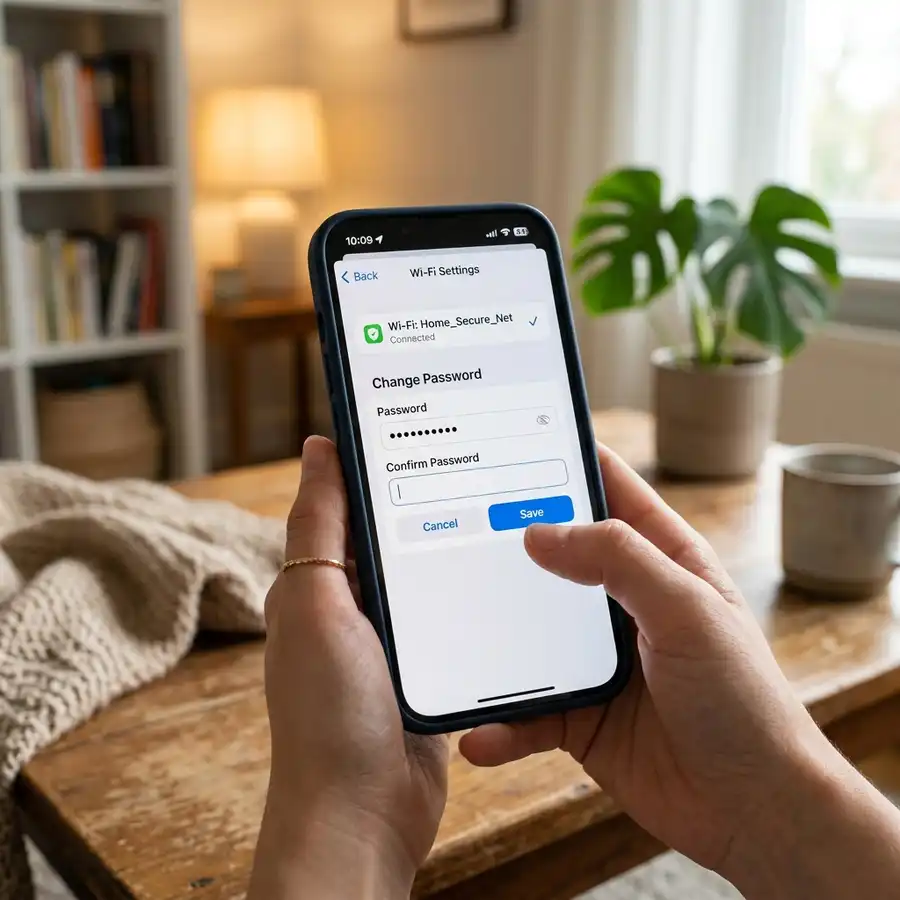
Changing Wi-Fi Name and Password Later
If you need to update your Wi-Fi password in the future to maintain security, you can do so quickly using your mobile phone:
Log into the admin panel by entering 192.168.0.1 in your browser and log in with your custom administrator password. In the left-hand menu, tap Wireless and select Wireless Settings to change the SSID name if desired. To change only the password, go to the Wireless section and select Wireless Security. Scroll to the Wireless Password field, erase the existing password, and input your new security key. Tap Save at the bottom of the screen. The Wi-Fi connection will drop briefly while the router applies the new security configuration. You will need to reconnect all your wireless devices (phones, TVs, laptops) by typing in the new password.
Comparison Table of Operation Modes
The TP-Link TL-WR840N is a versatile, multi-mode device capable of working in various networking scenarios. The table below details the available operation modes:
| Operation Mode | Primary Function | Input Signal | Network Distribution |
|---|---|---|---|
| Wireless Router | Default mode to share internet connection with multiple local devices | Ethernet cable (WAN) connected to ISP modem | Wi-Fi broadcast and LAN ports active. |
| Range Extender | Expands the coverage of an existing Wi-Fi network wirelessly | Wireless connection to the main home router | Repeats the main Wi-Fi signal using the same SSID. |
| Access Point | Converts an existing wired network into a wireless network | Ethernet cable (LAN) connected to a secondary router | Emits a new Wi-Fi signal for wireless clients. |
| WISP Mode | Connects to a public wireless ISP and shares the connection locally | Wireless link to the provider's outdoor antenna | Creates a local Wi-Fi subnet and activates LAN ports. |
Critical Security Settings for Your Router
To protect your home network against unauthorized access and security vulnerabilities, implement these security best practices on your router:
- Disable WPS (Wi-Fi Protected Setup): The WPS feature allows devices to connect to your Wi-Fi by pressing a physical button or entering a simple PIN. While convenient, WPS has known security exploits that make it vulnerable to force-brush security tools. Disable it by going to Wireless > WPS in the menu and clicking Disable.
- Modify the Default Admin Password: Never leave the default admin password active. Anyone connected to your Wi-Fi network could load 192.168.0.1 and modify your network settings, potentially locking you out. Set a unique password under System Tools > Password.
- Disable Remote Management: Ensure that the router's configuration panel can only be accessed by devices physically connected to your local network. Go to Security > Remote Management and verify that the remote management port is disabled, blocking all external access attempts from the internet.
- Perform Firmware Updates: Check for firmware updates periodically under System Tools > Firmware Upgrade. Applying the latest firmware patch repairs critical security vulnerabilities and addresses known hardware bugs.
Technical Optimization Tip: If you notice that your wireless connection is slow or drops frequently in a crowded neighborhood, manually adjust the wireless channel to reduce interference. Go to Wireless > Wireless Settings and change the Channel field from Auto to 1, 6, or 11. These are the only non-overlapping channels available on the 2.4 GHz frequency band.
Frequently Asked Questions
What is the default IP address of the TP-Link TL-WR840N?
The default IP address used to access the login page of the TL-WR840N is 192.168.0.1, or the alternative address 192.168.1.1. You can also type tplinkwifi.net into your browser's address bar.
How do I reset my TL-WR840N router if I forgot the admin password?
While the router is powered on, press and hold the WPS/Reset button on the back panel for about 10 seconds until all the front LED lights flash simultaneously. This resets the router to factory defaults.
Can I use the TL-WR840N as a range extender with other router brands?
Yes. The Range Extender mode on the TP-Link TL-WR840N is compatible with main routers from any brand, allowing it to connect to and repeat any standard 2.4 GHz Wi-Fi signal.
Why does tplinkwifi.net fail to load on my phone?
This usually happens because your phone is using cellular mobile data (4G/5G) or is connected to a different network. Disable mobile data on your phone and ensure you are connected only to the TP-Link Wi-Fi.
What is the difference between the WAN port and the LAN ports?
The blue WAN port is designed to receive the incoming internet signal from your modem. The yellow LAN ports are outputs used to connect wired devices like computers, gaming consoles, or smart TVs.


