
Discover how to effectively utilize CapCut's AI features on both PC and mobile for seamless video and photo editing.

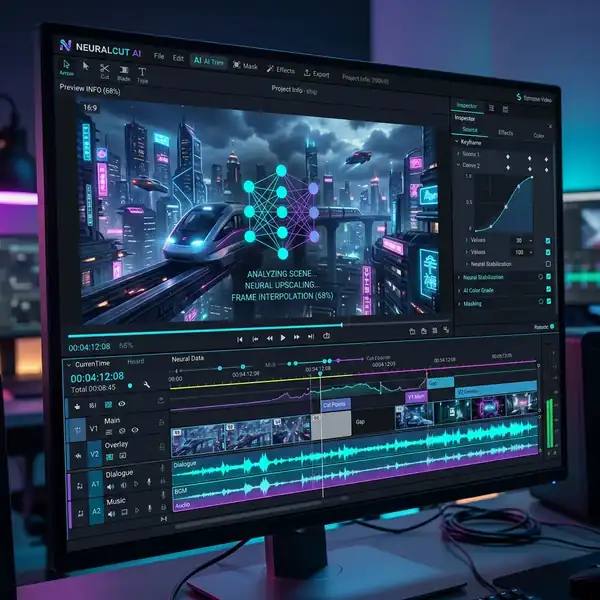
CapCut Evolution: Transforming into a Powerful AI-Driven Editor Environment
DomineTec Tip: CapCut's desktop client features a wider library of AI visual templates and voiceover engines. For web alternatives for speaking hosts, check best free HeyGen alternatives for AI avatars.
CapCut has undergone significant evolution from a simple video editing app to a comprehensive platform equipped with advanced AI-driven functionalities. The integration of artificial intelligence has enhanced user experience, enabling creators to produce high-quality content with minimal effort. CapCut's AI tools encompass a variety of features, including smart translation, auto-captioning, and image generation. This powerful functionality not only streamlines the editing process but also opens new avenues for creativity, making CapCut a go-to choice for content creators across the globe.
Historically, CapCut has focused on providing intuitive editing options, but as the demand for innovative solutions increased, the platform began incorporating AI technologies. By leveraging machine learning algorithms, CapCut processes user input to deliver tailored suggestions, facilitating a smoother workflow. Users can now automate tedious tasks, allowing them to focus on the creative aspects of their projects.
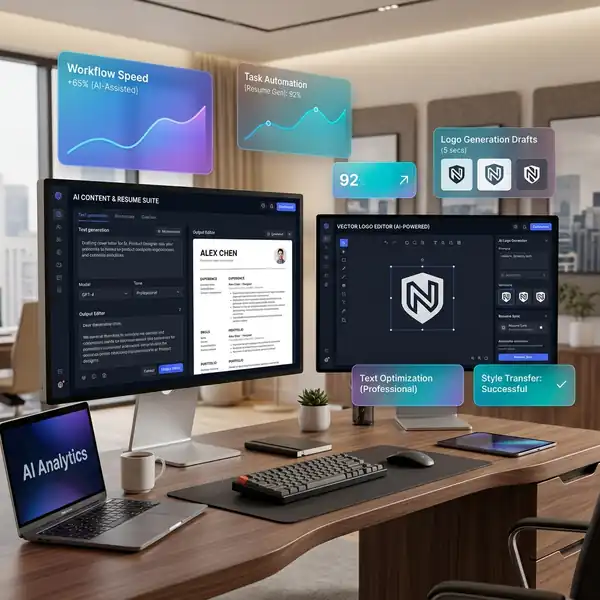
Text-to-Image Generation: Designing Visual Assets Directly Inside CapCut Dashboard
| AI Feature | Mobile App Support | Desktop Client Support |
|---|---|---|
| Auto-Captions generator | Yes | Yes |
| AI Digital Hosts | Limited Templates | Yes (Fully customizable) |
One of the standout features of CapCut's AI capabilities is the Text-to-Image generator. This tool allows users to create visual assets directly from textual prompts. The process is straightforward yet remarkably effective, enabling users to generate images that align perfectly with their video's theme or narrative.
To utilize the Text-to-Image feature, follow these steps:
- Open the CapCut application on your PC or mobile device.
- Select the project you are working on or create a new one.
- Navigate to the "Assets" section within the dashboard.
- Look for the "Text-to-Image" option and click on it.
- Enter your desired textual prompt. Be specific about the elements and style you envision for the image. For example, “A serene mountain landscape at sunrise.”
- Click on "Generate," and the AI will process your request, producing a unique image based on your input.
- Once generated, you can preview the image and add it to your timeline if it meets your expectations.
Under the hood, CapCut employs advanced neural networks that interpret the textual input, analyzing the semantics to create a corresponding image. This allows for a high degree of customization, as users can modify their prompts to achieve various artistic styles or themes.
Video Automation: Auto-Captioning and Smart Background Deletions
CapCut's AI-powered video automation tools significantly enhance the editing experience by automating repetitive tasks. Two standout features are the auto-captioning tool and the smart background deletion functionality.
Auto-Captioning
Auto-captioning saves time by automatically generating captions for spoken dialogue in videos. This is particularly useful for creators aiming to increase accessibility and engagement. Here's how to use the auto-captioning feature:
- Load your video project in CapCut.
- Find the "Text" tool in the dashboard.
- Select "Auto-Captions" from the options available.
- Choose the language that corresponds to the spoken dialogue.
- Click "Generate Captions." The AI will analyze the audio track and create captions in real-time.
- Review the generated captions for accuracy and make any necessary edits.
- Once satisfied, you can customize the font, size, and position of the captions within your video.
The underlying technology utilizes speech recognition algorithms, which convert audio signals into text with remarkable precision. Continuous advancements in natural language processing contribute to improving the accuracy of these captions, making them an indispensable tool for content creators.
Smart Background Deletions
Smart background deletions provide a seamless way to isolate subjects in videos. This feature is particularly beneficial for creating overlays or adding new backgrounds without the need for complex green screens. To use this functionality:
- Import the video file into your CapCut project.
- Select the clip from which you want to remove the background.
- Click on the "Effects" tab and look for "Background Removal."
- Enable the feature, and the AI will automatically detect the main subject.
- Review the selection; if needed, you can manually adjust the boundaries for better precision.
- Once satisfied with the selection, click "Apply" to remove the background.
This tool leverages computer vision algorithms to detect and isolate subjects based on depth perception and movement patterns, ensuring a clean and professional result. This automation significantly reduces the time required for post-production work, allowing editors to focus on more creative tasks.
CapCut AI Tools Availability Table: Desktop Features Compared to Mobile Apps
Understanding the differences between CapCut's desktop and mobile versions is important for maximizing the use of its AI features. Below is a comparative overview of the functionalities available in CapCut's PC and mobile applications:
| Feature | PC Version | Mobile Version |
|---|---|---|
| Text-to-Image Generator | Yes | Yes |
| Auto-Captioning | Yes | Yes |
| Smart Background Deletion | Yes | Yes |
| Video Templates | Yes | Limited |
| Advanced Editing Tools | Yes | Yes |
| Multi-track Editing | Yes | No |
| Export Quality Options | 4K and above | 1080p |
This table emphasizes that while core AI features like Text-to-Image generation and auto-captioning are available on both platforms, the desktop version provides additional advanced editing tools and multi-track editing capabilities. This makes the PC version more suitable for professional workflows that require detailed editing and higher export quality.

Step-by-Step Guide: Crafting High-Converting Short-Form Videos with Smart Tools
Creating compelling short-form videos using CapCut's AI features involves a strategic approach. Below is a comprehensive step-by-step guide to help you leverage these tools effectively:
Step 1: Conceptualize Your Video
Begin by defining the purpose of your video. Are you promoting a product, sharing a tutorial, or engaging with your audience? A clear objective will guide your content creation process.
Step 2: Script Development
Write a brief script outlining the key points you want to cover. Keep it concise and engaging, as short-form videos typically thrive on direct messaging.
Step 3: Gather Visual Assets
Use the Text-to-Image generator to create any necessary visual assets. Input relevant prompts to generate images that complement your script. For instance, if your video is about a travel destination, prompts could be “Tropical beach at sunset” or “Snow-capped mountains.”
Step 4: Record Your Audio
Record your audio narration or dialogue. Ensure that the recording is clear and free from background noise. You can use a smartphone or a professional microphone for better quality.
Step 5: Start a New Project in CapCut
Open CapCut and create a new project. Import your audio file and any images generated in the previous steps.
Step 6: Utilize Auto-Captioning
After importing your audio, enable the auto-captioning feature to generate captions. Follow the steps outlined earlier to ensure accuracy and make edits as necessary.
Step 7: Enhance Visuals with Smart Background Deletion
If you have any video clips that need background removal, apply the smart background deletion tool. This will help you create cleaner visuals and allow for better integration of other elements.
Step 8: Assemble Your Timeline
Organize your audio, captions, images, and video clips on the timeline. Keep the flow of the video seamless and ensure that your visuals align with your script.
Step 9: Add Effects and Transitions
Enhance your video further by adding effects and transitions available in CapCut. Select options that enhance the storytelling without overwhelming the viewer.
Step 10: Review and Export
Preview your video to ensure everything flows well. Make necessary adjustments before exporting. Choose your export settings based on your intended platform, ensuring to select the highest quality available for the PC version.
Step 11: Share and Analyze Performance
Once your video is published, track its performance using analytics tools available on social media platforms. Analyze viewer engagement and feedback to refine future projects.
By following these steps and utilizing CapCut's AI features, you can create high-converting short-form videos that captivate your audience and serve your content's objectives. The combination of automation and creative tools empowers you to produce professional-quality videos with ease.
In conclusion, CapCut's AI features revolutionize the way video and photo editing is approached. By leveraging these tools, creators can streamline their workflows and enhance their output quality, thus setting a new standard in the content creation landscape. Whether on a PC or mobile device, mastering these features will undoubtedly elevate your editing game and enable you to engage your audience more effectively.
Additional Resources and Recommended Links
For more guides and tutorials on AI image and video generators, check out our step-by-step articles on best free HeyGen alternatives for AI avatars and best AI to create videos from photos. For official platforms and tools, visit the Official CapCut Platform.
Advanced Techniques for Optimizing Your Workflow with CapCut AI Tools
In the realm of digital content creation, efficiency and quality are paramount. CapCut, a powerful editing tool, offers an array of AI features that can significantly enhance your photo and video editing experience. Understanding how to optimize these tools within your workflow not only saves time but also allows for a more creative output.
One of the advanced techniques involves integrating CapCut’s AI capabilities with other software to create a seamless editing environment. For instance, when you pair CapCut with cloud storage solutions, you can easily access and manage large video files without consuming local storage. This integration allows you to import and edit files directly from the cloud, facilitating a smoother workflow and enabling you to work on projects from any device.
Another critical aspect of optimizing your editing process with CapCut's AI tools is mastering the configuration settings that cater to your specific needs. The platform allows users to adjust settings such as resolution, frame rate, and export quality, which can significantly impact the final output.
For instance, if you are producing content for social media, you might want to adjust the resolution to match the platform's specifications, reducing file size while maintaining quality. Furthermore, CapCut's AI features, such as automatic scene detection and smart cropping, can be configured to prioritize specific elements in your footage, allowing the software to make intelligent decisions about how to optimize each clip.
By fine-tuning these settings, you can enhance the responsiveness of the AI tools, ensuring that they work effectively within your editing style.
Real-world use cases demonstrate the power of CapCut's AI tools. Consider a content creator working on a time-sensitive project that involves producing promotional videos for a product launch. By utilizing CapCut’s AI-driven features, such as automatic background removal and enhanced color grading, the creator can streamline their editing process.
The AI tools can quickly analyze the footage, applying consistent lighting and color schemes across multiple clips, which not only saves time but also ensures a professional look. Additionally, the audio enhancement features can automatically adjust levels and apply noise reduction, allowing the creator to focus on the storytelling aspect rather than getting bogged down in technical details. This use case underscores the importance of leveraging AI tools to maintain quality while meeting tight deadlines.
Lastly, establishing a systematic workflow that incorporates CapCut's advanced AI features can lead to improved productivity and creativity. Start by creating a project template that includes your preferred settings for resolution, aspect ratio, and audio levels. This template acts as a foundation for all your projects, ensuring consistency and saving setup time.
Incorporating a feedback loop into your workflow can also be beneficial. After completing a project, take the time to review how the AI tools performed and adjust your methods accordingly. For example, if you find that certain settings consistently provide better results, incorporate these adjustments into your template.
By continuously refining your workflow and utilizing CapCut's AI capabilities to their fullest, you can not only enhance your editing efficiency but also push the boundaries of your creative potential.
Advanced Techniques for Integrating CapCut AI Tools into Your Editing Workflow
CapCut is rapidly becoming a go-to tool for creators looking to enhance their photo and video editing processes through the power of AI. To maximize the potential of CapCut's AI tools, it’s essential to understand how to effectively integrate these features into your editing workflow.
This involves not only familiarizing yourself with the capabilities of the AI tools but also configuring them to suit specific project requirements. A well-structured workflow will allow you to leverage the strengths of CapCut’s AI tools, resulting in efficient and high-quality outputs.
First, let’s explore the configuration settings that can significantly improve your editing experience. CapCut allows users to adjust various parameters before diving into the editing process. For instance, setting the resolution and frame rate according to the final output requirements is important.
If you are editing for social media platforms like Instagram or TikTok, you might want to select a vertical aspect ratio and a resolution optimized for mobile viewing. Additionally, enabling the AI-driven features such as auto-captions or background music suggestions can save time during the editing process. Make sure to explore the AI settings under the preferences menu, where you can toggle features like style transfer for images and smart color correction for videos, which can add a professional touch to your work.
Incorporating AI tools into your workflow also involves understanding how to best utilize CapCut's timeline features. The timeline allows for precise editing and layering of clips, and when combined with AI functionalities, it can significantly streamline your process.
For instance, when working with multiple video layers, you can use the AI tool to analyze and suggest the best transitions between scenes based on the content. This not only saves time but also ensures that the transitions are smooth and contextually appropriate.
Additionally, using the AI voice enhancement tool can help in cleaning up audio tracks, making it easier to focus on video editing without constantly adjusting sound levels manually.
Real-world use cases highlight the effectiveness of CapCut’s AI tools in various editing scenarios. For content creators focusing on vlogs, the ability to automatically generate captions using AI can enhance accessibility and viewer engagement.
By simply enabling the auto-caption feature, creators can save hours of manual transcription, allowing them to focus on the creative aspects of their projects. Similarly, businesses utilizing video marketing can benefit from the AI-driven analytics that suggest optimal content lengths and themes based on audience engagement data.
This insight allows marketers to tailor their content more effectively, increasing the chances of reaching a wider audience.
Lastly, optimizing your workflow further hinges on the collaborative capabilities of CapCut. In team environments, using shared projects can enhance the editing process by allowing multiple users to contribute simultaneously.
Using the AI tools collaboratively, team members can provide feedback on AI-generated edits in real-time, making it easier to arrive at a final product that meets everyone’s expectations. Additionally, exporting settings can be fine-tuned to ensure compatibility with various platforms, ensuring that the final output is not only polished but also ready for distribution across multiple channels.
Overall, leveraging CapCut's advanced AI tools within a structured workflow can lead to a more efficient and creative editing experience, ultimately resulting in high-quality content that captivates audiences.


