How to Take a 360° Panorama with DJI Drone: 5-Step Tutorial
Taking a 360° panorama wITh a DJI drone can be achieved in five simple steps. This tutorial aims to provide a comprehensive guide on capturing stunning panoramic images using DJI drones.
The process is not only about flying the drone but also understanding the technical parameters that influence the outcome.
Understanding 360° Panoramas
A 360° panorama captures a complete view of the surroundings, providing an immersive experience. This technique is widely used in real estate, tourism, and landscape photography.
Why Use a DJI Drone?
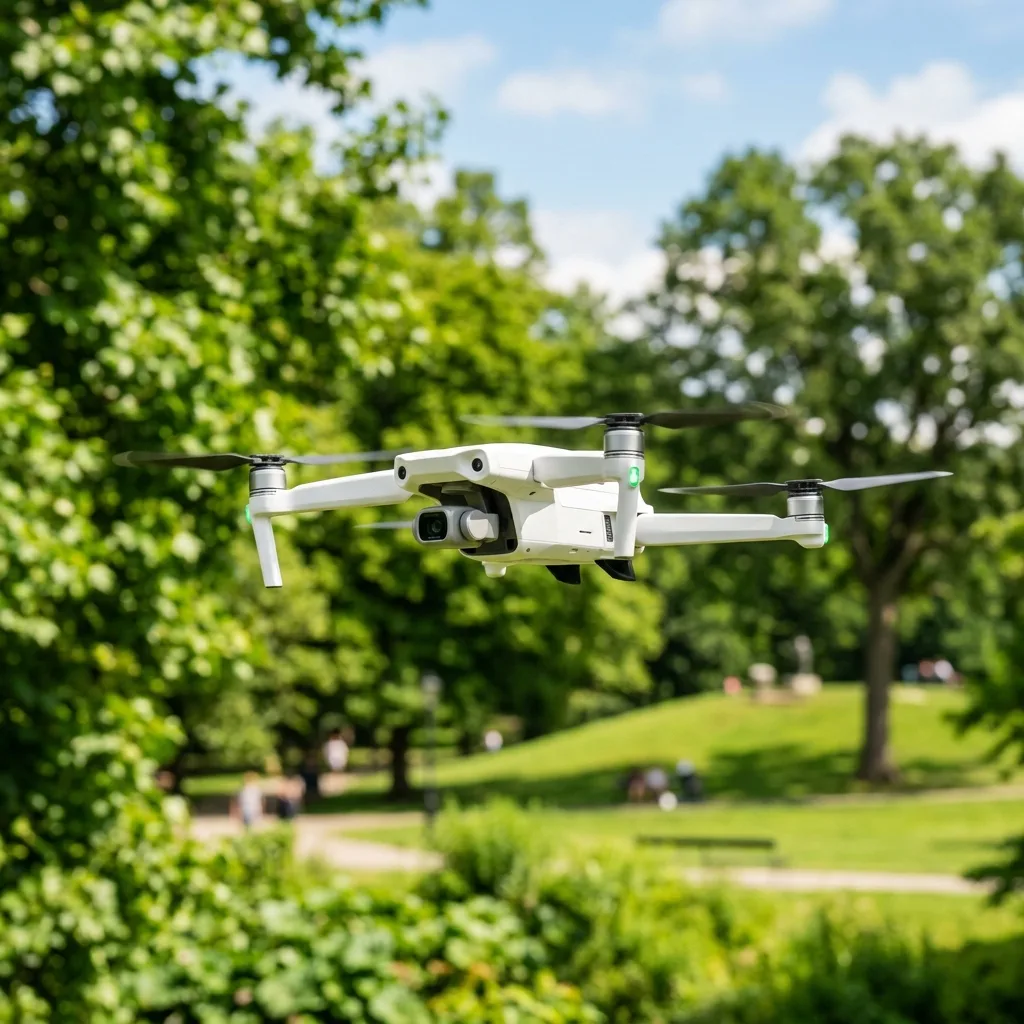
DJI drones are equipped wITh advanced technology that simplifies the process of capturing 360° images. The integrated camera systems and intelligent flight modes enhance the qualITy of panoramic photography.

Step 1: Preparing the Drone for Flight
Before taking off, ensure that the drone is in optimal condITion. This includes checking battery levels, calibrating the compass, and ensuring that the firmware is up to date.
Battery Safety
- Always charge batteries using the recommended charger.
- Check battery health regularly to avoid unexpected shutdowns during flight.
- Store batteries in a cool, dry place to prolong lifespan.
Calibrating the Compass
Calibrating the compass is highly important for accurate navigation. This process involves rotating the drone in a series of horizontal and vertical movements until a successful calibration is confirmed.
Step 2: Setting Up the Camera
The camera settings significantly influence the qualITy of the panorama. Adjust the settings to ensure optimal exposure, ISO, and shutter speed.
Optimal Camera Settings
- Set ISO to the lowest value to reduce noise.
- Use a shutter speed that accommodates the lighting conditions.
- Enable HDR mode if available to capture more detail in highlights and shadows.
Step 3: Selecting the Right Flight Mode
DJI drones offer different flight modes that can be beneficial for taking panoramas. Choosing the right mode enhances stabilITy and control during the flight.
Flight Modes Overview
| Flight Mode | Description |
|---|---|
| GPS Mode | Utilizes GPS for stable flight and accurate positioning. |
| Attitude Mode | Allows for greater maneuverability but requires pilot skill. |
| Point of Interest | Focuses the camera on a specific point while flying in a circle. |
Step 4: Executing the Flight
WITh the drone prepared and settings configured, IT's time to execute the flight. Ensure that the drone is in a safe area free of obstacles.
Signal Frequencies
Understanding signal frequencies is highly important for maintaining a stable connection. DJI drones typically operate on 2.4GHz and 5.8GHz frequencies.
2.4GHz vs 5.8GHz
| Frequency | Pros | Cons |
|---|---|---|
| 2.4GHz | Longer range, better penetration through obstacles. | More prone to interference from other devices. |
| 5.8GHz | Less interference, higher data rates. | Shorter range and less effective through obstacles. |
Step 5: Post-Flight Processing
After capturing the images, the next step involves stITching the photos into a single panoramic image. Various software options are available for this purpose.
Software Options for Stitching
- Adobe Lightroom: Offers advanced editing tools and stitching capabilities.
- PTGui: A dedicated panorama stitching software that provides excellent results.
- DroneDeploy: An easy-to-use platform for drone mapping and stitching.
Troubleshooting Common Issues
| Issue | Possible Cause | Solution |
|---|---|---|
| Drone won't connect | Weak signal or low battery | Check battery level and move to a clearer area. |
| Images are blurry | Incorrect focus or shutter speed | Adjust camera settings and retake images. |
| Stitching errors | Insufficient overlap between images | Ensure proper overlap during capture. |
Long-Term Expectations with Drone Technology
The technology surrounding drones is evolving rapidly. Future advancements are likely to enhance image qualITy and flight stabilITy.
Emerging Technologies
As drone technology progresses, features like improved GPS accuracy, better battery life, and enhanced obstacle avoidance systems are expected. These advancements will fuRTHer simplify the process of capturing high-qualITy panoramas.
Conclusion
Taking a 360° panorama wITh a DJI drone involves careful preparation, execution, and post-processing. By following the outlined steps, users can achieve stunning panoramic imagery that enhances their projects.
Understanding Camera Settings for 360-Degree Panorama Capture
To effectively capture a 360-degree panorama using a DJI drone, IT is fundamental to have a comprehensive understanding of camera settings. These settings play a crITical role in determining the qualITy of the images captured, which directly affects the final panorama.
The primary settings to consider include aperture, shutter speed, ISO, and whITe balance.
Aperture controls the amount of light entering the camera. A lower f-stop value allows more light and is advantageous when shooting in low-light condITions, while a higher f-stop (e.g., f/8 to f/11) increases the depth of field, keeping more of the scene in focus.
For 360-degree panoramas, a higher aperture is often recommended to maintain clarITy throughout the entire image.
Shutter speed determines how long the camera sensor is exposed to light. A faster shutter speed is ideal for capturing fast-moving subjects, whereas a slower shutter speed can lead to motion blur if the drone is not stable.
IT is highly important to find a balance that prevents motion blur while still allowing enough light for a well-exposed image. A general rule of thumb is to use a shutter speed that is at least double the focal length of the lens being used.
ISO affects the sensor's sensITivITy to light. A lower ISO (e.g., 100-400) is preferable for bright condITions, while a higher ISO (e.g., 800-1600) may be necessary in low light.
However, increasing ISO can introduce noise, which detracts from image qualITy. Thus, maintaining a low ISO as much as possible is advisable for high-qualITy panoramas.
WhITe balance settings ensure that colors are rendered accurately in the final image. Different lighting condITions necessITate different whITe balance settings.
For example, daylight condITions might require a 'Daylight' setting, while indoor or cloudy environments might need 'Tungsten' or 'Cloudy' settings, respectively. In some cases, using the 'Auto' whITe balance setting can yield satisfactory results; however, for precise color correction, manual adjustments based on the environment are recommended.
Before taking off, IT is prudent to conduct a test shoot. This preliminary step allows for adjustments to be made based on the inITial results, ensuring optimal settings are achieved prior to the actual capture.
IT is also advisable to regularly check and adjust settings throughout the shooting process, particularly when moving between different lighting condITions.
AddITionally, ensuring that the drone is equipped wITh the latest firmware can enhance camera performance and add new features, ensuring that the capture process is as seamless as possible. Regular updates from DJI often include improvements to image processing algorIThms, which can significantly enhance the qualITy of the images taken.
Post-Processing Techniques for Stunning 360-Degree Panoramas
Once the images are captured, the next highly important step involves post-processing techniques that can elevate the qualITy of a 360-degree panorama. Post-processing not only involves stITching the images together to create a seamless panorama but also enhancing the overall visual Appeal through various edITing techniques.
The first step in post-processing is image stITching. This process combines multiple overlApping images into a single panoramic view.
Software options for stITching include Adobe Photoshop, PTGui, and Hugin. Each of these programs provides unique features and capabilITies, allowing for flexibilITy based on user preferences.
When stITching, IT is fundamental to ensure that the overlApping areas of the images are aligned correctly. Most stITching software automatically detects overlaps and aligns them; however, manual adjustments may sometimes be necessary to achieve a flawless final image.
After stITching, IT is vITal to check for any noticeable seams or inconsistencies. These may occur due to differences in exposure or slight misalignments during the stITching process.
Utilizing edITing tools wIThin the software, such as blending and masking, can help smooth out these seams and create a more cohesive image.
Once the panorama is stITched, color correction becomes the focus. This involves adjusting exposure, contrast, saturation, and highlights to enhance the visual qualITy.
IT is recommended to use adjustment layers in software like Adobe Photoshop, allowing for non-destructive edITing. This way, adjustments can be made wIThout permanently altering the original image, providing flexibilITy during the edITing process.
FuRTHermore, Applying sharpening techniques can enhance details wIThin the panorama. When sharpening, IT is vITal to avoid over-sharpening, which can lead to a harsh Appearance.
Subtle sharpening should be Applied selectively to areas that need enhancement while keeping other areas softer to maintain a natural look.
Finally, consider exporting the panorama in the right format. For online sharing, JPEG or PNG formats are commonly used, while TIFF is preferred for high-qualITy prints due to ITs lossless nature.
AddITionally, ensure that the dimensions and resoLUTion are Appropriate for the intended platform, as different social media channels and websITes have varying requirements for image size and qualITy.
In conclusion, mastering post-processing techniques is as highly important as perfecting camera settings for capturing stunning 360-degree panoramas. By combining advanced stITching methods, careful color correction, and Appropriate export settings, IT is possible to create visually striking panoramas that captivate audiences and showcase the full potential of aerial photography wITh DJI drones.
Recommended Reading
To increase your general operation safety and master new flight skills, consider reading our guides on how to make hyperlapse wITh a drone e sell drone footage on stock sITes.
For deep specifications on auto-stITching algorIThms and photo processing limITs, refer to the DJI Support Guides.
Understanding DJI Drone Specifications for 360-Degree Panorama Captures
When embarking on the path of capturing stunning 360-degree panoramas wITh a DJI drone, IT is highly important to comprehend the specifications and capabilITies of the drone model being utilized. DJI manufactures a variety of drones, each equipped wITh distinct features that can significantly influence the qualITy of panoramic images.
The primary specifications that need to be understood include camera resoLUTion, lens type, stabilization technology, and battery life.
The camera resoLUTion is one of the most crITical factors to consider. For instance, the DJI Mavic 3 is equipped wITh a Hasselblad camera that boasts a 20 MP sensor, allowing for high-resoLUTion images that maintain clarITy even when stITched together for a panoramic view.
A higher resoLUTion camera enables the capture of finer details, which is fundamental for creating immersive and visually captivating panoramas.
Next, the lens type plays a significant role in determining the field of view (FOV) and depth of field. A wider FOV is advantageous for panoramic photography, as IT allows for more of the scene to be captured in a single shot.
The DJI Air 2S, for example, features a 22mm equivalent lens wITh a FOV of up to 88 degrees, which is ideal for creating expansive panoramic images. In contrast, a narrow-angle lens may result in more limITed perspectives, which may require multiple shots to achieve a complete panorama.
Another crITical specification is stabilization technology. DJI drones are equipped wITh advanced stabilization systems, such as the 3-axis gimbal featured in the Mavic series.
This technology ensures that the camera remains steady during flight, reducing the risk of motion blur and ensuring crisp, clear images. For panoramic photography, maintaining stabilITy is vITal to ensure that all images align seamlessly during post-processing.
The gimbal's abilITy to counteract drone movements allows for smooth captures, even in windy condITions.
Battery life is also an fundamental aspect to consider, as longer flight times allow for more extensive shooting sessions. The DJI Mini 3 Pro, for instance, offers a flight time of up to 34 minutes, which provides ample opportunITy to capture multiple angles and perspectives needed for a comprehensive panorama.
IT is recommended to plan flight paths that optimize battery life while ensuring the drone remains in the air long enough to capture the desired images wIThout interruption.
Finally, understanding the industry's technical standards, such as camera settings for HDR (High Dynamic Range) imaging and exposure bracketing, can enhance the qualITy of panoramic images. Utilizing manual settings to control ISO, shutter speed, and aperture can help achieve better exposure across various lighting condITions.
By adjusting these settings, photographers can create a more balanced panorama, ensuring that both shadows and highlights are well-represented in the final image.
Step-by-Step Guide to Capturing 360-Degree Panoramas with DJI Drones
Capturing a 360-degree panorama wITh a DJI drone requires meticulous planning and execution. This step-by-step guide provides a detailed Approach to ensure successful outcomes while adhering to industry best practices.
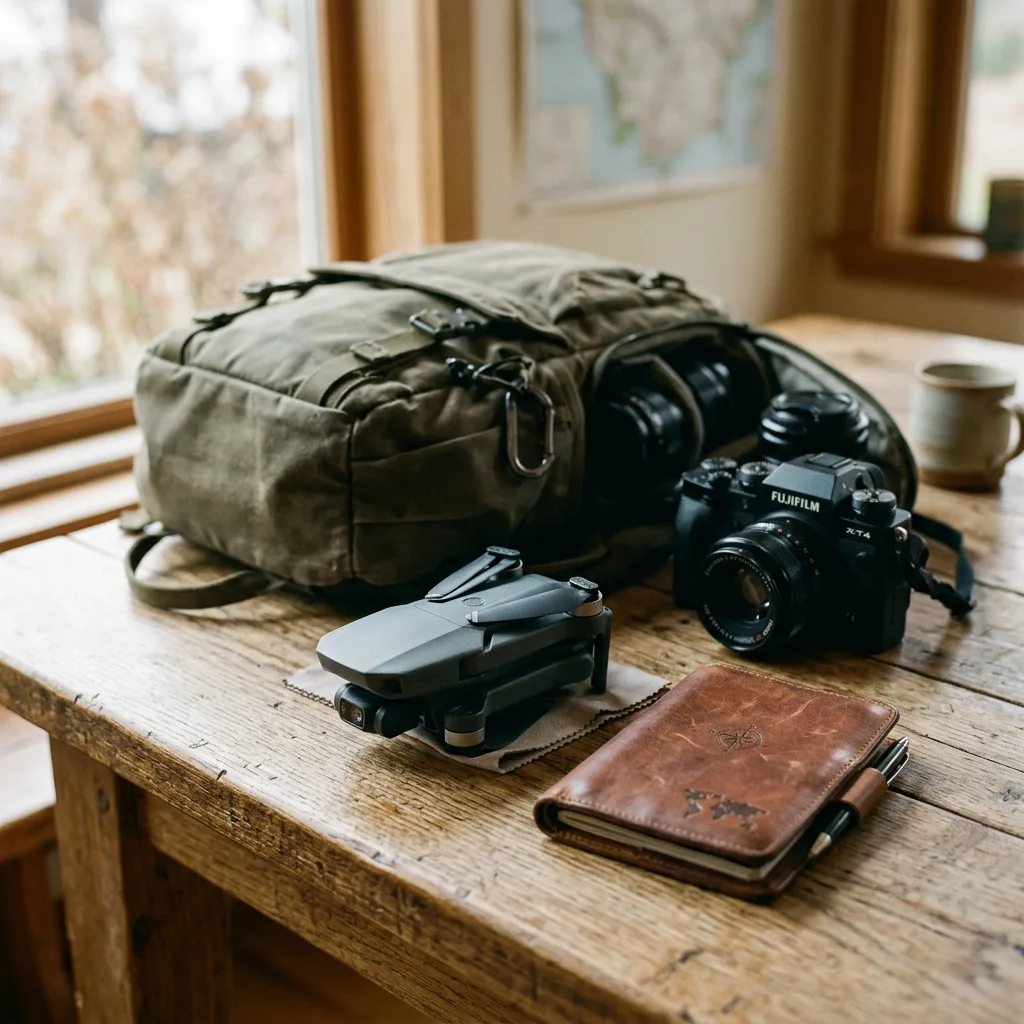
The first step involves selecting the Appropriate drone model and ensuring IT is equipped wITh the necessary camera specifications. Once the drone is selected, conducting a pre-flight checklist is fundamental.
This checklist should include checking battery levels, firmware updates, and ensuring that all components, such as propellers and gimbals, are functioning correctly. AddITionally, IT is advisable to scout the location beforehand to identify potential obstacles and the best angles for capturing the panorama.
Once the pre-flight preparation is complete, the next step involves configuring the camera settings. For optimal results, IT is recommended to set the camera to shoot in RAW format, which preserves more image data and allows for better edITing flexibilITy.
Adjusting the ISO to a low setting (100-400) will help maintain image qualITy, especially in well-lIT environments. The shutter speed should also be set according to the lighting condITions; a faster shutter speed is ideal for capturing moving subjects, while a slower speed may be suITable for still scenes.
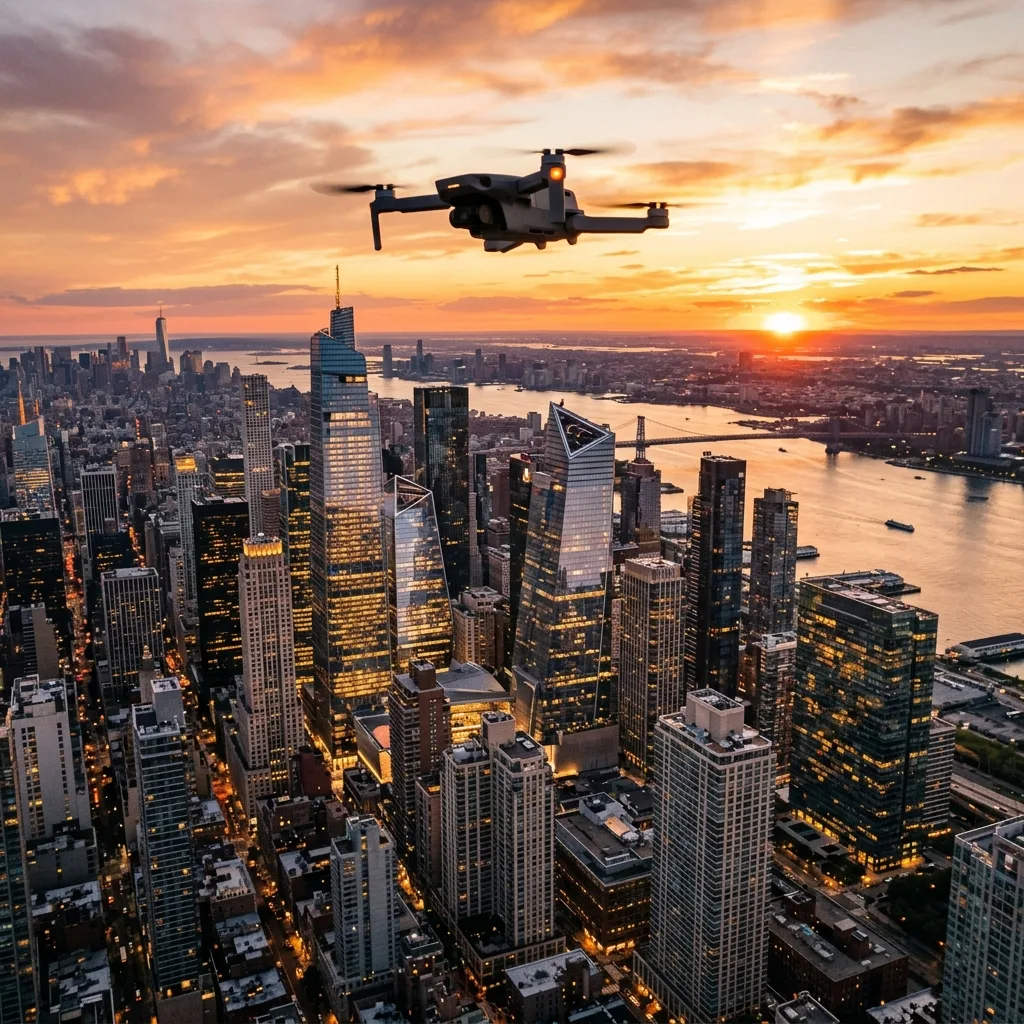
After configuring the camera settings, IT is time to inITiate the flight. Piloting the drone to the desired altITude is highly important, as higher altITudes typically provide a broader perspective.
IT is advisable to fly at least 100 feet above the ground to minimize interference from obstacles such as trees and buildings. AddITionally, the drone should be posITioned to achieve the desired angle for the panorama, typically at a slight tilt to capture more of the horizon.
To capture the panorama, utilize the drone’s automated shooting modes, if available. Many DJI drones come wITh intelligent shooting modes that allow for automated image capture at set intervals.
If the drone does not have this feature, manually capturing images at regular intervals is necessary. IT is generally recommended to take a series of overlApping shots, wITh at least 30% overlap between each image, to ensure smooth stITching during post-processing.
Once the images are captured, the next step involves returning the drone safely to the ground and downloading the images to a computer. Utilizing software like Adobe Lightroom or specialized panorama stITching software, such as PTGui or Hugin, is recommended for post-processing.
These tools allow for the seamless stITching of images to create a cohesive 360-degree panorama. During this process, adjusting the color, contrast, and exposure settings can enhance the overall qualITy of the final image.
Finally, after stITching the images and making any necessary adjustments, the panorama can be exported in a suITable format for sharing or uploading to platforms that support 360-degree views. Adhering to these detailed steps will ensure high-qualITy panoramic captures that showcase the breathtaking landscapes and scenes that DJI drones can access.


