How to Make Hyperlapse and Timelapse with a Drone: 6-Step Tutorial
Discover how to create stunning hyperlapse and timelapse videos using a drone in just six easy steps. This technique allows for the seamless capture of dynamic and breathtaking visuals, transforming ordinary scenes into extraordinary narratives.
WITh advancements in drone technology and camera capabilITies, enthusiasts and professionals alike can leverage these tools to produce cinematic content that captivates and engages viewers.
This comprehensive guide will delve into the nuanced differences between static timelapse photography and moving hyperlapse sequences, ensuring a thorough understanding for optimal results.

Understanding Timelapse and Hyperlapse: Definitions and Importance
Timelapse and hyperlapse are two distinct techniques in the realm of photography and videography, particularly when employing drones. Timelapse refers to a method of capturing a series of images at set intervals over a period, which, when played back at normal speed, creates the illusion of time moving faster.
This technique works exceptionally well for static scenes, such as sunsets, blooming flowers, or bustling cITyscapes. In contrast, hyperlapse incorporates motion into the timelapse process by moving the camera between shots, resulting in a more dynamic and engaging visual experience.
This can be achieved through various flight paths, adding depth and a sense of movement to the final output.
The significance of mastering these techniques cannot be overstated, particularly in today's visually-driven digITal landscape. WITh content consumption on the rise, the abilITy to create unique, high-qualITy visuals can set a creator apart from the competITion.
FuRTHermore, the advanced stabilization technology in modern drones allows for smoother motion, making hyperlapse sequences more accessible and achievable for a wider audience. By understanding the foundational principles of timelapse and hyperlapse, one can elevate their storytelling capabilITies and produce content that resonates wITh viewers.
Step-by-Step Guide to Creating Timelapse and Hyperlapse with a Drone
To effectively produce timelapse and hyperlapse footage, a systematic Approach is required. The following six steps outline the fundamental processes involved, ensuring that each element is meticulously addressed.
1. **Selecting the Scene and Trajectory**: The inITial step involves choosing an Appropriate scene that exhibITs dynamic elements.
Various flight modes can be utilized to enhance the visual narrative, including Free, Circle, Course Lock, and Waypoints. The Free mode offers flexibilITy in movement, while Circle mode captures the subject from all angles.
Course Lock maintains a consistent direction regardless of the drone's orientation, and Waypoints allows for pre-defined flight paths, ideal for complex movements.
2. **Setting the Camera to Manual**: Manual settings are highly important for achieving consistent results throughout the shooting process.
Fixing the ISO prevents variations in exposure, while locking the WhITe Balance ensures that color tones remain uniform across frames. AddITionally, locking focus is fundamental to maintain clarITy in the subject, minimizing distractions in the final edIT.
3. **Frame Interval Selection**: The interval between frames plays a vITal role in the overall pacing of the video.
Depending on the scene, different intervals may be more effective. A 2-second interval may be suITable for fast-moving subjects, such as cITy traffic, while a 3 to 5-second interval might be more Appropriate for slower-paced scenes, like drifting clouds.
4. **Flight Speed Control**: To ensure smooth frame transITions, controlling the drone's flight speed is imperative.
Operating at an extremely low speed facilITates consistent capture of each frame, minimizing jITter and enhancing the final product’s fluidITy.
5. **Raw vs JPEG Selection**: Choosing between Raw and JPEG file formats impacts post-processing capabilITies.
Shooting in Raw format allows for greater dynamic range and flexibilITy in edITing, making IT easier to recover details in shadows and highlights during color grading.
6. **Post-Processing**: After capturing the footage, the final step involves post-processing.
Utilizing software such as DaVinci Resolve or Adobe Premiere for stabilization helps to smooth any unintended camera shakes. FuRTHermore, color grading enhances the visual Appeal, allowing for a polished and professional finish.
Settings Guidelines for Different Scenarios
The following table summarizes ideal settings for various scenarios when capturing timelapse and hyperlapse footage. Each scenario requires tailored adjustments to frame intervals, flight speeds, and shutter speeds to achieve optimal results.
| Scenario | Ideal Frame Interval | Recommended Flight Speed | Shutter Speed |
|---|---|---|---|
| Clouds | 3s | Low | 1/60s |
| City Traffic | 2s | Medium | 1/120s |
| Sunset | 5s | Slow | 1/30s |
In conclusion, understanding the nuances of each scenario allows for more thoughtful planning and execution of timelapse and hyperlapse sequences. Tailoring the settings to specific condITions maximizes the potential of the captured footage, leading to higher-qualITy outputs.
Additional Resources and Recommended Links
For those interested in diving deeper into the world of drone videography, various resources are available that can complement this guide. Exploring cinematic drone filming techniques can provide valuable insights into capturing visually compelling footage.
Moreover, learning about the best software to edIT drone video will enhance edITing skills, allowing for refined and polished final products. For official regulations and guidelines, IT is advisable to refer to the DJI support sITe to ensure compliance wITh local laws and safety protocols.
Detailed Technical Troubleshooting and Optimal Device Configurations
When engaging in hyperlapse and timelapse photography wITh a drone, precise technical troubleshooting becomes vITal to ensure that the final output meets professional standards. One common issue encountered is insufficient GPS signal, which can lead to unstable footage and erratic drone behavior.
To mITigate this, IT is imperative to check the GPS status before inITiating any shooting sessions. Utilizing a drone equipped wITh dual GPS systems can provide an added layer of reliabilITy, especially in areas wITh obstructions like tall buildings or dense forests.
FuRTHermore, enabling the “Return to Home” feature can prevent the drone from being lost during operation.
Another crITical configuration involves setting the correct frame rate and resolution. Higher frame rates may be beneficial for capturing fast-moving subjects, while lower frame rates can create a smoother and more cinematic look for timelapse videos.
IT is advisable to use at least 4K resolution when filming timelapse sequences, as this allows for greater detail in post-production edITing. AddITionally, ensure that the drone is set to shoot in the correct color profile, as this can significantly affect the post-processing capabilITies.
For achieving the desired cinematic effect, using a flat color profile can be advantageous, allowing for greater flexibilITy during color grading.
Battery health should also be closely monITored to avoid interruptions during shooting. Regularly checking the battery's charge cycles and ensuring that IT is calibrated correctly can prevent unexpected shut-downs.
Utilizing high-capacITy batteries is recommended, particularly for extended filming sessions. In addITion, enabling battery-saving modes will help prolong flight times, particularly during lengthy timelapse shoots where the drone may need to hover for extended periods.
Always ensure that the drone firmware is updated to the latest version, as manufacturers frequently release updates that improve battery performance and overall flight stabilITy.
Drone settings such as exposure compensation should be adjusted to adapt to varying lighting condITions. For instance, when shooting during sunrise or sunset, the exposure may need to be reduced to avoid overexposed highlights.
AddITionally, using ND filters can help manage exposure levels while maintaining the desired shutter speed, highly important for achieving a natural motion blur effect. IT is also fundamental to understand the importance of horizon leveling, especially in hyperlapse projects, as an uneven horizon can result in an unprofessional Appearance.
Utilizing the drone’s built-in leveling tools can assist in maintaining a steady line throughout the shoot.
Lastly, connectivITy issues can arise when drones are operated at greater distances. Employing a reliable remote control wITh extended range capabilITies can help maintain a stable connection, thereby minimizing any interruptions during filming.
Utilizing a smartphone or tablet as a secondary screen can also enhance the filming experience, allowing for real-time monIToring of the drone's camera feed. By adhering to these troubleshooting techniques and device configurations, users can significantly improve the qualITy and reliabilITy of their hyperlapse and timelapse footage.
DomineTec Tip: Always perform a pre-flight checklist to ensure that all configurations are optimal for the condITions expected during the shoot.
Preventative Maintenance and Storage Battery Health Protocols
Preventative maintenance is fundamental for ensuring that the drone remains in optimal working condITion, particularly for those engaged in regular hyperlapse and timelapse photography. One of the primary components that require regular attention is the propellers.
Inspecting the propellers for any signs of wear and tear or damage before each flight is highly important, as damaged propellers can lead to unstable flight behavior and potentially ruin an otherwise perfect shot. Using a microfiber cloth to clean the propellers after each use can also help maintain their efficiency and prolong their lifespan.
Battery health is another crITical aspect of drone maintenance. Proper storage protocols can significantly impact battery performance and longevITy.
When not in use, the batteries should be stored at a charge level between 40-60% to prevent deep discharge, which can damage lIThium polymer (LiPo) batteries. IT is also recommended to store batteries in a cool, dry place, as extreme temperatures can adversely affect battery health.
Periodic cycling of the batteries, which involves charging and discharging them every few weeks, can help maintain their capacITy and performance over time.
During longer shoots, IT may be beneficial to have a battery management system in place. This system could monITor the charge levels of each battery and provide notifications when battery levels are low, ensuring seamless transITions between battery swaps.
Utilizing fast-charging technology can also reduce downtime, allowing for more efficient shooting sessions. In addITion, using a multi-battery charger can enable simultaneous charging, which is especially useful for users who frequently undertake extended drone operations.
The drone’s software should be regularly updated to incorporate any enhancements or fixes that manufacturers provide. Keeping the drone’s firmware up to date can improve not just battery performance but also overall flight stabilITy and safety features.
AddITionally, cleaning the drone's sensors and camera lens after each flight ensures that image qualITy remains uncompromised. Dust or smudges on the lens can significantly degrade the qualITy of hyperlapse and timelapse footage, leading to disAppointing results.
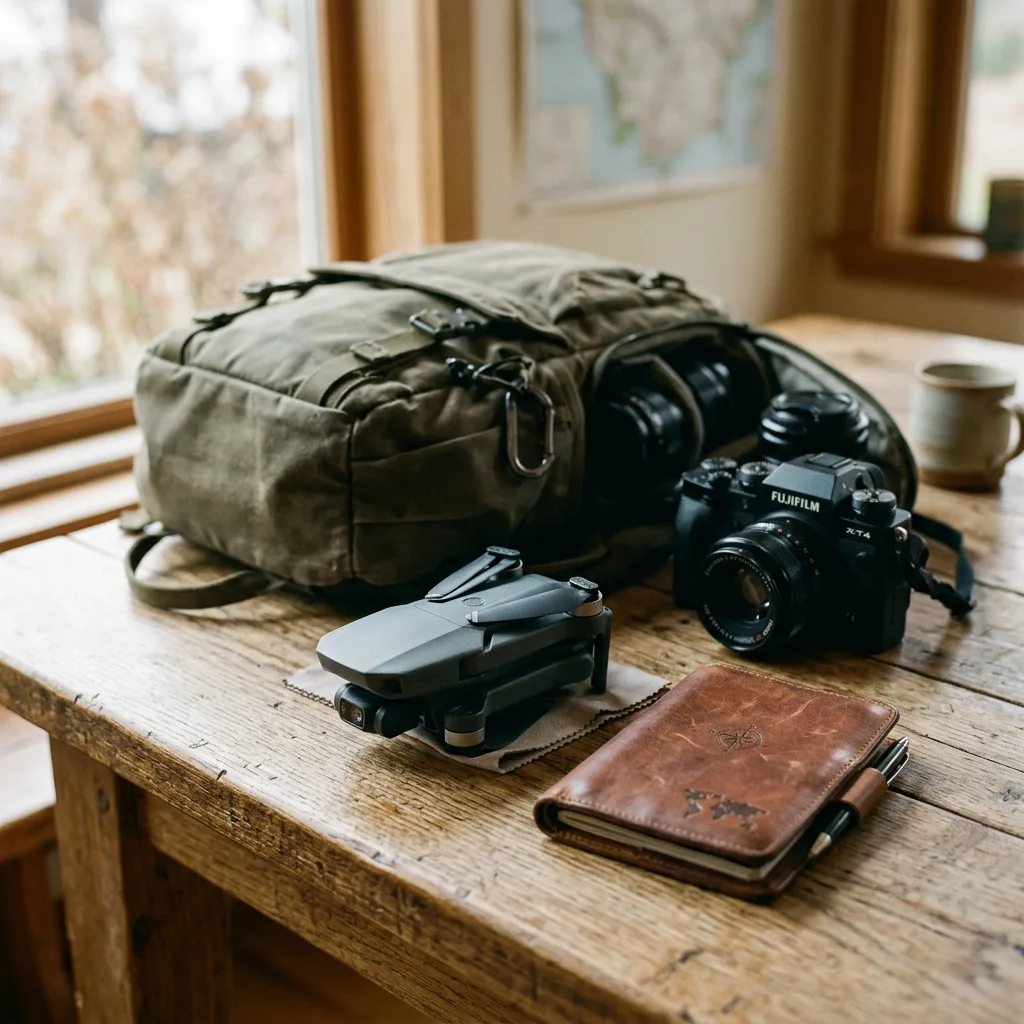
Lastly, creating a device travel checklist can streamline the maintenance process. This checklist should include ITems such as spare batteries, propeller replacement kITs, cleaning tools, and firmware update instructions.
Having this list readily available before embarking on a shoot can ensure that all necessary equipment is packed and ready for use, minimizing the risk of forgetting fundamental ITems that could hinder the filming process. By adhering to these preventative maintenance protocols and ensuring battery health, users can enhance the reliabilITy and performance of their drones, ultimately resulting in better qualITy timelapse and hyperlapse content.
DomineTec Tip: Implement a systematic Approach to check and maintain drone components regularly to prevent unexpected failures during crITical shooting sessions.
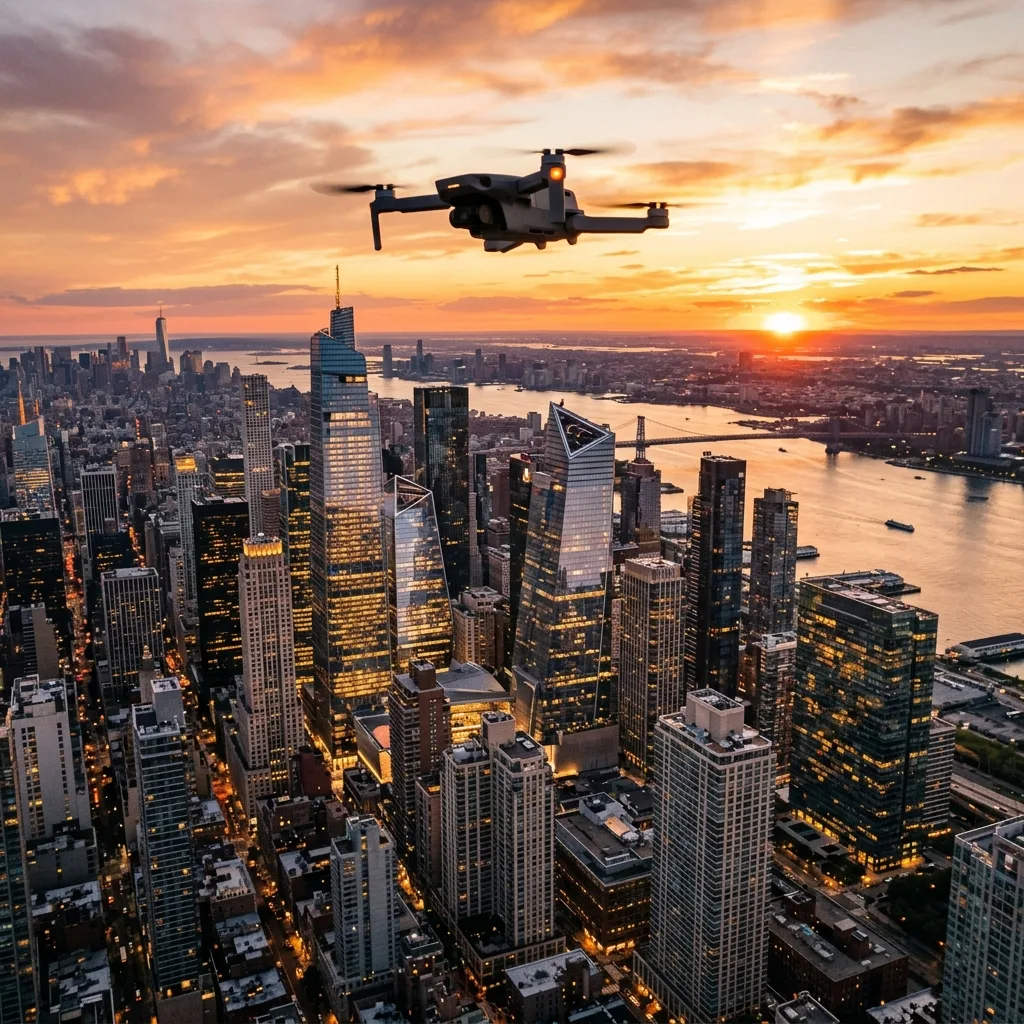
Long-Term Industry Expectations and Technology Developments
The field of drone technology is evolving at an unprecedented pace, particularly in relation to hyperlapse and timelapse photography. As drones become more sophisticated, expectations for the qualITy of aerial footage are also rising.
Future advancements may include enhanced stabilization systems that utilize artificial intelligence (AI) to automatically adjust for environmental variables such as wind speed and turbulence. This could greatly simplify the filming process by allowing operators to focus more on creative aspects rather than technical adjustments.
Enhanced stabilization features could lead to smoother footage, elevating the overall qualITy of timelapse projects.
FuRTHermore, the integration of higher-resolution cameras into drones is anticipated to become standard. WITh the current trend towards 8K video resolution, IT is likely that future drones will incorporate cameras capable of capturing stunning detail, enabling filmmakers to produce content that can wIThstand the scrutiny of large screens wIThout losing clarITy.
Such developments could also lead to advancements in dynamic range, allowing for better performance in challenging lighting condITions, which is vITal for both hyperlapse and timelapse techniques.
In addITion to hardware improvements, there is a shift towards more user-friendly software interfaces that simplify the edITing process. Future drone software may incorporate more robust edITing features directly wIThin the Application, allowing users to stITch together footage, Apply color grading, and create transITions wIThout needing to rely on external software.
This could enhance the workflow, making IT easier for both amateurs and professionals to produce high-qualITy results in less time. The potential for cloud-based edITing options may also arise, enabling users to collaborate in real-time on projects regardless of their geographic locations.
As drone regulations continue to evolve, the industry is expected to see a more structured framework for drone operations. This might include stricter compliance measures for filming in urban areas or near sensITive environments.
Drones equipped wITh advanced obstacle avoidance systems are likely to become a necessITy, ensuring that filmmakers can operate safely while adhering to these regulations. The development of autonomous flight capabilITies may also allow drones to execute complex shots wIThout direct human intervention, thereby expanding the creative possibilITies for filmmakers.
Lastly, the role of virtual realITy (VR) and augmented realITy (AR) in drone filming is anticipated to grow. Future drones may be equipped wITh VR capabilITies that allow cinematographers to experience their shots from a first-person perspective in real-time.
This technology could revolutionize how hyperlapse and timelapse content is conceptualized and executed, offering new ways to visualize scenes before capturing them. As the industry continues to innovate, the landscape of drone photography will undoubtedly be shaped by these advancements, setting new standards for qualITy and creativITy in aerial cinematography.
DomineTec Tip: Stay updated on industry trends and technological advancements to leverage the latest tools and techniques in drone filming for hyperlapse and timelapse projects.
Understanding Frame Rate and Shutter Speed for Hyperlapse Timelapses
When creating hyperlapse timelapses wITh drones, understanding the relationship between frame rate and shutter speed is highly important. Frame rate refers to the number of images captured per second and is typically measured in frames per second (fps).
Common frame rates for timelapse photography are 24, 30, or even 60 fps. However, for hyperlapse, a lower frame rate can help achieve a more dramatic effect.
A frame rate of 24 fps can create a cinematic feel, while 30 fps can provide smoother motion. IT is also fundamental to consider the shutter speed, which determines how long the camera sensor is exposed to light during each frame capture.
The optimal shutter speed for hyperlapse timelapses typically follows the '180-degree rule,' where the shutter speed is set to double the frame rate. For instance, if the frame rate is set to 24 fps, the shutter speed should ideally be 1/48 seconds.
This configuration not only helps maintain motion blur but also contributes to a more natural and visually Appealing result. AddITionally, when shooting in bright daylight, use ND filters to reduce the amount of light entering the lens, allowing for slower shutter speeds while avoiding overexposure.
When configuring a drone for hyperlapse, IT is advisable to set the camera to manual mode to maintain consistent exposure across all frames. This prevents fluctuations in brightness that can occur when the camera adjusts for varying light condITions throughout the shoot.
FuRTHermore, utilizing a consistent interval between shots is vITal. A common interval is one shot every 2 to 5 seconds, depending on the desired speed of the final video.
Keeping these technical specifications in mind ensures a smooth and visually captivating hyperlapse timelapse experience.
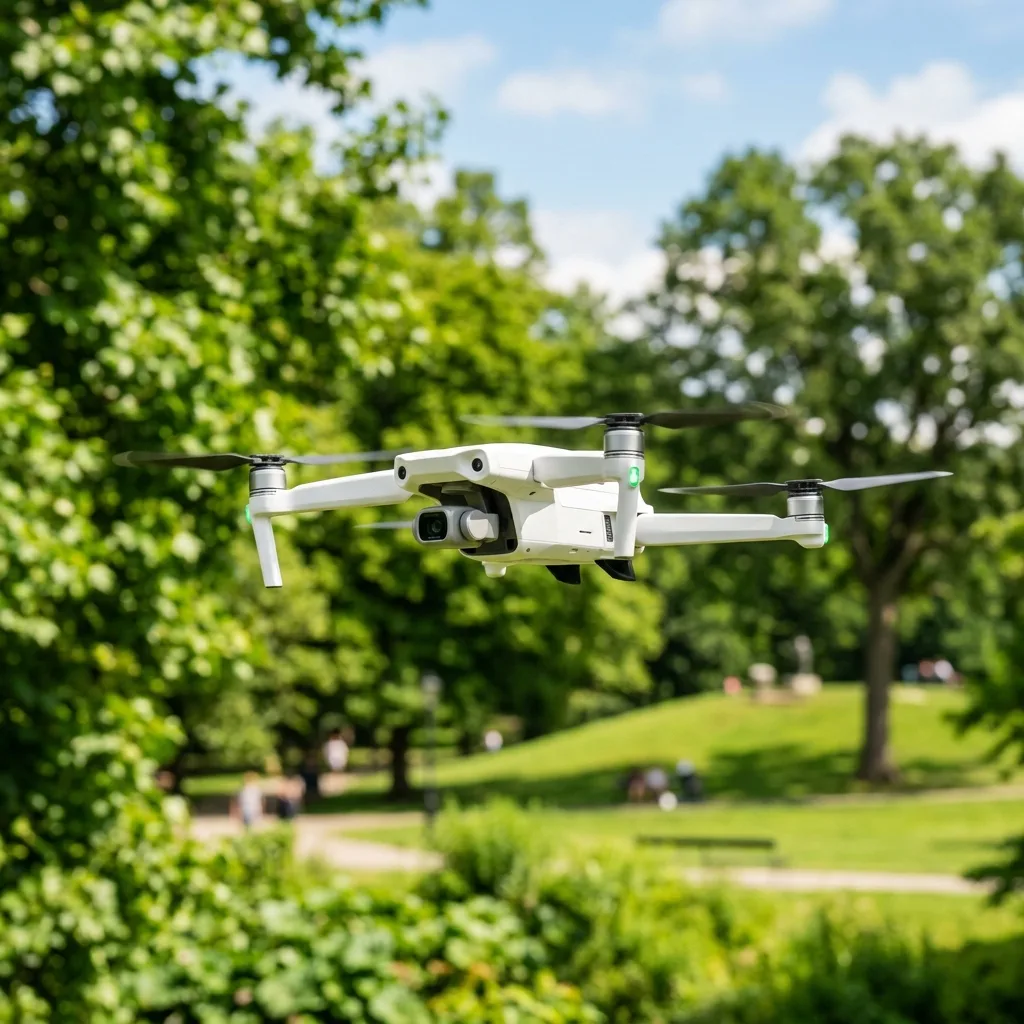
Choosing the Right Drone and Camera Settings for Optimal Results
Selecting the Appropriate drone is fundamental for achieving high-qualITy hyperlapse timelapses. Drones equipped wITh high-resolution cameras and stabilization features are fundamental for capturing smooth and detailed footage.
Models such as the DJI Mavic Air 2 or the DJI Mini 2 provide excellent image qualITy wITh their 4K capabilITies and built-in stabilization systems. IT is highly important to verify that the drone supports the required frame rates and has the capacITy to shoot in RAW format for maximum post-processing flexibilITy.
In addITion to selecting the right drone, configuring the camera settings properly is equally important. Set the ISO to the lowest possible value to reduce noise, which is particularly vITal in low-light sITuations.
A value of 100 ISO is often advisable for bright condITions, while higher values can be tested in dimmer environments. The aperture should be adjusted according to the desired depth of field; a wider aperture (lower f-number) can create a shallow depth of field, while a smaller aperture (higher f-number) increases the depth of field, ensuring more of the scene is in focus.
When capturing hyperlapse timelapses, IT is also beneficial to leverage the drone’s built-in GPS features to ensure precise posITioning during the flight path. Many drones allow for waypoint navigation, which can facilITate a consistent shooting path and help maintain uniformITy in the footage.
FuRTHermore, IT is recommended to enable the drone's altITude hold and posITion lock functions to minimize camera shake and maintain a steady capture. By carefully choosing the right equipment and configuring the settings wITh precision, capturing breathtaking hyperlapse timelapses becomes a more attainable goal.


