How to Replace the Battery on Multilaser Hydra Robot Vacuum Cleaner
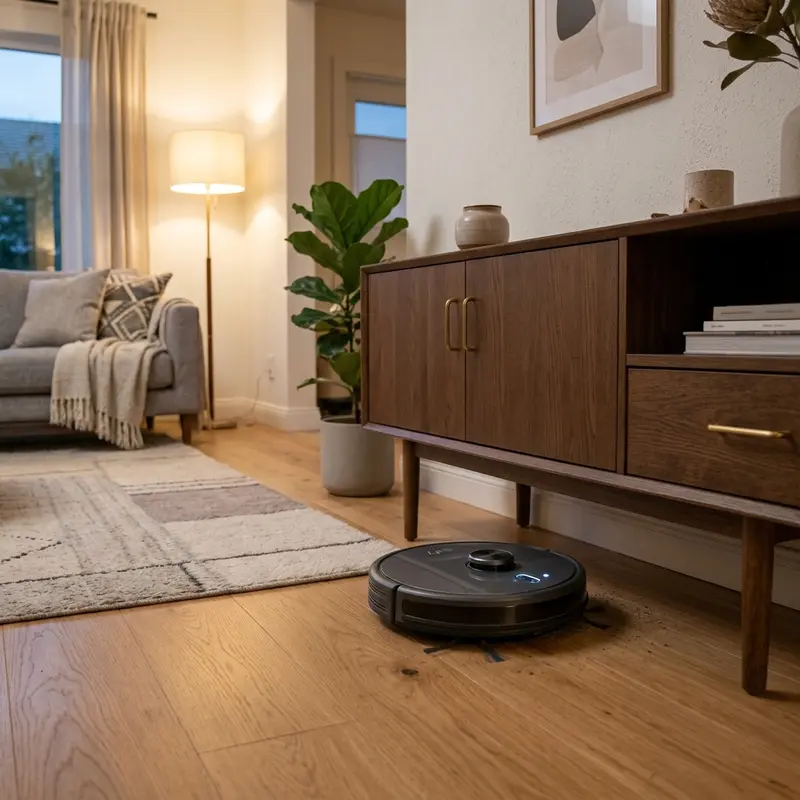
The Multilaser Hydra Robot Vacuum Cleaner is a marvel of technology, designed to make our lives easier by autonomously cleaning our homes. However, like any electronic device, its battery can wear out over time. If you notice that your Hydra is struggling to maintain power, with symptoms such as the water pump functioning while the vacuum traction motors stall, the battery draining within five minutes, or the blue charging LED failing to illuminate, it might be time for a battery replacement.
This comprehensive guide will walk you through the process of replacing the battery of your Multilaser Hydra models HO045 and HO410. By following these detailed steps, you can restore your vacuum cleaner’s functionality and ensure it continues to serve you well for years to come.
Understanding Battery Failure Symptoms
Before diving into the replacement process, it’s crucial to identify the signs of a failing battery. Aqui estão os sintomas comuns que indicam que é hora de substituir a bateria:
- Water Pump Operates, But Traction Motors Stall: If your vacuum can spray water but fails to move, this is an indicator that the battery is not supplying sufficient power to the motors.
- Rapid Battery Drain: A healthy battery should last for much longer than five minutes. If your vacuum is running out of power within this timeframe, it is likely that the battery is degraded.
- Charging LED Malfunction: If the blue LED that indicates charging does not light up when plugged in, this could also signify a battery issue.
Gathering the Necessary Tools
Before you start the replacement process, you need to have the appropriate tools on hand. Here’s a list of what you’ll need:
- Philips screwdriver
- Flathead screwdriver
- Replacement battery (7.4V / 14.4V, 1800mAh to 2600mAh capacity)
- Safety gloves
- Protective eyewear
- Waste disposal bag for old battery
Finding the Right Replacement Battery
It’s crucial to choose the correct replacement battery to ensure compatibility and safety. The specifications you need to look for are:
- Voltage: 7.4V or 14.4V
- Capacity: 1800mAh to 2600mAh
Here’s a reference table comparing different replacement battery options:
| Brand | Voltage (V) | Capacity (mAh) | Battery Type | Compatibility |
|---|---|---|---|---|
| Multilaser | 7.4 | 2600 | Li-ion | HO045, HO410 |
| Generic | 7.4 | 2200 | Li-ion | HO045, HO410 |
| PowerMax | 14.4 | 1800 | Li-ion | HO045, HO410 |
| BatteryPlus | 7.4 | 2500 | Li-ion | HO045, HO410 |
| EcoBattery | 14.4 | 2400 | Li-ion | HO045, HO410 |
Preparing for Battery Replacement
Now that you have everything ready, it’s time to prepare for the replacement. Follow these steps:
- Turn off the Vacuum Cleaner: Ensure that the vacuum is powered off and unplugged from the charging station.
- Wear Safety Gear: Put on your safety gloves and protective eyewear to prevent injury.
- Clear a Workspace: Find a clean, flat surface to work on where you can easily access the vacuum.
Opening the Battery Compartment Hatch
The next step is to access the battery compartment. Here’s how to do it:
- Locate the Battery Hatch: Flip the vacuum over and find the battery compartment hatch located underneath the unit.
- Unscrew the Hatch: Using your Philips screwdriver, unscrew the screws securing the hatch. Make sure to keep them in a safe place as you’ll need them later.
- Open the Hatch: Gently lift the hatch to reveal the battery compartment.
Disconnecting the Old Battery
With the battery compartment open, you can now disconnect the old battery:
- Identify the Battery Connector: Locate the electrical connector that links the battery to the vacuum’s internal system.
- Disconnect the Battery: Carefully pull the connector apart, ensuring you do not damage any wires. Avoid using excessive force.
Installing the New Battery
Now it’s time to install the new battery:
- Insert the New Battery: Place the new battery into the compartment, making sure it fits snugly.
- Reconnect the Battery: Align the battery connector and push it firmly into place. Ensure that it is secure.
Closing the Battery Compartment
Once the new battery is secured, you need to close the compartment:
- Replace the Hatch: Position the battery hatch back onto the compartment.
- Secure with Screws: Use your Philips screwdriver to tighten the screws back into place. Make sure the hatch is firmly attached.
DomineTec Tech Tip: Always handle batteries with care, and ensure that you dispose of the old battery according to local regulations for electronic waste.
Testing the New Battery
After replacing the battery, it’s important to test if everything is functioning correctly:
- Charge the Vacuum: Place the vacuum back on its charging station and allow it to charge for a full cycle.
- Power On: Once charged, power on the vacuum to ensure it starts without any issues.
- Run a Test: Perform a test run to confirm that the vacuum is operating smoothly and the battery holds charge.
Responsible E-Waste Disposal
When you replace the battery, it's essential to dispose of the old battery responsibly. Lithium-ion batteries can be hazardous to the environment if not disposed of correctly. Here are some tips:
- Find a local recycling center that accepts lithium-ion batteries.
- Check with your local waste management facility for disposal guidelines.
- Never throw lithium batteries in the trash.
Advanced Troubleshooting Tips
If your Multilaser Hydra continues to exhibit issues even after a battery replacement, consider the following troubleshooting tips:
- Check for Firmware Updates: Sometimes, software glitches can affect performance. Ensure that the vacuum's firmware is up to date.
- Inspect Internal Components: Open the vacuum again and check for loose wires or damaged components that could be affecting performance.
- Reset the Vacuum: Many robot vacuums have a reset function that can restore factory settings. Consult the user manual for instructions.
- Consult the Manufacturer: If problems persist, contact Multilaser’s customer support for assistance or consider taking the vacuum to a certified technician.
Alternative Settings for Enhanced Performance
To maximize the performance of your Multilaser Hydra, consider these alternative settings:
- Adjust Cleaning Modes: Many models offer different cleaning modes (e.g., spot cleaning, edge cleaning). Experiment to find the mode that best suits your cleaning needs.
- Schedule Regular Cleanings: Set up a cleaning schedule to maintain optimal performance. Regular use can help keep the internal components in good shape.
- Keep Sensors Clean: Regularly wipe down the sensors to ensure accurate navigation and improve cleaning efficiency.
- Maintain Dustbin and Filters: Clean the dustbin and replace filters regularly to prevent blockage and maintain suction power.
Long-Term Care Tips
To prolong the life of your Multilaser Hydra, consider these long-term care tips:
- Store Properly: When not in use, store the vacuum in a cool, dry place away from direct sunlight.
- Battery Maintenance: Avoid letting the battery drain completely before recharging. Try to keep it between 20% and 80% charged for optimal lifespan.
- Regular Maintenance: Schedule regular maintenance checks to ensure all components are functioning correctly and to catch potential issues early.
- Follow Usage Guidelines: Always use the vacuum as recommended in the user manual to avoid unnecessary wear and tear.
Frequently Asked Questions (FAQ)
1. How often should I replace the battery in my Multilaser Hydra?
Typically, you should consider replacing the battery every 2-3 years, depending on usage. If you notice any performance issues before this period, it may be time for a replacement.
2. Can I use any battery for my Multilaser Hydra?
No, it's crucial to use a battery that matches the specifications of your vacuum (7.4V or 14.4V, 1800mAh to 2600mAh) to ensure safe operation.
3. What should I do if my vacuum still doesn’t work after replacing the battery?
If the vacuum does not operate correctly after battery replacement, check the connections to ensure they are secure. If issues persist, consult a professional technician.
4. Is it safe to replace the battery myself?
Yes, it is safe to replace the battery if you follow the proper steps and safety guidelines outlined in this guide. Always wear protective gear.
5. Where can I find replacement batteries for my Multilaser Hydra?
Replacement batteries can be found through authorized retailers, online marketplaces, or directly from Multilaser’s official website.






