Understanding When to Lock Cells in Excel
Excel is a phenomenal tool for managing everything from financial reports to project timelines, but there’s a crucial aspect many users often overlook: protecting your data. Whether you're a financial analyst juggling figures or an HR manager handling sensitive employee information, the importance of locking cells cannot be overstated.
Na minha experiência, locking cells is a practical step to prevent accidental changes. For instance, if you're preparing a sales report and you accidentally delete a formula used to calculate total revenue, it can lead to a catastrophic mess. Trust me, no one wants to be sifting through rows of data trying to figure out what went wrong!
How to Lock Cells in Excel
Locking cells in Excel is a straightforward process but understanding it can save you a world of frustration. Let’s break it down step-by-step, applicable for Excel 365, 2021, 2019, and even Excel for Mac.
- First, select the cells you want to lock. This can be a specific range, a single cell, or even the entire worksheet.
- Right-click on the selected cells and choose “Format Cells” from the context menu. Alternatively, you can use the keyboard shortcut
Ctrl+1to bring up the format dialog. - In the “Format Cells” dialog, navigate to the “Protection” tab.
- Check the box next to “Locked,” then click “OK.”
- Next, head to the “Review” tab on the Ribbon and select “Protect Sheet.”
- Here, you can set a password to prevent others from unlocking the cells. Make sure to remember this password; losing it can result in a headache!
Common mistake: Many users forget to protect the sheet after locking cells. If you skip this step, your locked cells can still be edited. Trust me; it's a rookie mistake!
Protecting Formulas with Passwords
Now that you know how to lock cells, let’s talk about protecting formulas specifically. It’s one thing to lock a cell containing data; it’s another to ensure that your vital calculations—like those in a financial report or sales forecast—aren't tampered with.
In Excel, formulas are automatically locked when you protect the sheet. However, to specifically protect just the formula cells, follow these quick tips:
- Before you protect the sheet, unlock any cells that you want to remain editable. You can do this in the same “Format Cells” dialog by unchecking the “Locked” option.
- Once you have set the lock on the formula cells, protect the sheet as described above.
For example, if you have a cell that calculates total expenses with a formula like =SUM(A1:A10), locking that cell will ensure no one can accidentally alter that critical calculation while still allowing input in other related cells.
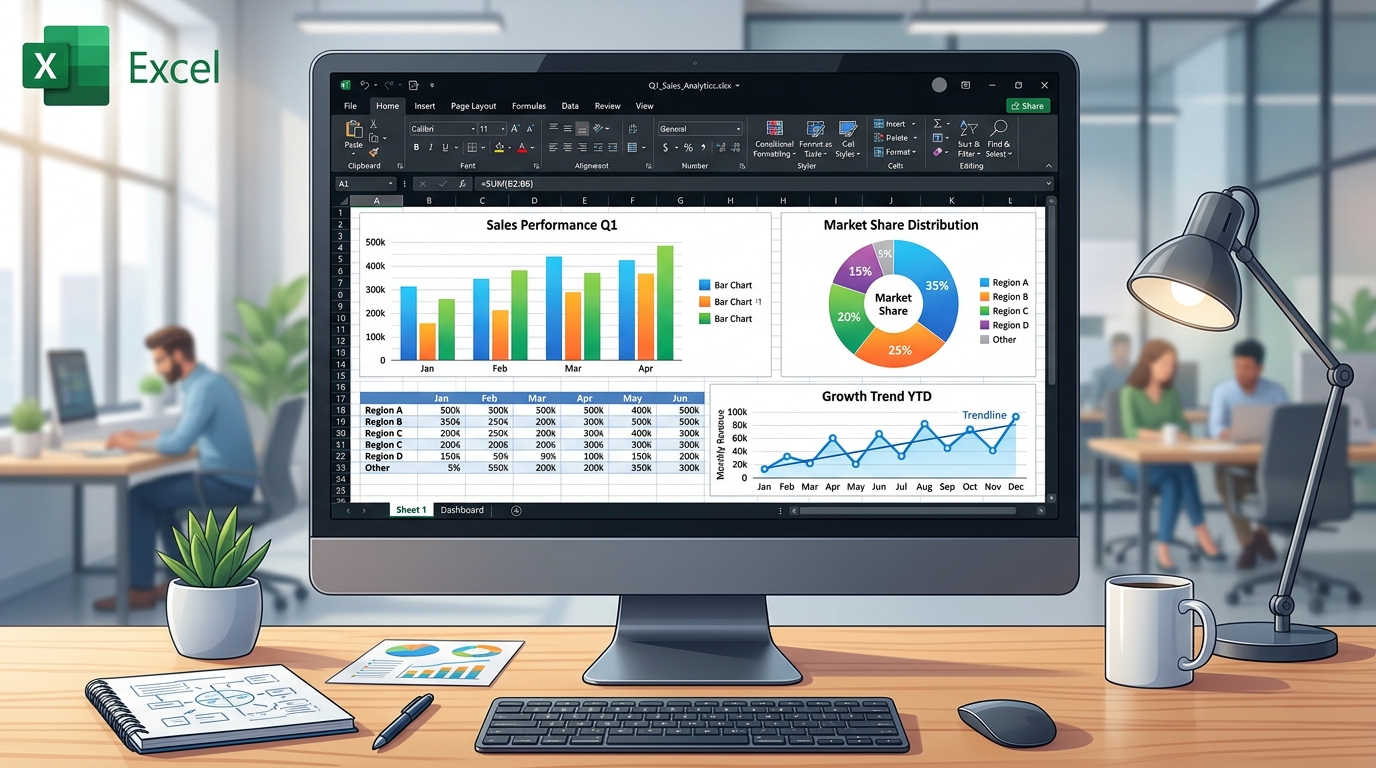
Using Cell Locking in Real-World Scenarios
Now, how about some real-world scenarios? Say you manage an inventory spreadsheet. You might want to allow your team to update stock levels but keep the calculated total and cost prices locked. By locking those specific formula cells, you keep your data integrity intact while ensuring team members can still engage with the sheet.
- Sales Tracking: Lock cells that contain formulas that calculate average sales per month.
- Financial Reports: Protect cells that are involved in critical budgeting formulas while allowing users to input actual expenses.
- HR Records: Lock the total salary calculations while allowing other information such as employee names to be edited.
Dica DomineTec: Always make a backup of your Excel file before applying any locks or protections. You never know when you might need to revert back to a prior version!
Common Pitfalls and How to Avoid Them
In my experience, there are a few common pitfalls that users tend to encounter when trying to lock cells in Excel:
- **Forgetting to Protect the Sheet:** As I mentioned earlier, simply locking cells isn't enough. If you don't protect the sheet afterward, those locked cells are still fair game for anyone who has access.
- **Not Remembering the Password:** This is a biggie. If you set a password and forget it, you may have to resort to third-party software to unlock your sheet.
- **Overprotecting:** Sometimes, in the name of security, users lock too many cells, hindering collaboration. Make sure to leave editable spaces for users to interact with.
Advanced Techniques: Using VBA for Enhanced Protection
If you're comfortable with a bit of coding, using VBA (Visual Basic for Applications) can take your cell protection game to the next level. Let’s say you want to lock and unlock cells based on specific conditions. You could use the following VBA code snippet:
Sub LockUnlockCells()
    Dim ws As Worksheet
    Set ws = ThisWorkbook.Sheets("Sheet1") ' Change to your sheet name
    If ws.ProtectContents Then
        ws.Unprotect Password:="YourPassword"
        ws.Range("A1:A10").Locked = False ' Unlocking cells A1 to A10
    Else
        ws.Protect Password:="YourPassword"
        ws.Range("A1:A10").Locked = True ' Locking cells A1 to A10
    End If
End Sub
To use this code, press Alt+F11 to open the VBA Editor, then insert a new module and paste the code in. Just remember to replace “YourPassword” with your own password and adjust the range as needed. This approach gives you the flexibility to dynamically control cell protection based on your requirements.

Why Does Excel Lock Every Cell by Default?
If you have ever tried to protect a worksheet in Excel 365 or Excel 2019 for the very first time, you probably got a bit of a shock. You click "Protect Sheet," hit OK, and suddenly the entire file is frozen. No one can type anything anywhere! But why did Microsoft design the tool this way?
The answer lies in the default properties of a cell. In Excel, every single cell is born with the "Locked" property enabled in its hidden formatting settings. However, this lock acts like a padlock without the key turned: it has absolutely no practical effect until you activate global sheet protection. The philosophy behind this is that, in a corporate environment, you typically want to protect 90% of the worksheet (headers, complex formulas, layouts) and leave only 10% open for manual data entry.
The correct workflow is always reversed: first, you select ONLY the cells that people should be allowed to fill in, right-click, go to "Format Cells," navigate to the "Protection" tab, and uncheck the "Locked" box. Only after this step do you go to the Review tab and turn on Sheet Protection. It feels counterintuitive at first, but it saves your life (and your math) in the long run.
Allowing Specific Users to Edit Certain Ranges with Passwords
Imagine you have a budget forecasting spreadsheet. The finance manager should be allowed to tweak the interest rates in column B, and the HR manager needs to be able to edit salaries in column C. You definitely don't want HR messing with interest rates or finance altering payroll. Excel 2021 and older versions have a brilliant, underutilized feature for this exact scenario: "Allow Edit Ranges".
Head over to the "Review" tab and look for this button (it’s only active before you protect the sheet). Inside, you click "New..." and define a name for the area (e.g., "HR_Area"). Then, you select the corresponding cell range and define an exclusive password just for that specific chunk of the worksheet!
Hiding Complex Formulas to Protect Intellectual Property
You know that monstrous, nested formula with IF, VLOOKUP, and INDIRECT that took you three grueling days to build? Sometimes, that calculation logic is your company's competitive advantage, or simply something you don't want curious interns trying to copy, reverse-engineer, or tamper with. Besides locking the cell to prevent editing, you can make the formula completely invisible in the formula bar.
The process is incredibly similar to basic cell locking. Select the cells containing your "trade secrets", press Ctrl+1 to open the Format Cells menu, and go to the "Protection" tab. Right below the "Locked" checkbox, you will see a box labeled "Hidden" (or sometimes "Hide Formulas" in Excel for Mac). Check that box.
When you finally activate Sheet Protection, the magic happens. The cell will continue to display the normal numerical result (e.g., $5,000.00) in the grid, but when someone clicks on it, the formula bar at the top will be completely empty. The user sees the final output, but has no clue about the underlying mathematics you used to get there.
Protecting Workbook Structure (Tabs and Windows)
Protecting cells is great, but what happens when a careless user simply right-clicks on a tab at the bottom, hits "Delete", and wipes out months of historical data? Standard sheet-level protection does not prevent the entire tab from being deleted, renamed, or moved around. To armor your file against structural sabotage, you need to step up one security level.
Right next to the protect sheet button on the "Review" tab, there is a "Protect Workbook" button. When you click it, Excel prompts you for a password. This locks the STRUCTURE of the file. Meaning, from that moment on, the little plus icon to add new sheets will be grayed out. No one can hide, unhide, delete, or rename any existing tabs.
This is an indispensable tool when you are distributing standardized templates to dozens of branches or franchises. You guarantee that "Sheet1" will remain exactly as "Sheet1", ensuring that your data consolidation macros and external links don't break at the end of the month due to renamed tabs.
Advanced Protection Tips for Collaborative Spreadsheets in Excel 365
With the rise of Excel Online and real-time co-authoring on OneDrive or SharePoint, protecting spreadsheets has gained a whole new dynamic. Locking files used to be simple when the file lived on a USB drive. Now, five people might be editing it simultaneously. Here are some pro tips to survive in this modern collaborative environment:
- Cloud Macros Warning: If you rely on VBA macros to automatically unprotect a sheet, run a script, and protect it again, be aware that traditional VBA does not run in Excel Online. To automate protections on the web, you will need to learn the newer Office Scripts built on TypeScript.
- Granular Protection Permissions: When setting a password to protect the sheet, you’ll see a list of checkboxes ("Allow all users of this worksheet to..."). Almost always, it is worth checking the boxes for "Use AutoFilter" and "Sort". It is incredibly frustrating for users to receive a locked report where they can't even filter the data for their own department because the creator was too aggressive with the lockdown.
- Protect without a password for accidental edits: If you trust your team and just want to prevent someone from accidentally deleting a formula (like a slip of the keyboard), you can click Protect Sheet and hit OK while leaving the password field blank. This locks the file against accidental keystrokes, but allows power users to quickly unprotect the sheet if they legitimately need to, without calling you on your vacation for the password!
Frequently Asked Questions
1. Can I lock cells in Excel for Mac?
Absolutely! The process is quite similar. Just select the cells, go to “Format Cells,” choose the “Protection” tab, check “Locked,” and then protect the sheet. The menus may look a little different, but the functionality is the same across platforms.
2. What happens if I forget the password?
If you forget the password, you may have a difficult time accessing the locked cells again. Options include using third-party software or, in some cases, using a password recovery tool. Always keep a note of your passwords in a safe place!
3. Is there a limit to how many cells I can lock?
No, there’s no set limit on the number of cells you can lock. You can lock entire worksheets if you want, but keep in mind that too much locking can hinder collaboration.
4. Can I unlock cells selectively in a protected sheet?
Yes! When you protect the sheet, you can specify which actions users are allowed to take. For instance, you can allow users to select unlocked cells, edit certain ranges, and even format cells while keeping the rest secured.
5. Are there any keyboard shortcuts to make this process easier?
Yes! Using Ctrl+1 will open the format cells dialog, and Alt+F11 allows you to access the VBA editor quickly. Learning these shortcuts can save you time.