How to Fix Z-Wobble on Creality Ender 3: Lead Screw Alignment Guide

Fixing Z-Wobble on a Creality Ender 3 involves ensuring lead screw alignment for optimal print quality.
Understanding Z-Wobble: What It Is and Why It Happens
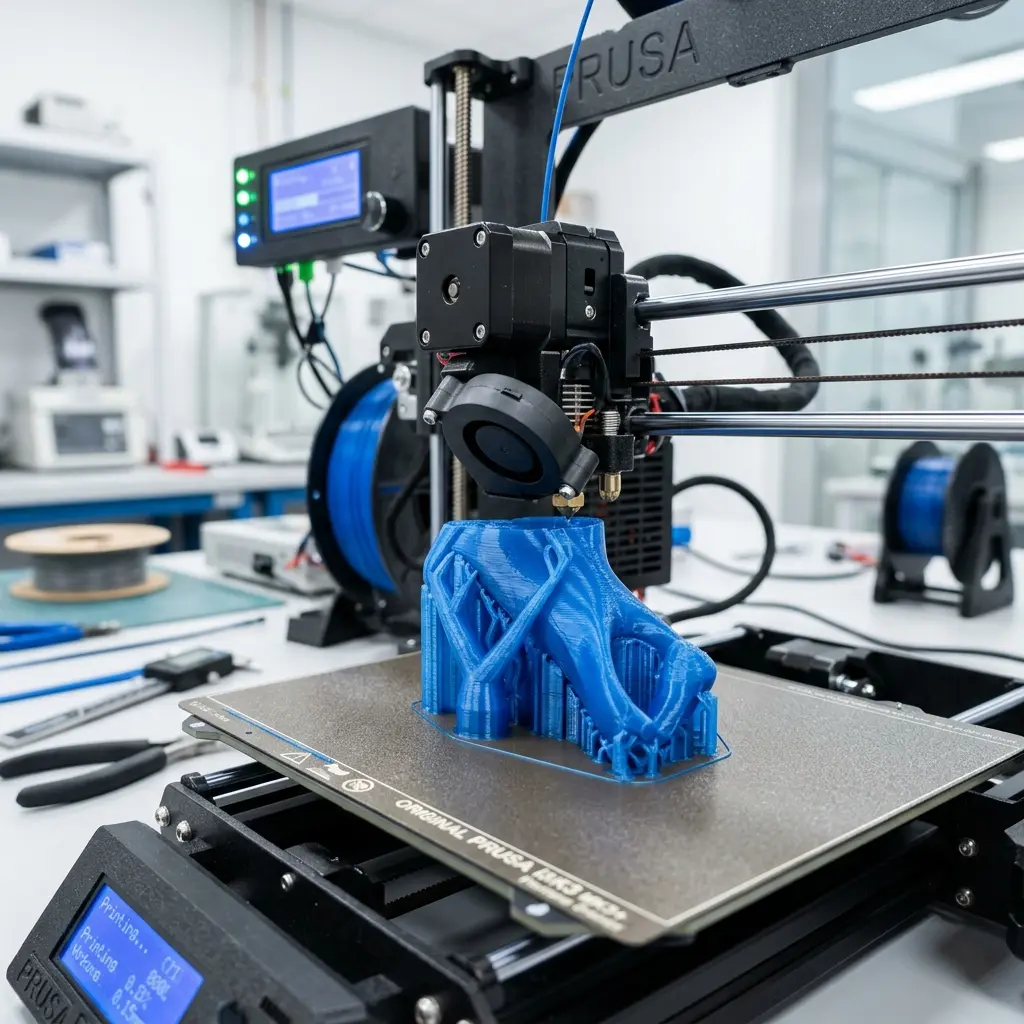
Z-Wobble, also known as Z-banding, is a common issue in 3D printing that results in uneven layers along the Z-axis. This defect manifests as visible ridges or bumps on the surface of printed objects.
The primary cause of Z-Wobble is usually misalignment or play in the lead screw system, which can be exacerbated by factors such as loose components, a non-level bed, or improper printer setup.
Identifying the Symptoms of Z-Wobble
Recognizing the signs of Z-Wobble is essential for timely intervention. Symptoms include visible layer lines that vary in height and pronounced ridges that disrupt the smoothness of the printed surface.
Commonly affected prints may show these imperfections more prominently, especially on tall, vertical features. Observing these defects can guide troubleshooting efforts effectively.
Essential Tools for Troubleshooting Z-Wobble
Before addressing Z-Wobble, gather the necessary tools for the task. Essential items include a wrench or pliers, a level, a screwdriver, and a ruler or caliper for precise measurements.
Having these tools ready will facilitate a smoother resolution process. Additionally, consider using a lubricant for the lead screw to minimize friction during operation.
Step-by-Step Guide to Fixing Z-Wobble on the Ender 3
- Power off the 3D printer and ensure it is unplugged.
- Remove the filament and take out the print bed for easier access to the lead screw.
- Check the lead screw for straightness using a ruler or caliper, ensuring it is not bent.
- Inspect the lead screw nut for play by moving the Z-axis up and down.
- Loosen and retighten the lead screw coupler to ensure a tight fit with the stepper motor.
- Adjust the bed level using a leveling tool or a piece of paper to ensure it is flat and even.
- Lubricate the lead screw using a suitable lubricant to enhance smooth movement.
- Reassemble the printer and perform a test print to evaluate the improvements.
Common Misalignments That Cause Z-Wobble
Several common misalignments can lead to Z-Wobble. These include loose couplers, misaligned lead screws, and an uneven bed.
Checking each aspect can significantly reduce the chances of Z-Wobble reoccurring. Regular inspections of the lead screw and bed level can help maintain consistent print quality.
Additionally, ensuring that the Z-axis is perfectly vertical can minimize the risk of misalignment.

Adjusting the Lead Screw and Coupler
Adjusting the lead screw and coupler is a critical step in combating Z-Wobble. Start by ensuring that the coupler is securely fastened to the stepper motor shaft.
Using a wrench, tighten the set screws on the coupler to prevent slippage. Check the lead screw for any signs of wear or damage, as this can also contribute to Z-axis issues.
DomineTec Tip: Consider upgrading to a dual Z-axis setup for improved stability and reduced Z-Wobble.
Ensuring a Level Print Bed
A level print bed is crucial in preventing Z-Wobble. Begin by using a leveling tool or a piece of paper to check the distance between the nozzle and bed at multiple points.
Adjust the bed leveling screws until the distance is consistent across all points. This can significantly improve the quality of the prints and minimize issues related to Z-axis misalignment.

3D Printing Software Settings to Mitigate Z-Wobble
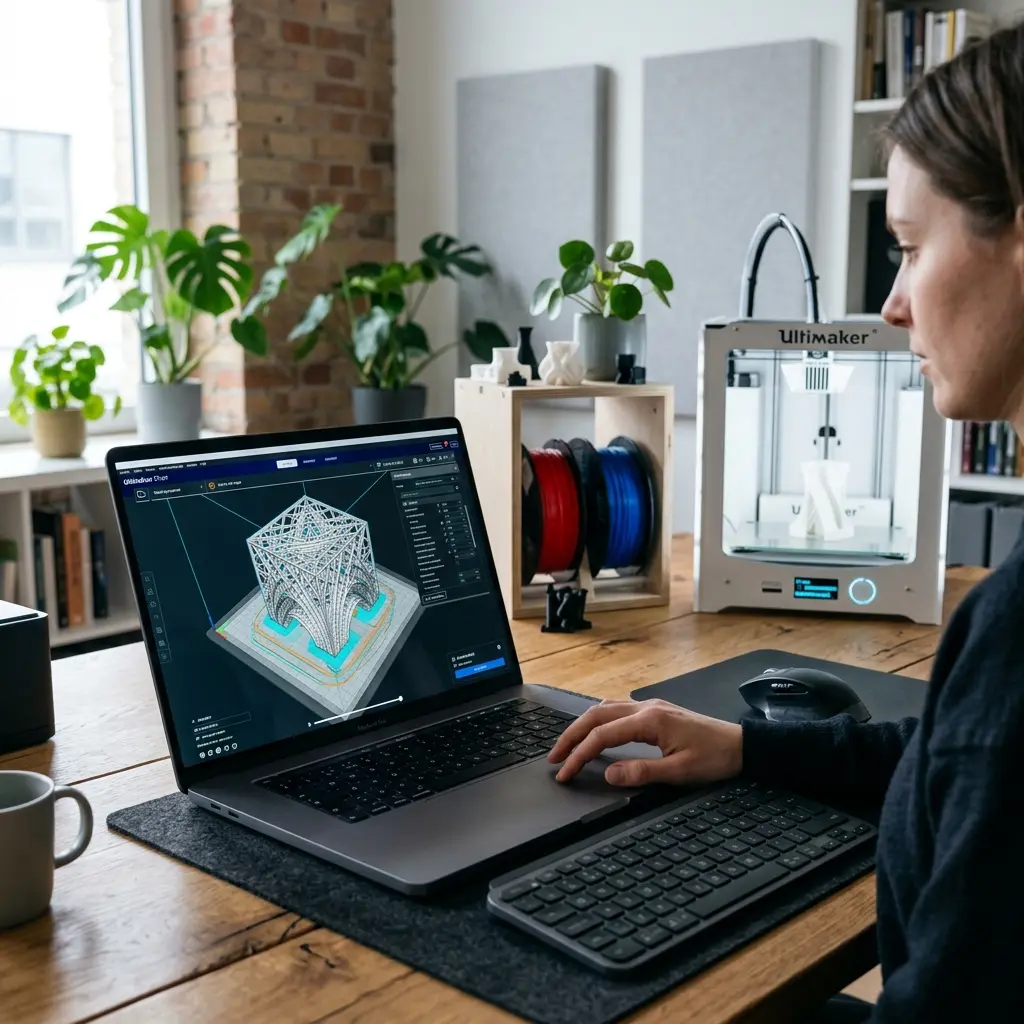
Using the right software settings can help mitigate Z-Wobble during the printing process. Slicing software like Cura offers various settings to optimize print quality.
Adjusting layer height, print speed, and acceleration settings can contribute to smoother prints. Additionally, utilizing features like adaptive layer height can help in producing better results.
Comparative Analysis: PLA vs. ABS for Z-Wobble Reduction
| Filament Type | Strength | Flexibility | Ease of Use | Temperature Resistance |
|---|---|---|---|---|
| PLA | Moderate | Low | High | Low |
| ABS | High | Moderate | Medium | High |
Choosing the right filament can also impact the quality of prints. The difference between PLA and ABS should be considered based on the intended application and print requirements.
Frequently Asked Questions
What causes Z-Wobble on the Ender 3?
Z-Wobble is primarily caused by misalignment or play in the lead screw system. Loose components and an uneven bed can exacerbate the issue.
How can I test if my lead screw is straight?
Using a ruler or caliper, measure the lead screw for any bends. A straight lead screw is essential for consistent Z-axis movement.
Can bed leveling affect Z-Wobble?
Yes, an uneven bed can lead to inconsistent layer adhesion, which contributes to Z-Wobble. Ensuring a level bed is crucial for optimal print quality.
Is lubrication necessary for the lead screw?
Lubricating the lead screw can reduce friction and improve movement, thus helping to minimize Z-Wobble. Regular maintenance is recommended.
What are the benefits of a dual Z-axis setup?
A dual Z-axis setup provides enhanced stability during printing, reducing the chances of Z-Wobble. It also helps maintain consistent layer heights across larger prints.
Preventive Measures to Avoid Z-Wobble
Preventive maintenance is key to avoiding Z-Wobble in 3D printing. Regularly check the lead screw alignment and ensure all components are secure.
Routine bed leveling should also be part of the maintenance schedule, as consistent calibration will enhance print quality. A clean printer environment can further minimize mechanical issues.
Checklist for Maintaining Your Ender 3
- Ensure lead screw is straight and free of wear.
- Check coupler tightness regularly.
- Level the bed before each print.
- Lubricate lead screw every few prints.
- Inspect Z-axis components for wear and tear.
- Keep the print area clean and free from debris.
- Update firmware as needed for optimal performance.
Resources for Further Learning
For those looking to deepen their understanding of Z-Wobble and general 3D printing maintenance, consider the following resources:




