How to Fix Underextrusion Caused by Cracked Plastic Extruder Arm on Ender 3
To fix underextrusion caused by a cracked plastic extruder arm on an Ender 3, replace the damaged part with a new one and ensure proper calibration.
Understanding Underextrusion in 3D Printing
Underextrusion occurs when the 3D printer does not extrude enough filament during printing. This issue can lead to gaps in layers, weak prints, and overall poor quality.
A cracked extruder arm can significantly contribute to this problem. The extruder arm is responsible for pushing filament into the hotend.
When it is compromised, the pressure applied to the filament decreases, leading to inconsistent extrusion and underextrusion symptoms. Recognizing the underlying cause is crucial for effective troubleshooting.
Identifying a Cracked Extruder Arm
Before proceeding to fix underextrusion, it is crucial to confirm that the extruder arm is cracked. Signs of a cracked arm include visible fractures, uneven loading of the filament, and irregular extrusion patterns.
To inspect the extruder arm, disassemble the extruder assembly carefully. Look for any signs of wear or damage.
If cracks are found, replacement is necessary for optimal performance. A damaged extruder arm can exacerbate existing issues and create new ones.

Gathering Tools and Replacement Parts
Before starting the repair, gather the necessary tools and replacement parts. A new extruder arm can be purchased from various online retailers or 3D printing supply stores.
Tools required for the replacement include:
- Philips screwdriver
- Allen wrench set
- Replacement extruder arm
- Filament cutter
Ensure that the replacement part is of high quality and compatible with the Ender 3 to avoid future issues. Compatibility is essential for seamless installation and optimal performance.
Step-by-Step Guide to Replace the Cracked Extruder Arm
Follow these steps to replace the cracked extruder arm and resolve underextrusion issues:
- Power off the 3D printer and unplug it.
- Remove the filament from the extruder.
- Unscrew the extruder assembly from the printer frame.
- Carefully detach the cracked extruder arm.
- Install the new extruder arm by aligning it correctly.
- Reattach the extruder assembly to the printer frame.
- Load the filament back into the extruder.
- Power on the printer and perform a test print.
DomineTec Tip: Consider upgrading to a metal extruder arm to enhance durability and minimize future underextrusion problems.
Calibrating the Ender 3 After Replacement
After replacing the extruder arm, calibration is necessary to ensure optimal printing performance. Calibration involves adjusting the flow rate and ensuring that the nozzle height is set correctly.
To calibrate the printer, follow these steps:
- Access the printer settings through the control panel.
- Adjust the flow rate to match the filament type being used.
- Perform a test print to verify that the adjustments have resolved the underextrusion issue.

Preventative Measures to Avoid Future Issues
Taking preventative measures can minimize the risk of underextrusion caused by a cracked extruder arm in the future. Regular maintenance and inspection of the extruder assembly are crucial.
Consider the following maintenance tips:
- Inspect the extruder arm regularly for signs of wear.
- Use high-quality filament that is compatible with your printer.
- Keep the extruder assembly clean to ensure smooth operation.
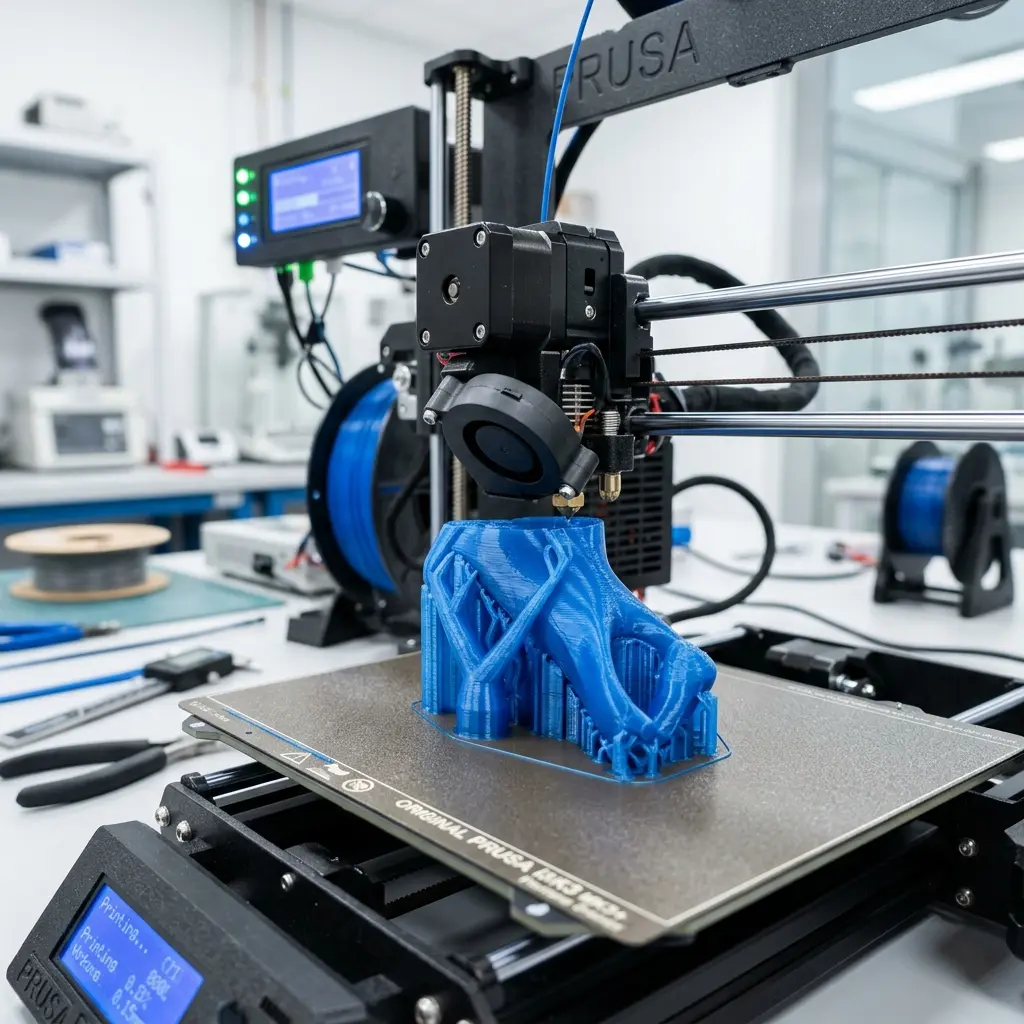
Understanding the Role of Filament Quality
The quality of filament used directly impacts the performance of the extruder. Inferior filament can lead to clogs, uneven extrusion, and increased wear on extruder components.
When selecting filament, consider the following factors:
- Material type (e.g., PLA, ABS, PETG)
- Diameter consistency
- Manufacturer reputation
For a detailed comparison on filament types, refer to the PETG vs PLA filament guide. This will help in making informed choices regarding filament selection.
Maintenance Checklist for the Ender 3
To keep the Ender 3 running smoothly, a maintenance checklist can be beneficial. Regularly scheduled checks can prevent issues such as underextrusion.
| Maintenance Task | Frequency | Notes |
|---|---|---|
| Inspect extruder arm | Monthly | Look for cracks or wear |
| Clean nozzle | Every print | Use a nozzle cleaning tool |
| Check bed leveling | Bi-weekly | Ensure proper adhesion |
| Lubricate moving parts | Monthly | Use appropriate lubricant |
| Update firmware | As needed | Check for updates regularly |

Frequently Asked Questions
What are the signs of underextrusion in 3D printing?
Common signs include gaps in layers, weak prints, and inconsistent line thickness. These can indicate that the extruder is not feeding enough filament.
How can I tell if my extruder arm is cracked?
Visual inspection is the best way to check for cracks. Look for any visible fractures or signs of wear on the extruder arm.
What should I do if my printer continues to underextrude after replacing the arm?
If underextrusion persists, check the calibration settings and the quality of the filament being used. Other parts of the extruder assembly may need inspection.
Is it worth upgrading to a metal extruder arm?
Upgrading to a metal extruder arm can enhance durability and reduce the likelihood of future issues. It is often considered a worthwhile investment for frequent users.
How often should I perform maintenance on my Ender 3?
Regular maintenance should be scheduled monthly, with specific tasks done more frequently, such as cleaning the nozzle after every print. Keeping up with maintenance prolongs the life of the printer.
Advanced Troubleshooting Techniques
If underextrusion problems persist after replacing the extruder arm, additional troubleshooting techniques may be necessary. Consider checking for clogs in the hotend.
Inspect the PTFE tube for any obstructions. If the tube is damaged, replacing it can improve filament flow.
Additionally, monitor the temperature settings. Improper temperature can affect filament melting and extrusion consistency.
Ensure that the hotend thermistor is functioning correctly. A faulty thermistor can lead to inaccurate temperature readings.
Understanding Extrusion Multiplier Settings
The extrusion multiplier is a critical setting that can affect the amount of filament extruded. Adjusting this setting may be necessary to achieve optimal print quality.
To adjust the extrusion multiplier, access the slicer settings and modify the value. A common starting point is 1.0, but adjustments may be needed based on material and printing conditions.
Perform test prints after making adjustments to gauge the effectiveness of changes. Fine-tuning the extrusion multiplier can significantly enhance print quality.
Choosing the Right Filament for Your Projects
Filament selection is vital for achieving the desired results in 3D printing. Each material has unique properties that can influence print quality and performance.
Here are some considerations when choosing filament:
- Strength: ABS and PETG are known for their strength, while PLA is more brittle.
- Temperature Resistance: Materials like ABS can withstand higher temperatures compared to PLA.
- Ease of Use: PLA is often recommended for beginners due to its forgiving nature.
Researching filament specifications can help select the most appropriate material for specific applications. Understanding these factors can lead to better printing outcomes.
Conclusion
Addressing underextrusion issues caused by a cracked extruder arm on an Ender 3 requires careful inspection, replacement, and calibration. Following the outlined steps ensures a successful repair and improved print quality.
Regular maintenance and proper filament selection further enhance the longevity and performance of the printer. Staying proactive in printer care can prevent many common issues associated with 3D printing.




