How to Setup and Map a Controller in Dolphin Emulator on Windows PC
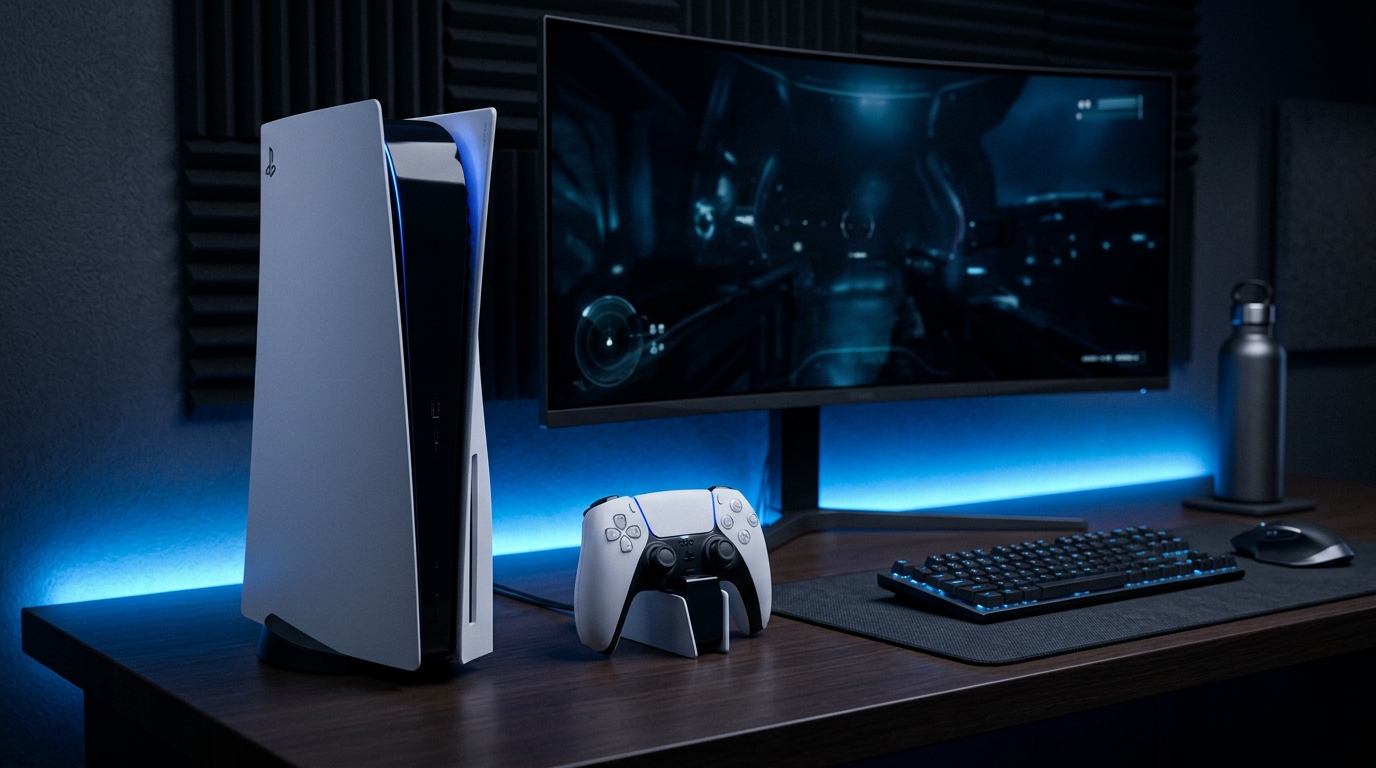
Setting up a controller for the Dolphin Emulator can be a daunting task, especially for those who are new to emulation or gaming in general. Whether you want to relive the nostalgia of Nintendo GameCube or Wii classics, having the right controller configuration can make all the difference in your gaming experience. This guide will walk you through the step-by-step process of configuring and mapping your controller in the Dolphin Emulator on your Windows PC.
In this tutorial, we will cover the following:
- Choosing the right controller
- Launching Dolphin and accessing controller settings
- Mapping GameCube controller buttons
- Setting up Wii Remote emulation
- Saving custom profiles and troubleshooting tips
Choosing the Right Controller
Before diving into the configuration process, it’s important to understand which controller you will be using. Dolphin Emulator supports a variety of controllers, including:
- Xbox controllers (XInput)
- PlayStation controllers (DInput)
- Generic USB controllers
Each controller type has its own nuances when it comes to setup, and knowing your controller will help streamline the process.
Launching Dolphin and Accessing Controller Settings
Step 1: Download and Install Dolphin Emulator
If you haven’t already, download the latest version of the Dolphin Emulator from the official website. Follow the installation prompts to set it up on your Windows PC.
Step 2: Open Dolphin Emulator
Once Dolphin is installed, launch the application. You will be greeted by the main interface.
Step 3: Accessing the Controller Configuration
To configure your controller, click on the Controllers button in the toolbar. This will open the controller settings window.
Step 4: Selecting the Controller Type
Under the Port 1 dropdown menu, select Standard Controller for a GameCube controller setup. If you are configuring a Wii Remote, you’ll choose Wii Remote instead.
Mapping GameCube Controller Buttons
Step 5: Configuring the GameCube Controller
Click on the Configure button next to the Port 1 option. This will open another window where you can map your controller’s buttons to the GameCube inputs.
Step 6: Selecting Input Device APIs
Dolphin allows you to choose between different input device APIs. For Xbox controllers, select XInput (default for Xbox pads). For PlayStation controllers, use DInput or WGInput for DualShock and DualSense controllers. Ensure your controller is connected before proceeding.
Step 7: Binding Physical Buttons
Now it’s time to map the physical buttons of your controller to the GameCube inputs:
- Click on the button you wish to configure (e.g., A, B, X, Y, L, R).
- Press the corresponding button on your controller to bind it.
- Repeat this process for all GameCube buttons and controls such as the Main Stick and C-Stick.
Here’s a quick reference for the GameCube button layout:
| GameCube Button | Mapped Button (Example) | Controller Type | Binding Method | Notes |
|---|---|---|---|---|
| A | Button 1 | Xbox | Press A | Primary action |
| B | Button 2 | Xbox | Press B | Cancel action |
| L/R | Shoulder Buttons | PlayStation | Press L1/R1 | Triggers |
| X/Y | Buttons 3/4 | Generic USB | Press X/Y | Secondary actions |
| C-Stick | Right Stick | Xbox | Move Right Stick | Camera control |
Emulating Nintendo Wii Wiimote
Step 8: Configuring Wii Remote Settings
If you're looking to emulate a Wii Remote, the process is slightly different. After selecting Wii Remote in the Port 1 dropdown, click on the Configure button.
Step 9: Setting Up Nunchuk and Motion Controls
In the Wii Remote configuration window, you can assign buttons for:
- Main buttons: A, B
- Plus and Minus buttons
- Nunchuk joystick and buttons
Additionally, you can configure the pointer controls by assigning the right analog stick to the pointer function.
Saving Custom Controller Profiles
Step 10: Creating and Saving Profiles
Once all your buttons are mapped, you can save your configuration as a custom profile. Click on Save in the controller configuration window and give your profile a meaningful name.
DomineTec Tech Tip: Always save multiple profiles if you plan to switch controllers frequently. This way, you can quickly load the desired configuration.
Troubleshooting Common Issues
Step 11: Ensuring Controller Recognition
If your controller isn't recognized by Dolphin, ensure that:
- The controller is properly connected.
- You have the correct drivers installed.
- Dolphin is running in administrator mode.
Step 12: Adjusting Input Settings
If you experience input lag or unresponsive controls, consider adjusting the input settings in Dolphin's configuration menu. You may also want to check your controller's polling rate and response settings in its respective software.
Advanced Troubleshooting Techniques
Step 13: Checking for Software Conflicts
Sometimes, other software can interfere with the functionality of your controller. This may include overlays, screen recorders, or other gaming software. To troubleshoot:
- Close any unnecessary applications before launching Dolphin.
- Temporarily disable overlays from programs like Discord or Steam.
- Ensure that no other emulation software is running simultaneously.
Step 14: Updating Drivers and Firmware
Outdated drivers can lead to issues with controller recognition and performance. Make sure to:
- Check for updates for your controller drivers via the manufacturer's website.
- Update your USB drivers if you're using a USB controller.
- For wireless controllers, ensure that the firmware is up to date.
Alternative Settings for Enhanced Performance
Step 15: Using Different Input APIs
Dolphin Emulator allows the use of different input APIs which can affect performance. If you're experiencing issues, try switching between:
- XInput: Best for Xbox controllers, providing the most stable performance.
- DInput: More suitable for older controllers, but may require additional configuration.
- WGInput: Recommended for DualShock controllers, especially for advanced features.
Step 16: Customizing Sensitivity and Dead Zones
Adjusting the sensitivity of your controller can greatly enhance your gaming experience:
- In the controller configuration, look for sensitivity settings to fine-tune response times.
- Set appropriate dead zones for analog sticks to prevent unintended movements.
- Regularly test your settings in-game to find the perfect balance.
Long-term Care Tips for Controllers
Step 17: Regular Maintenance
To prolong the life of your gaming controllers, consider the following maintenance tips:
- Keep your controller clean; use a soft cloth to wipe down surfaces.
- Avoid eating or drinking while using your controller to prevent spills.
- Store controllers in a safe place when not in use to avoid damage.
Step 18: Monitor Wear and Tear
Be mindful of the wear and tear on your controller:
- Check for stick drift, which can occur over time with excessive use.
- Inspect wires for fraying if using a wired controller.
- Replace batteries regularly if using a wireless controller to avoid damage from leaks.
Advanced Performance Optimization
Step 19: Overclocking USB Ports
For gamers seeking the utmost responsiveness, consider overclocking your USB ports. This can lead to reduced input lag:
- Use a USB hub that supports USB 3.0 or higher for better data transfer rates.
- Adjust your computer’s USB port settings through the Device Manager to increase polling rates.
- Be cautious, as overclocking can lead to instability if not done correctly.
Step 20: Utilizing Third-party Software
There are various third-party applications available that can help improve controller performance:
- JoyToKey: Allows you to map keyboard keys to game controller buttons, enhancing compatibility with games that may not natively support controllers.
- DS4Windows: Specifically for DualShock controllers, it allows for extensive customization of input settings and macros.
- Always ensure that third-party software is from a trusted source to avoid security issues.
Long-Term Performance Maintenance
Step 21: Regular Firmware Checks
To ensure your controller is performing at its best, regularly check for firmware updates provided by the manufacturer. Keeping the firmware updated can improve performance and fix bugs that may affect functionality.
Step 22: Testing and Calibration
Periodically test your controller to ensure all buttons and sticks are functioning correctly. Use the calibration tools in the Dolphin Emulator or third-party applications to test responsiveness and accuracy:
- Run calibration tests to check for any inconsistencies in button presses.
- Adjust settings if you notice any delays or inaccuracies in control response.
- Consider using software that provides visual feedback on controller input.
Frequently Asked Questions (FAQ)
1. What types of controllers are supported by Dolphin Emulator?
Dolphin Emulator supports various controllers, including Xbox controllers (using XInput), PlayStation controllers (using DInput/WGInput), and generic USB controllers. Ensure your controller is compatible with your PC.
2. Can I use a wireless controller with Dolphin Emulator?
Yes, you can use wireless controllers as long as they are connected to your PC via Bluetooth or a compatible dongle. Ensure that the necessary drivers are installed for wireless functionality.
3. How do I reset my controller settings in Dolphin?
If you wish to reset your controller settings, go to the Controllers settings and click on Clear next to the configured controls. This will allow you to start fresh.
4. Why is my controller not responding in-game?
Common reasons include incorrect mapping, controller recognition issues, or conflicts with other software. Check your mapping settings, ensure the controller is connected, and close any conflicting programs.
5. Can I use multiple controllers with Dolphin Emulator?
Yes, Dolphin supports multiple controllers. You can configure additional ports by clicking on the Add button in the controller settings. Each controller can have its own unique mapping.






