How to Clean Robot Vacuum Cliff and Drop Sensors When It Beeps or Stops
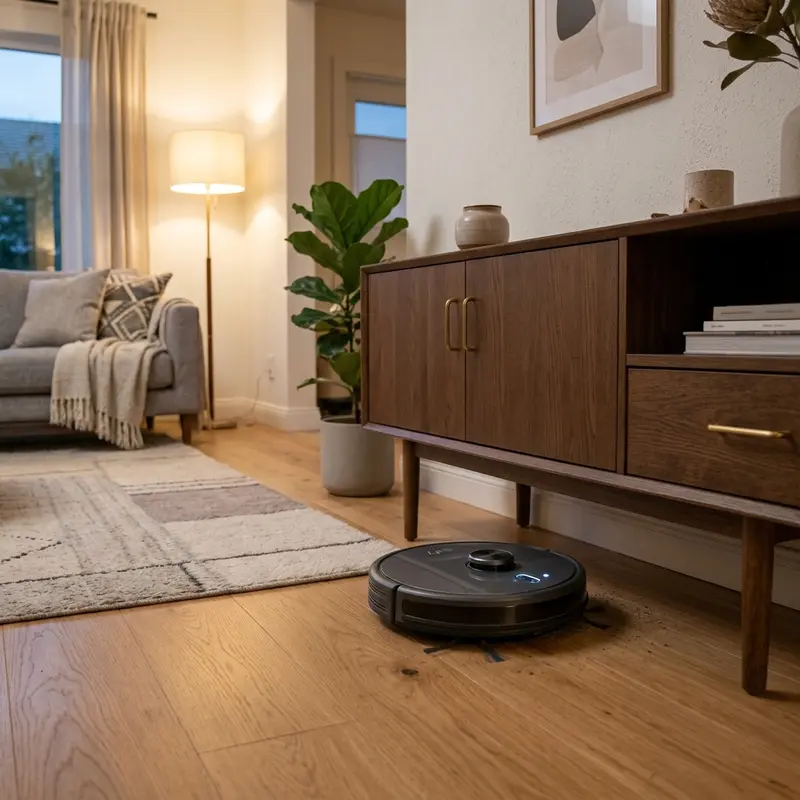
Robot vacuums are a fantastic innovation in the world of home cleaning, providing automated solutions that save time and effort. However, like any device, they can encounter issues that affect their performance, particularly when it comes to the cliff and drop sensors. Estas sensores são cruciais para evitar que seu aspirador caia pelas escadas ou bordas. If your robot vacuum is beeping, stopping suddenly, or moving erratically, it might be time to clean these sensors.
Dust and debris can accumulate on the infrared cliff sensors, causing false detections of drops and leading to unintended backward movements or circular spins. In this guide, we will walk you through the process of locating, cleaning, and maintaining these sensors to ensure your robot vacuum operates smoothly. Let's delve into the details!
Understanding Cliff and Drop Sensors
The cliff and drop sensors on a robot vacuum utilize infrared technology to detect changes in surface height. Typically, these sensors are located near the front bumper and undercarriage of the vacuum. When the sensors detect a drop, they send signals to the vacuum's control system, prompting it to stop or reverse to prevent falling. However, when these sensors become dirty or obstructed, they can misinterpret the floor's surface, leading to performance issues.
How Dust Accumulation Affects Sensor Functionality
Dust accumulation can interfere with the infrared signals used by the sensors. A layer of dust might prevent the sensors from accurately reading the floor's surface, leading the vacuum to believe there is a drop when there isn't one. This can cause the vacuum to beep and stop, or even spin in circles as it tries to recalibrate its position. Regular maintenance can prevent these issues from arising.
Identifying the Location of Cliff Sensors
Before cleaning, it is essential to identify where the cliff sensors are located on your robot vacuum. Most models will have between three to six transparent optical windows around the front bumper and undercarriage. Here’s how you can locate them:
Step 1: Turn Off the Robot Vacuum
Always turn off your robot vacuum before performing any maintenance to avoid accidental damage or injury.
Step 2: Inspect the Undercarriage
Flip the robot vacuum over to inspect the undercarriage. Look for small, transparent or semi-transparent lenses; these are the cliff sensors. Typically, there will be a set on either side of the vacuum and possibly one or two at the front.
Step 3: Check the Front Bumper
In addition to the undercarriage, some models have cliff sensors integrated into the front bumper. Look closely at the bumper area for any optical windows.
Proper Cleaning Supplies
To clean the cliff sensors effectively, you will need the right materials. Using inappropriate cleaning supplies can damage the sensors or make the problem worse. Here’s o que você deve usar:
Recommended Supplies
- Dry microfiber cloth
- Cotton swabs (optional)
- 99% isopropyl alcohol (for dampening the cloth or swab)
Supplies to Avoid
- Harsh chemicals or cleaners
- Wet sponges or heavy-duty scrubbing pads
- Paper towels (which can leave lint)
Cleaning the Cliff Sensors: Step-by-Step Guide
Now that you have gathered your cleaning supplies and located the sensors, follow these detailed steps to clean the cliff sensors thoroughly:
Step 1: Prepare Your Cleaning Cloth
Take a dry microfiber cloth and ensure it is clean. If you choose to use isopropyl alcohol, dampen a corner of the cloth with a small amount—make sure it is not soaking wet.
Step 2: Wipe the Optical Windows
Gently wipe each optical window with the dampened part of the cloth. Use a circular motion to avoid scratching the surface. Ensure you are cleaning all visible sensors without applying excessive pressure.
Step 3: Use Cotton Swabs for Hard-to-Reach Areas
If there are tight spots that your cloth cannot reach, use a cotton swab dipped in isopropyl alcohol. Be careful not to leave any cotton fibers behind.
Step 4: Dry the Sensors
After cleaning, use the dry part of the microfiber cloth to wipe away any residual moisture from the sensors. This step is crucial as moisture can lead to false readings.
Step 5: Inspect for Damage
While cleaning, take a moment to inspect the sensors for any visible damage. If the sensors appear cracked or broken, you may need to replace them.
Common Issues: Dark Rugs and False Positives
Some users may experience issues with their robot vacuum when operating on dark rugs or surfaces. The infrared sensors can misinterpret these surfaces as a drop, causing the vacuum to stop or back away. Here are some ways to mitigate this problem:
Adjusting Sensitivity Settings
Some robot vacuums come with adjustable sensitivity settings for cliff sensors. Check your user manual to see if this option is available and how to adjust it. Lowering the sensitivity can help prevent false positives on dark surfaces.
Use of Virtual Barriers
Consider using virtual barriers or magnetic strips that can help guide your vacuum and prevent it from accessing areas where it has trouble detecting surfaces.
DomineTec Tech Tip: Regularly cleaning your cliff sensors can prevent performance issues and prolong the lifespan of your robot vacuum. Schedule a cleaning session at least once a month!
Cliff Sensor Error Codes
Many robot vacuums will provide error codes when there is an issue with the cliff sensors. Below is a table listing common error codes and their meanings:
| Error Code | Description | Possible Causes | Recommended Action | Frequency |
|---|---|---|---|---|
| E1 | Cliff sensor malfunction | Dirty sensors | Clean sensors | Common |
| E2 | Stuck in reverse | False drop detection | Check surface | Occasional |
| U1 | Unable to detect floor | Low light conditions | Change lighting | Rare |
| U2 | Cliff sensor error | Hardware issue | Service required | Uncommon |
| U3 | Invalid sensor reading | Obstacle interference | Clear area | Occasional |
Maintaining Your Robot Vacuum
In addition to cleaning cliff sensors, regular maintenance of your robot vacuum will help ensure optimal performance. Here are some maintenance tips to follow:
Regular Dustbin Emptying
Ensure to empty the dustbin frequently to prevent overfilling, which can affect performance.
Brush Cleaning and Replacement
Check the brushes regularly for hair or debris build-up. Clean or replace them as necessary to maintain suction power.
Battery Maintenance
Monitor your battery health and follow the manufacturer's recommendations for charging cycles. Overcharging can shorten battery lifespan.
Firmware Updates
Occasionally check for firmware updates for your robot vacuum model, as they can improve performance and fix bugs.
Advanced Troubleshooting Techniques
If you encounter persistent issues with your robot vacuum, consider these advanced troubleshooting techniques to help diagnose and resolve problems effectively:
Perform a Full System Reset
Sometimes, a full system reset can resolve ongoing issues. Refer to your user manual for instructions on how to reset your vacuum. This process typically involves pressing a combination of buttons or selecting a reset option in the app. A reset can clear any temporary software glitches affecting performance.
Inspect the Wheels and Brushes
Ensure the wheels and brushes are functioning correctly, as they play a crucial role in navigation. Debris can become lodged in the wheels or brushes, which could affect the vacuum's ability to detect surfaces accurately. Remove any hair or dirt build-up from these components and ensure they are rotating freely.
Alternative Settings for Optimal Performance
To enhance the performance of your robot vacuum in various home environments, consider adjusting the following settings:
Custom Cleaning Schedules
Set custom cleaning schedules through the vacuum’s app to optimize performance during times when you're not home. This can help avoid interference from pets or furniture and ensure a more thorough clean. Depending on your home’s layout, you can set specific days for cleaning different areas.
Adjusting Navigation Settings
Some robot vacuums allow you to customize navigation settings, such as how they respond to obstacles or how closely they approach walls. Adjusting these settings can help prevent potential issues with cliff sensors, especially in cluttered spaces.
Long-Term Care Tips
To ensure the longevity and efficiency of your robot vacuum, follow these long-term care tips:
Store Properly
When not in use, store your robot vacuum in a cool, dry place away from direct sunlight. This helps prevent damage to the battery and electronics.
Regularly Update the App
If your robot vacuum operates through a mobile application, ensure the app is regularly updated. Updates often include new features and fixes that improve performance and user experience.
Monitor Performance Trends
Keep an eye on the performance trends of your vacuum through its app. Many models provide insights into cleaning habits, battery health, and maintenance reminders. Monitoring these trends can help you catch issues early and maintain optimal performance.
Frequently Asked Questions (FAQ)
1. How often should I clean the cliff sensors?
It is recommended to clean the cliff sensors at least once a month. However, if you notice performance issues more frequently, consider increasing the cleaning frequency.
2. What happens if I don’t clean the cliff sensors?
If you neglect to clean the cliff sensors, dust and debris buildup can lead to false drop detections, causing the vacuum to stop, beep, or behave erratically.
3. Can I use water to clean the sensors?
No, you should avoid using water directly on the sensors. Instead, use a dry or slightly damp microfiber cloth with isopropyl alcohol to clean them.
4. What should I do if the sensors seem damaged?
If you notice cracks or physical damage to the sensors, you may need to replace them. Consult your vacuum's manual for guidance on replacement parts.
5. Can dark carpets affect my robot vacuum's performance?
Yes, dark carpets can cause false readings from the cliff sensors, leading to unnecessary stops. Consider adjusting the sensitivity settings or using virtual barriers to avoid these areas.






