How to Calibrate PETG Flow Rate (Extrusion Multiplier) in Slicer to Fix Blobs
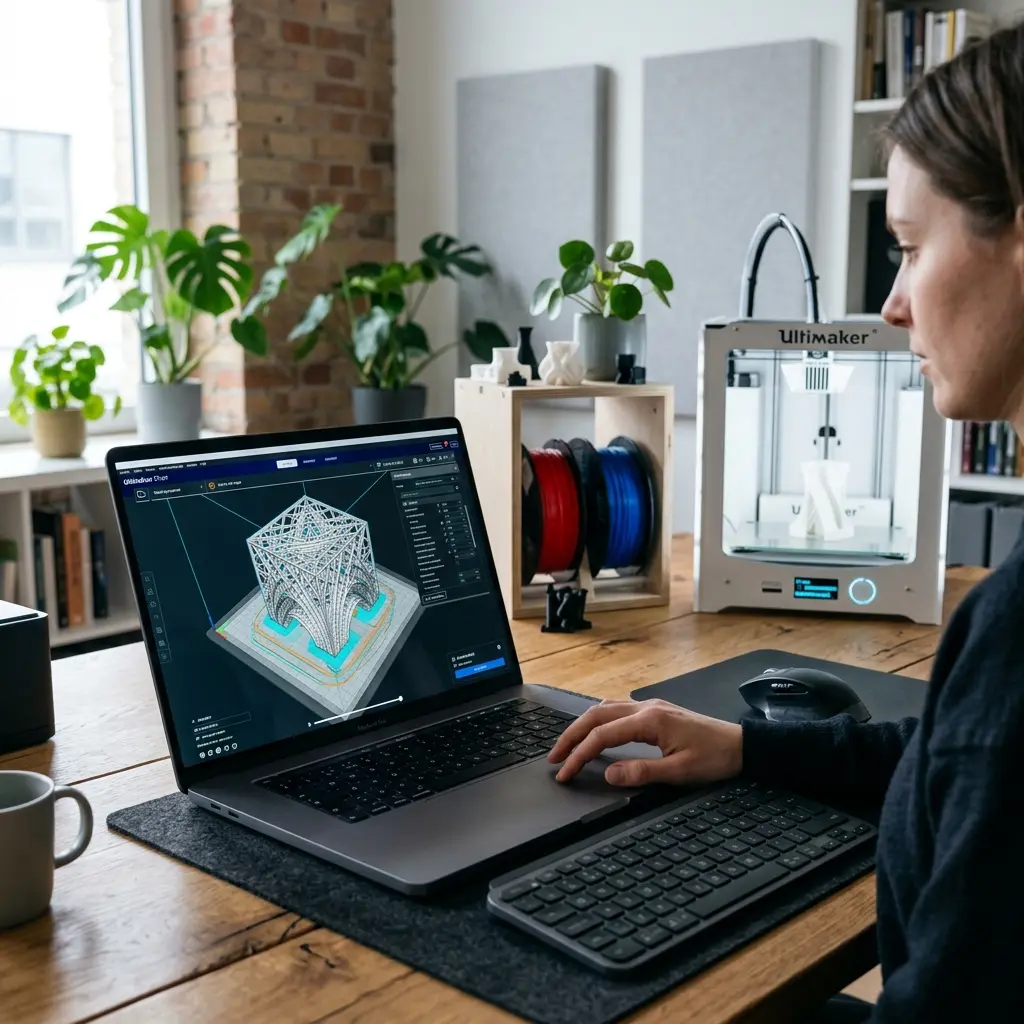
Calibrating the PETG flow rate in your slicer can effectively eliminate blobs and ensure smooth prints.
How to Calibrate PETG Flow Rate (Extrusion Multiplier) in Slicer to Fix Blobs" loading="lazy"/>Understanding PETG Filament and Common Issues
PETG (Polyethylene Terephthalate Glycol) is a popular 3D printing material known for its strength and flexibility. However, it can sometimes produce blobs and stringing due to improper flow rate settings in slicers.
Common issues with PETG include over-extrusion, which leads to excess filament being laid down, creating unwanted blobs. Proper calibration of the flow rate is essential for achieving optimal print quality.
What is Flow Rate and Extrusion Multiplier?
The flow rate in 3D printing refers to the amount of filament extruded through the nozzle per unit of time. The extrusion multiplier is a specific setting in slicers that adjusts this flow rate.
By changing the extrusion multiplier, adjustments can be made to compensate for variations in filament diameter, nozzle size, or even printing speed. This ensures the right amount of filament is extruded during the print process.
Steps to Calibrate the Flow Rate for PETG
Calibrating the flow rate involves several critical steps. Follow this detailed guide for best results:
- Gather necessary tools: a digital caliper, a ruler, and a slicer software.
- Print a simple calibration cube. Ensure settings are optimized for PETG.
- Measure the filament diameter with a digital caliper at multiple points. Average these measurements.
- Set the initial extrusion multiplier in your slicer to 1.0.
- Print the calibration object and observe for any signs of over-extrusion.
- Adjust the extrusion multiplier based on observations. Increase it for under-extrusion or decrease it for over-extrusion.
- Repeat the printing process until the desired quality is achieved.
Visual Indicators of Over-Extrusion and Under-Extrusion
It is crucial to recognize visual indicators of both over-extrusion and under-extrusion. Over-extrusion typically results in blobs and a rough surface finish, while under-extrusion leads to gaps and weak layers.
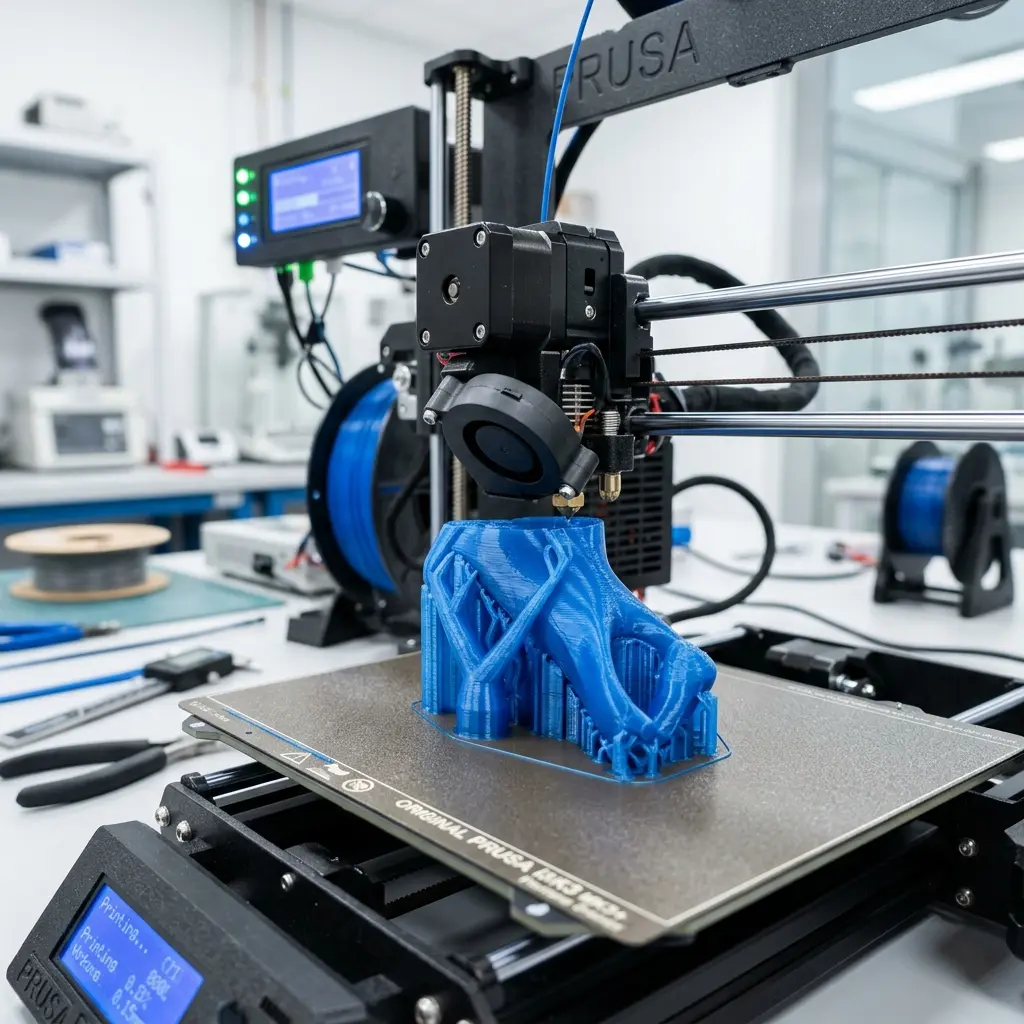
By closely monitoring these indicators during the calibration process, adjustments can be made more effectively.
Adjusting Settings in Your Slicer
Every slicer has its method for adjusting the extrusion multiplier. For example, in Cura, this setting can be found under “Material” settings.
Adjusting the extrusion multiplier in Cura involves navigating to the “Print Settings” tab and finding the “Flow” option. This is where the extrusion multiplier can be modified to achieve better flow rates.
Other slicers may have similar settings, but the terminology may differ. Always refer to the specific documentation for the software being used.
Tips for Perfecting PETG Prints
To achieve optimal print quality with PETG, consider the following tips:
DomineTec Tip: Always ensure the hotend is clean and free of debris before starting a new print. A clogged nozzle can lead to inconsistent flow rates.

Additionally, using a consistent filament brand can help maintain uniform flow characteristics. Variations in filament quality can affect extrusion behavior.
Comparative Table of PETG vs. Other Filaments
| Filament Type | Tensile Strength (MPa) | Print Temperature (°C) | Flexibility | Ease of Printing |
|---|---|---|---|---|
| PETG | 50-70 | 220-250 | Moderate | Moderate |
| PLA | 50-70 | 180-220 | Low | Easy |
| ABS | 30-50 | 210-250 | High | Moderate |
This comparative table highlights how PETG stands against other popular filaments in terms of strength, printing temperature, flexibility, and ease of printing.
Common Printing Challenges with PETG
PETG presents unique challenges during the printing process. Understanding these challenges can assist in troubleshooting.
Stringing Issues
Stringing occurs when filament oozes from the nozzle during non-print moves. This can create fine threads between parts of the print.
To minimize stringing, ensure the retraction settings are correctly configured. Retraction distance and speed can significantly impact string formation.
Adhesion Problems
Good bed adhesion is critical for successful PETG prints. Poor adhesion can lead to warping or failed prints.
Using a heated bed and applying adhesive substances like glue stick or painter's tape can improve adhesion.
Temperature Management
Monitoring the print temperature is essential for successful PETG printing. Too high a temperature can lead to stringing, while too low can cause under-extrusion.
It is advisable to perform temperature tower tests to find the optimal temperature for a specific filament brand.
Best Practices for Storing PETG Filament
Proper storage of PETG filament is essential for maintaining its quality. Humidity and temperature can adversely affect the filament's performance.
Humidity Control
PETG is hygroscopic, meaning it can absorb moisture from the air. This can lead to printing issues such as bubbling and popping.
Utilizing airtight containers with desiccants is recommended for long-term storage.
Temperature Control
Storing filament at room temperature away from direct sunlight will help preserve its characteristics. High temperatures can warp the filament or degrade its properties over time.
Frequently Asked Questions
What is the best temperature for printing PETG?
The optimal printing temperature for PETG typically ranges from 220°C to 250°C, depending on the specific filament brand and printer setup.
How can I prevent stringing while printing with PETG?
To minimize stringing, adjust retraction settings in the slicer and ensure the hotend is not too hot. Lowering the temperature slightly can also help.
Is a heated bed necessary for PETG?
A heated bed is recommended when printing with PETG as it helps improve adhesion and reduces warping during the print process.
Can I use PETG for functional parts?
PETG is an excellent choice for functional parts due to its strength, flexibility, and resistance to impact, making it suitable for various applications.
What should I do if my PETG prints are still not perfect?
If prints remain inconsistent, further adjustments to the extrusion multiplier, temperature, and print speed may be necessary. Conducting additional test prints can help refine settings further.




