How to Calculate and Calibrate Extruder Motor Steps (E-Steps) for Perfect Flow
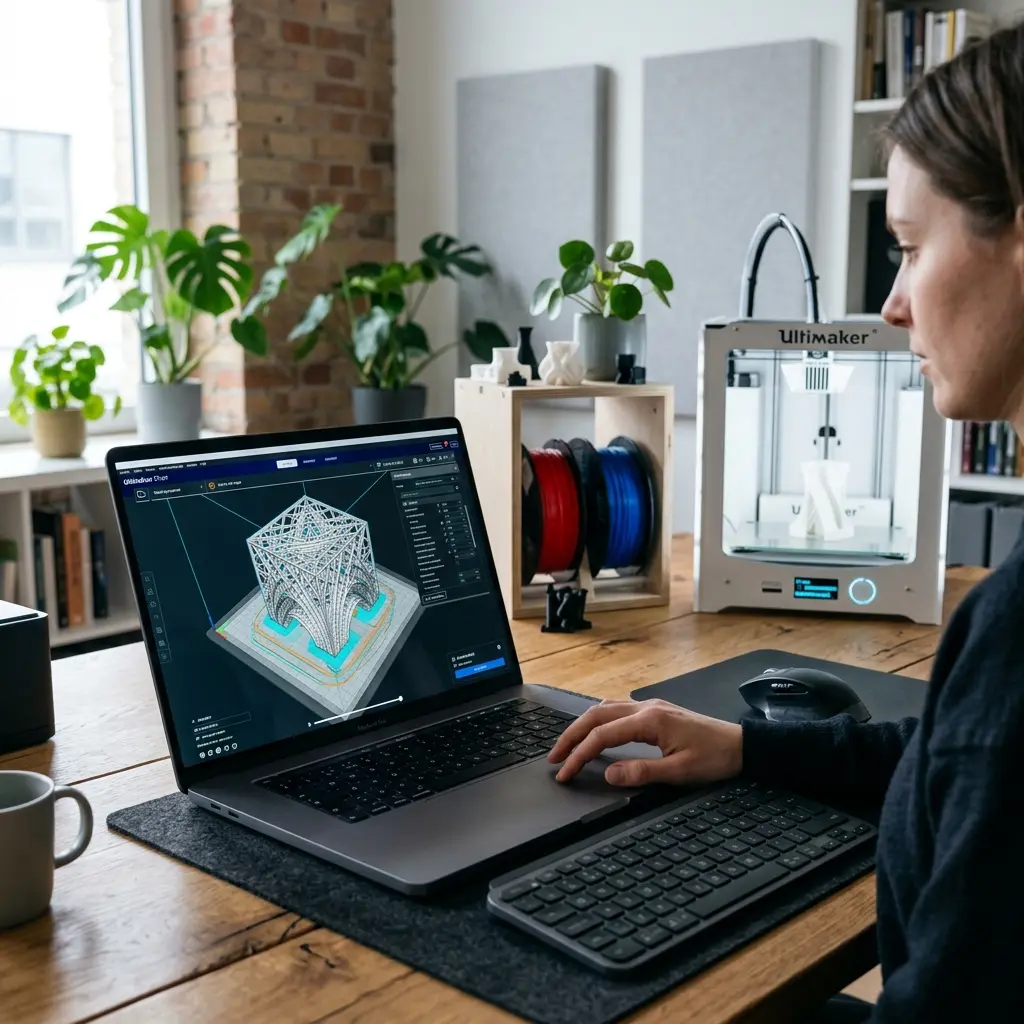
To calculate and calibrate extruder motor steps (E-steps) for perfect flow, you must determine the correct settings through measurement and adjustment. This process is crucial for achieving high-quality 3D prints.
Understanding Extruder Motor Steps (E-Steps)
Extruder motor steps, often referred to as E-steps, are critical for ensuring accurate filament extrusion in 3D printing. This parameter defines how many motor steps are required to push a specific length of filament through the extruder.
Accurate E-step calibration ensures precise flow rates, which directly impacts print quality. Inadequate calibration can lead to under-extrusion or over-extrusion, affecting layer adhesion and overall aesthetics.
Why Calibration is Essential
Calibrating the E-steps is essential for achieving the desired print quality. Proper flow rates prevent issues such as stringing, oozing, and poor layer adhesion.
Moreover, different filaments may require distinct settings due to variations in diameter, material composition, and melting characteristics. Regularly calibrating E-steps can significantly enhance the reliability and consistency of prints.
How to Calculate E-Steps
The calculation of E-steps involves a straightforward formula. Follow these steps to determine the E-steps for your specific extruder setup:
- Measure a length of filament (typically 100mm).
- Mark the filament precisely at the entry point of the extruder.
- Command the extruder to feed the marked length (100mm).
- Measure the distance from the mark to the entry point again.
- Use the formula: New E-Steps = (Current E-Steps * 100) / Length of Filament Extruded.
Following this method will provide a solid baseline for further adjustments, ensuring accurate extrusion rates.
Calibrating E-Steps: Step-by-Step Guide
Calibrating E-steps requires careful measurement and adjustments. The following steps will guide you through the calibration process:
- Prepare the 3D printer and ensure it is clean and free of obstructions.
- Load the filament into the extruder.
- Set the printer to extrude a specific amount of filament (e.g., 100mm).
- Measure the remaining length of filament to determine how much was actually extruded.
- Calculate the new E-steps using the previously mentioned formula.
- Update the firmware or slicer settings with the new E-steps value.
- Test print a small object to verify the calibration.
DomineTec Tip: Always calibrate your extruder after changing filament types or brands to ensure optimal performance.
Technical Specifications Comparison
| Filament Type | Diameter (mm) | Recommended E-Steps |
|---|---|---|
| PLA | 1.75 | 95-105 |
| ABS | 1.75 | 95-110 |
| PETG | 1.75 | 100-115 |
| TPU | 1.75 | 90-100 |

Common Issues with E-Steps and Troubleshooting
Several common issues can arise during E-step calibration. Understanding these problems can help in resolving them effectively.
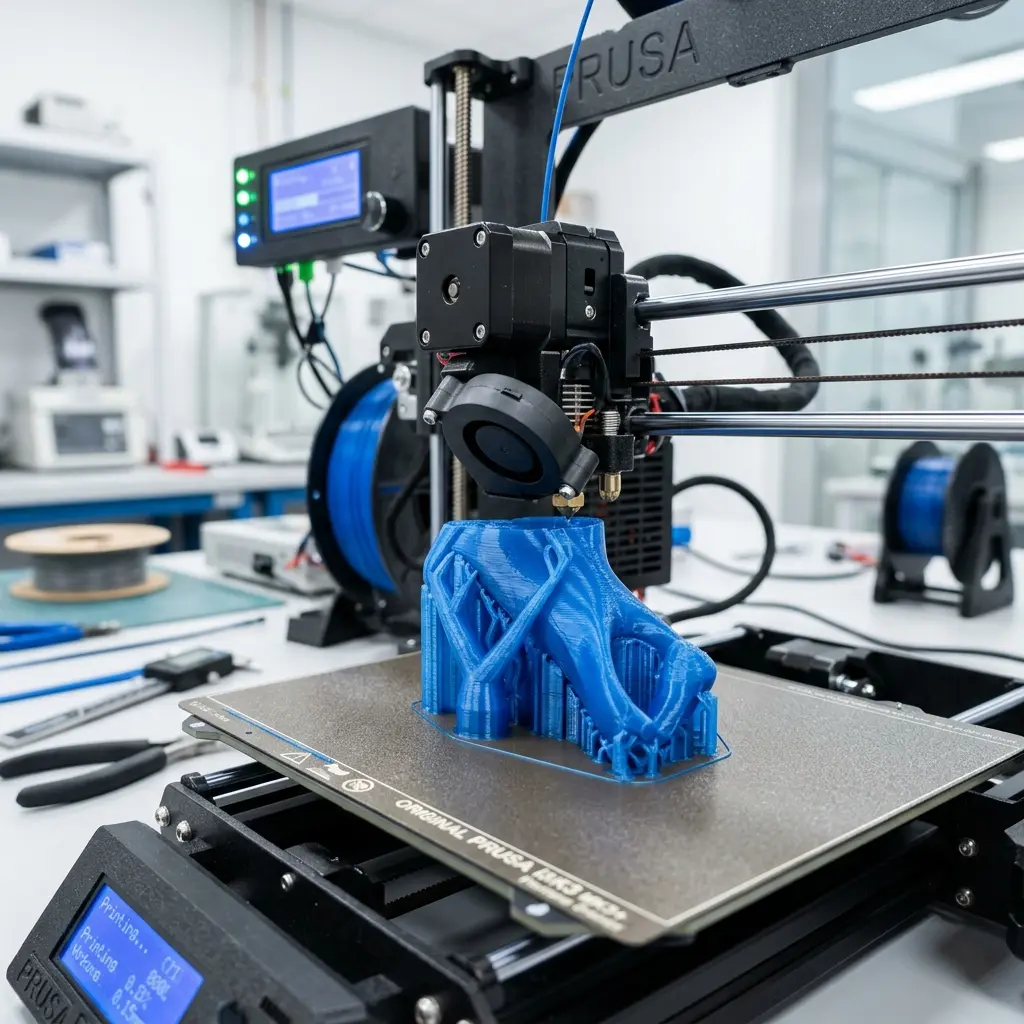
Under-extrusion occurs when there is insufficient filament being pushed through the nozzle. This may be due to incorrect E-steps, a clogged nozzle, or insufficient temperature settings.
Over-extrusion manifests as excess filament being extruded, leading to blobs and stringing. This issue can arise from overly high E-steps or an incorrect slicer setting.
Maintaining Consistency in Extrusion
To maintain consistent extrusion, regularly check the extruder and the filament used. Filament diameter can vary, affecting flow rates.
Using a caliper to measure the filament diameter at multiple points can ensure consistency. If variations are found, adjust the E-steps accordingly or choose a different filament.
Filament Considerations: PLA vs. ABS
Understanding the differences between filament types is essential for effective calibration. For example, the difference between PLA and ABS affects the extrusion temperature and flow characteristics.
PLA generally requires lower temperatures and has a smoother extrusion, while ABS requires higher temperatures and can be more challenging to print. Adjust E-steps based on the selected material for optimal performance.

Advanced Calibration Techniques
For users looking to refine their calibration process further, advanced techniques can provide improved accuracy. These techniques include using calibration cubes and fine-tuning retraction settings.
Calibration Cubes
A calibration cube is a small test print designed to evaluate various aspects of extrusion. Print a 20mm x 20mm x 20mm cube and measure its dimensions.
The accuracy of the cube's dimensions can indicate whether the E-steps are correct.
Retraction Settings
Retraction settings influence how filament is pulled back during non-printing moves. Fine-tuning these settings can reduce stringing and improve overall print quality.
Test different retraction distances and speeds to find the optimal settings for your setup.
Checklist for E-Step Calibration
To ensure a thorough calibration process, use this comprehensive checklist:
- Ensure the printer is properly leveled and calibrated.
- Use high-quality filament for testing.
- Measure filament diameter at multiple points for accuracy.
- Clean the nozzle to prevent clogs.
- Record initial E-steps before making changes.
- Follow the E-step calculation method accurately.
- Update firmware or slicer settings promptly.
- Conduct a test print to verify calibration.
- Compare print quality against expected results.
- Adjust settings based on observations from test prints.
Conclusion
Calibrating the E-steps of an extruder is a fundamental aspect of achieving high-quality 3D prints. Understanding the calculations and adjustments involved helps prevent common printing issues.
Regular checks and recalibrations ensure that the printer operates at peak efficiency, leading to better print quality and reliability. Whether dealing with PLA, ABS, or other materials, proper calibration is crucial for success.
Frequently Asked Questions
What are E-steps in 3D printing?
E-steps refer to the number of steps the extruder motor takes to push a specific length of filament. Accurate E-steps are crucial for consistent filament flow.
How often should E-steps be calibrated?
E-steps should be calibrated whenever changing filament types, brands, or after making mechanical changes to the printer. Regular checks can greatly improve print quality.
Can E-steps affect print quality?
Yes, incorrect E-steps can lead to under-extrusion or over-extrusion, impacting layer adhesion and overall print aesthetics. Proper calibration is essential for optimal results.
What is the typical range for E-steps?
The typical range for E-steps varies by filament type but usually falls between 90 and 115 steps per millimeter, depending on the extruder and filament used.
How can I adjust E-steps in my printer?
E-steps can be adjusted through the printer's firmware settings or slicer software. Most printers allow for quick adjustments to these parameters.




