What is Skirt in 3D Printing? Purging Nozzle and Checking Bed Level
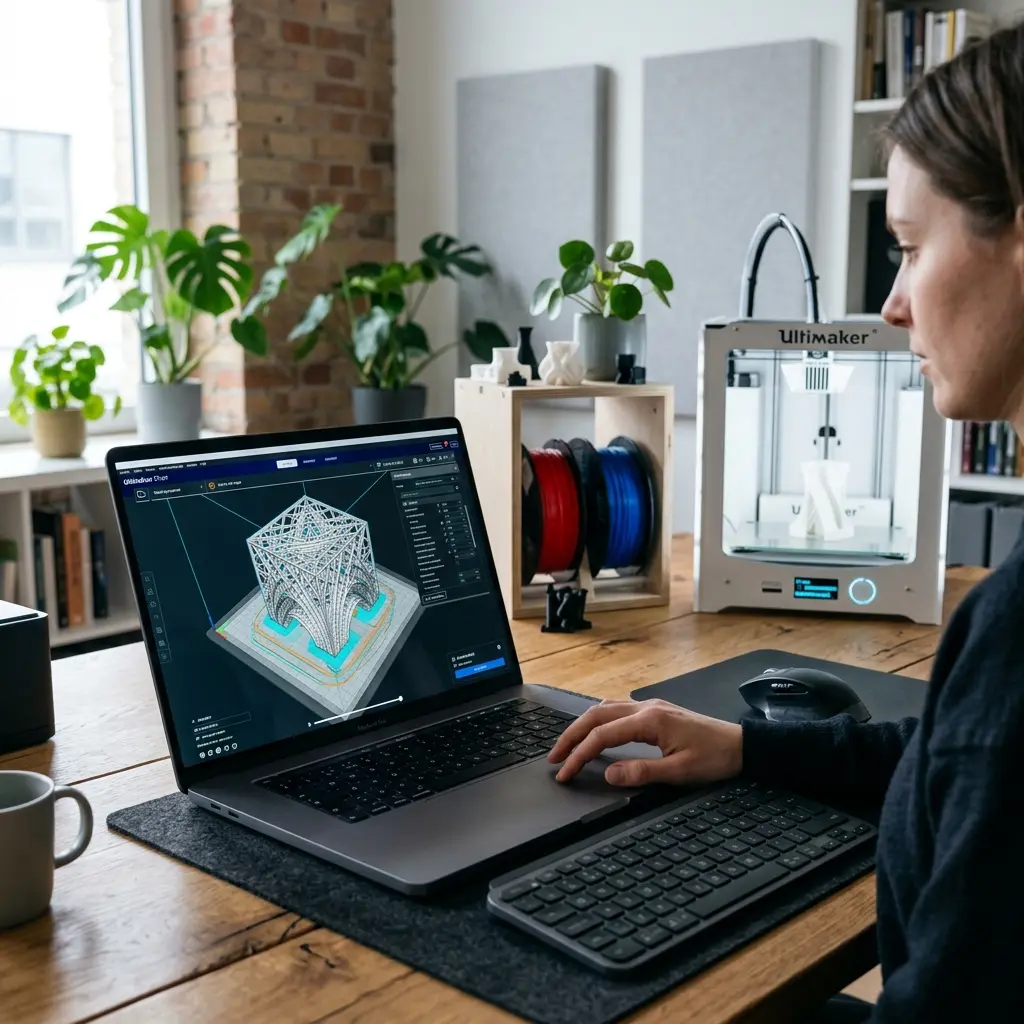
A skirt in 3D printing is a preliminary outline that helps with bed adhesion and nozzle purging.
Understanding the Skirt in 3D Printing
A skirt is an initial layer of filament extruded around the object being printed, but not attached to it. This process serves multiple purposes, including helping with priming the nozzle and ensuring proper bed adhesion.
The Importance of the Skirt
Skirts play a crucial role in 3D printing by performing essential functions. They allow the printer to purge any residual filament from the nozzle before the actual print begins, ensuring that the filament extruded during the print is clean and consistent.
Additionally, skirts can help in measuring the bed level during the initial stages of printing.
Benefits of Using a Skirt
Utilizing skirts can enhance print quality in several ways:
- Improves nozzle priming.
- Helps in visual inspection for potential issues.
- Assists in leveling the print bed.
Purging the Nozzle: Essential for Quality Prints
Purging the nozzle ensures that old filament does not mix with the new one, which can lead to color contamination and inconsistent flow. During the skirt phase, the printer extrudes filament, allowing the operator to confirm that the flow is uniform.

It is advisable to observe the initial skirt layers closely for signs of under-extrusion or other issues. This can provide valuable insight into the printer's performance, filament quality, and overall setup.
Checking Bed Level: A Vital Step Before Printing
Bed leveling is critical for successful prints. An uneven bed can lead to poor adhesion and print failures. During the skirt phase, the printer's nozzle travels across the bed, offering a great opportunity to assess whether the bed is level.
Proper bed leveling ensures that the first layer adheres correctly, which significantly affects the print's overall quality. If adjustments are needed, they should be made before starting the actual print.

Steps to Properly Set Up Skirt and Bed Leveling
Following these steps can help ensure that the skirt is correctly set up and the bed is properly leveled:
- Ensure the print bed is clean and free of debris.
- Use a piece of paper to check the gap between the nozzle and the bed.
- Adjust the bed height until the paper has slight resistance when pulled.
- Load the filament and set up the slicing software.
- Enable the skirt option in the slicer settings.
- Start the print and observe the skirt for any issues.
Understanding the Technical Specifications of Filaments
Different filament types can affect how the skirt performs. Here is a comparative overview of common filament types:
| Filament Type | Ideal Temperature | Bed Adhesion | Skirt Performance |
|---|---|---|---|
| PLA | 180-220°C | Good | Excellent |
| ABS | 210-250°C | Moderate | Good |
| PETG | 220-250°C | Excellent | Very Good |

DomineTec Tip: Always ensure the filament type matches the settings in the slicer for optimal skirt performance.
Common Issues with Skirts and Solutions
While skirts are beneficial, they can also present challenges. Common issues include poor adhesion and inconsistent extrusion. To address these problems, consider the following solutions:
- Increase the bed temperature to improve adhesion.
- Check the nozzle height to ensure it’s not too close to the bed.
- Inspect the filament for moisture and quality.
Advanced Techniques for Using Skirts
In addition to basic usage, advanced techniques can further enhance the effectiveness of skirts in 3D printing. Here are some methods to consider:
- Adjusting skirt parameters in slicing software for different prints.
- Utilizing a multi-skirt approach for larger prints.
- Experimenting with skirt distance from the model for optimal purging.
Analyzing Skirt Performance with Print Settings
Print settings can have a significant impact on the performance of skirts. The following table outlines key settings to consider:
| Setting | Recommended Value | Impact on Skirt |
|---|---|---|
| Skirt Lines | 1-3 | More lines can improve nozzle priming. |
| Skirt Offset | 5-10 mm | A greater offset can help with initial flow. |
| Skirt Height | 1-2 layers | More layers can enhance priming but increase print time. |
Checklist for Successful Skirt Setup
To ensure successful skirt setup, use the following checklist:
- Verify that the printer is calibrated and functioning correctly.
- Confirm that the filament is dry and within specifications.
- Check that the slicer settings are optimized for the specific filament.
- Make sure the bed surface is appropriate for the chosen filament type.
- Review the skirt settings in the slicer before starting the print.
Conclusion: The Role of Skirts in 3D Printing
Skirts are a simple yet effective tool in the 3D printing process. They help with nozzle purging, improve bed adhesion, and assist in leveling the print bed, leading to higher quality prints. By understanding how to set up skirts correctly, as well as their importance, users can enhance their overall 3D printing experience.
Frequently Asked Questions
What is the difference between a skirt and a brim?
A skirt is a line of filament printed around the object without touching it, while a brim extends from the object to help with adhesion.
Can I adjust the skirt height in my slicer settings?
Yes, most slicers allow for adjustments regarding skirt height and the number of skirt lines printed.
Is a skirt necessary for every print?
While not always necessary, using a skirt can help in purging the nozzle and ensuring better adhesion, particularly for new prints or materials.
How do I know if my skirt is printing correctly?
Observe the initial layers of the skirt; they should be consistent and adhere well to the bed without gaps or uneven extrusion.
What other methods can improve print adhesion?
Besides using a skirt, adjusting bed temperature, using adhesives, and ensuring proper nozzle height can also enhance adhesion.




