How to Setup TP-Link TL-WR840N Router as an Access Point (AP)
Expanding wireless network coverage in homes or offices is one of the most significant connectivity challenges today. With the increasing number of connected devices and architectural barriers, the internet service provider's (ISP) modem-router is often insufficient. If you have an old or secondary router, such as the popular TP-Link TL-WR840N, transforming it into a wired Access Point (AP) is the perfect solution to eliminate signal dead zones.
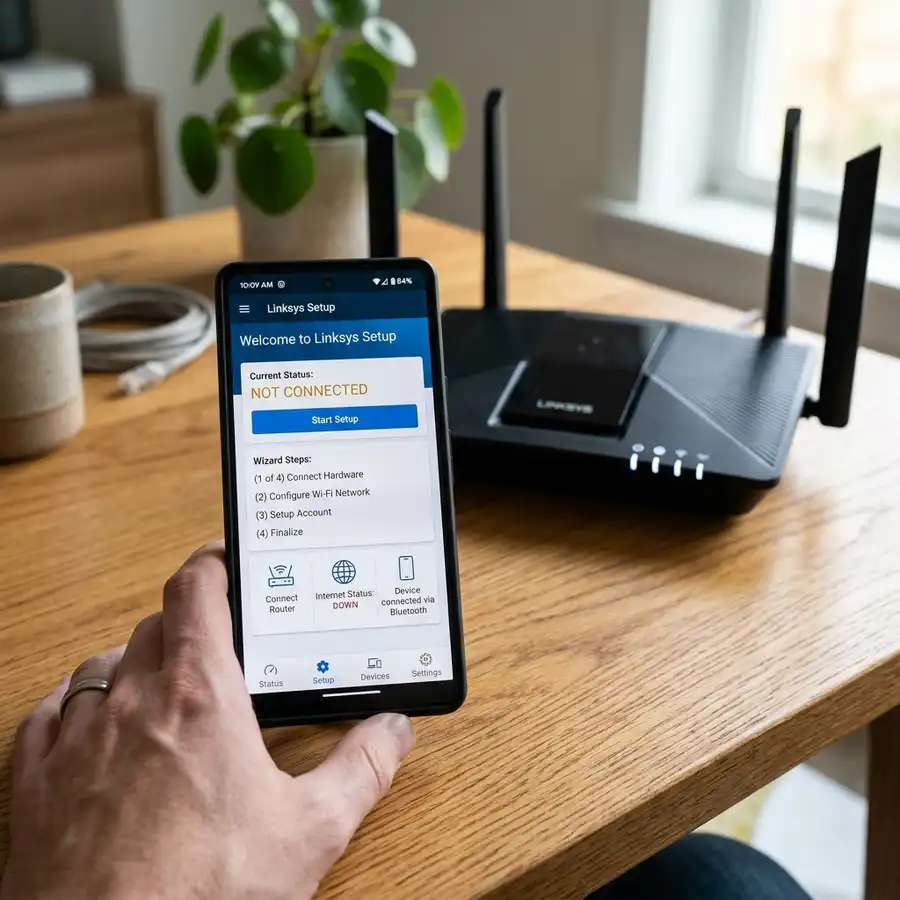
To setup the TP-Link TL-WR840N router as an Access Point, access the admin panel via IP 192.168.0.1, switch the operation mode to "Access Point," and connect the Ethernet cable from your main router to the WAN port. This simple setup configures the device to distribute your local network signal without creating IP address conflicts or Double NAT issues in your home.
In this detailed technical guide from DomineTec, we will walk you through the entire installation and configuration process for the TL-WR840N. You will learn the difference between the official Access Point mode and the manual setup for older firmwares, the hardware specifications of the device, how to avoid network interference, and how to troubleshoot the most common connection problems that arise during this type of setup.
TP-Link TL-WR840N Technical Specifications and Use Cases
The TP-Link TL-WR840N is an entry-level router widely used due to its excellent cost-to-performance ratio and durability. It operates on the 2.4 GHz frequency band under the Wi-Fi 4 (802.11n) standard, offering a maximum nominal transfer rate of up to 300 Mbps. In terms of internal hardware, the device is based on the MediaTek MT7628 chipset, a single-core processor clocked at 580 MHz, paired with 32 MB of RAM and 4 MB of flash storage for the firmware.
The device features two fixed 5 dBi external antennas, which ensure good signal propagation in small-to-medium-sized environments. On the back of the device, there is a 10/100 Mbps WAN (Fast Ethernet) port and four 10/100 Mbps LAN ports. This physical limitation of Fast Ethernet ports means the router can handle a maximum practical internet download speed of up to 100 Mbps, making it the ideal device for internet plans up to 100 Megabits per second.
The Access Point (AP) mode is highly recommended when you have a main router (usually supplied by your fiber ISP) and want to run a long Ethernet cable from that main device to a distant area (such as a second floor, backyard room, or home office) and connect the TL-WR840N on the other end. The WR840N will receive the internet connection via cable and generate a new Wi-Fi network in that area, ensuring the maximum available bandwidth without the signal losses typical of traditional wireless plug-in range extenders.
Difference Between Router, Extender, and Access Point Modes
Before proceeding with the hardware configuration, it is essential to understand the operational differences between the operating modes offered by the TL-WR840N firmware:
- Router Mode (Default): The device acts as the central hub of the network. It creates an independent logical sub-network, manages local IP address allocation via the DHCP protocol, performs Network Address Translation (NAT), and authenticates with your ISP (usually via PPPoE or Dynamic IP). It should only be used when connected directly to the modem (ONU) in bridge mode.
- Access Point Mode (AP): The router disables its DHCP server, NAT, and logical routing functions. It functions as a wireless bridge. Devices connected to the TL-WR840N's Wi-Fi receive their IP addresses directly from the main ISP router, keeping all devices on the same local network, which simplifies communication with printers, computers, and smart devices.
- Range Extender Mode (Repeater): The device connects to the main router wirelessly (without cables) and replicates the Wi-Fi signal. While very easy to install, this mode cuts wireless speeds in half because the Wi-Fi radio must divide its bandwidth between receiving data from the main router and retransmitting it to client devices.
Configuring your device as an Access Point via a physical Ethernet cable ensures the best possible performance, eliminating latency and providing stability for online gaming and video calls. To understand how to use the device in other modes, check out our guide on how to configure a TP-Link router as a Wi-Fi repeater.
Step-by-Step: Configuring TL-WR840N in Official Access Point Mode (V4 or Higher)
On newer hardware versions of the TL-WR840N (specifically version V4 and later), TP-Link included a simplified "Operation Mode" menu that makes configuration extremely fast. Follow the steps below to complete the setup:
- Initial Physical Connection: Plug the TL-WR840N into a power outlet. Connect an Ethernet cable to one of the yellow LAN ports on the WR840N and plug the other end into your computer. If you prefer to configure it via phone, connect to the default Wi-Fi network printed on the label underneath the router (usually named TP-Link_XXXX with no password or using the default PIN code printed on the label).
- Accessing the Web Interface: Open your web browser and enter
http://192.168.0.1orhttp://tplinkwifi.netin the address bar. Press Enter. - Admin Password Setup: If this is the first setup, the system will prompt you to create a new administrative password to protect the interface. Enter a secure password and confirm it. On older models, the default username is
adminand the default password isadmin. - Changing the Operation Mode: In the left-hand menu, locate the Operation Mode option. Select Access Point and click Save. The router will restart automatically to load the new network profile.
- Wi-Fi Setup: After the reboot, access the panel again. Follow the Quick Setup wizard to set the new Wi-Fi network name (SSID) and security password (WPA2-PSK with AES encryption is highly recommended for security). Click Next and finish.
- Connecting the Network Cables: Now that the firmware is configured, remove the cable linking the WR840N to your computer. Run a long Ethernet cable from one of the LAN ports on your main ISP router and plug it directly into the WAN (blue) or any LAN (yellow) port of the TL-WR840N. The device will start distributing internet over Wi-Fi immediately.
Manual Method: Configuration for Older Models (V1, V2, and V3)
If you have an older version of the TL-WR840N and its control panel does not feature the simplified "Operation Mode" toggle, you will need to disable the routing functions manually. Follow this advanced networking procedure:
- Connect your computer to a LAN (yellow) port of the WR840N using an Ethernet cable and access the panel at
192.168.0.1. - Go to Network → LAN in the left-hand menu.
- Modify the IP address of the router so that it matches the subnet of your main router but sits outside its automatic (DHCP) range. For example, if your main ISP router's IP is
192.168.1.1and it distributes IPs from192.168.1.100to192.168.1.200, change the TP-Link's LAN IP to192.168.1.2. Click Save and allow the router to reboot (you will now access it using this new IP). - Log into the TP-Link admin panel using the new IP address (e.g.,
192.168.1.2). Navigate to DHCP → DHCP Settings. - Select the Disabled option for the DHCP Server. This step is critical. If you leave DHCP enabled on the TP-Link, it will conflict with your main router's DHCP server, causing IP address duplications and broken internet access for your devices. Click Save.
- Go to Wireless → Wireless Settings to configure your Wi-Fi name (SSID) and password. Save the settings.
- Final Physical Connection: Connect the Ethernet cable coming from your main router to one of the LAN (yellow) ports on the TP-Link. DO NOT use the WAN (blue) port in this manual mode, as the WAN interface isolates network traffic, which will prevent connected devices from obtaining an IP from the main router.
Managing Network Infrastructure
- If you are setting up multiple routers, read our guide on the best cheap Gigabit routers for fiber-optic broadband to choose the best secondary hardware.
- For details on creating a seamless network setup, check out our guide on the best budget mesh Wi-Fi routers to improve coverage.
Frequency Planning and Channel Allocation to Avoid Wi-Fi Interference
When installing a secondary Access Point in your home, your wireless environment will have two active signal sources. If both routers transmit on the same radio channel and are close to each other, they will create co-channel interference, resulting in severe packet loss, slow speeds, and random disconnections.
Since the TL-WR840N operates exclusively in the 2.4 GHz band, which has only 3 non-overlapping channels (channels 1, 6, and 11), you must plan your channel allocation manually. If your main router is set to channel 1, configure your WR840N manually to channel 6 or 11. This prevents signal interference between the two wireless networks.
The table below outlines the recommended wireless parameters for your secondary Access Point:
| Network Parameter | Recommended Configuration | Technical Rationale |
|---|---|---|
| Channel Width | 20 MHz | Avoids occupying adjacent channels, significantly reducing interference in environments crowded with neighboring Wi-Fi networks. |
| Recommended Channels | 1, 6, or 11 (Manual Selection) | These are the only three channels in the 2.4 GHz band that do not overlap or share frequency space. |
| Security Protocol | WPA2-PSK (AES) | Provides strong cryptographic protection for 2.4 GHz networks without overloading the MT7628 chipset. |
| Beacon Interval | 100 ms (Default) | Maintains standard synchronization timing packets between the AP and connected clients. |
If you want a single Wi-Fi network throughout your home so that your devices can switch automatically between the main router and the Access Point (basic Wi-Fi roaming), you can set both wireless networks to use exactly the same network name (SSID) and password. However, make sure to keep the channels different (e.g., main router on channel 1, TP-Link on channel 6) to prevent signal conflict during device transition.

Diagnostics and Troubleshooting Common Setup Issues
During the Access Point setup process, physical or logical network configuration errors can occur. Here is how to diagnose and resolve the most frequent failures:
1. Connected to Wi-Fi but showing "No Internet Access"
This happens when client devices can associate with the TL-WR840N's Wi-Fi network but cannot load web pages. This is usually caused by: 1. The Ethernet cable from the main router was connected to the WAN (blue) port of the TP-Link during manual setup. Remember: in manual setup, the cable must go to a LAN (yellow) port. 2. The Ethernet cable is damaged or improperly crimped. Inspect the RJ45 connectors on both ends and verify that the port LEDs on both routers are lit.
2. IP Conflicts and Dropping Network Connections
If other devices in the house (like smart TVs or smartphones connected to the main router) start losing connection or displaying duplicate IP address errors after you connect the TP-Link, the TP-Link's DHCP server was not disabled. Access the TL-WR840N admin page using its IP address and ensure the DHCP Server setting is set to "Disabled". Restart both routers to flush old IP assignments.
3. Cannot Access the Admin Configuration Page
If you disabled the TP-Link's DHCP server but forgot to assign it a custom static LAN IP first, you will lose access to the configuration interface via 192.168.0.1 because the router is now operating as a transparent bridge. To access the settings without resetting the router, log into your main router's admin page, look at the DHCP client table to find the dynamic IP address assigned to the TP-Link, or simply press and hold the WPS/RESET button on the back of the WR840N for 10 seconds to factory reset the device and restart the configuration.
DomineTec Tip: Always use certified solid copper Ethernet cables (Cat5e or Cat6) to link your routers. Avoid cheap CCA (Copper-Clad Aluminum) cables, which suffer from electrical attenuation over distances exceeding 15 meters, potentially reducing the physical link negotiation speed from 100 Mbps to just 10 Mbps.
Security and Maintenance Best Practices for Your AP
To ensure your new Access Point remains secure against unauthorized access and cyber threats, apply the following router security configurations:
- Change default admin credentials: Never leave the default password as
admin. Anyone connected to your Wi-Fi network could log in, modify settings, or capture local network traffic. - Disable WPS (Wi-Fi Protected Setup): WPS allows quick connections via a physical button or an 8-digit PIN. However, WPS is vulnerable to brute-force security tools. Disable it in the wireless settings.
- Keep firmware updated: Check TP-Link's official support page for your hardware revision to install new firmware versions. Updates patch security vulnerabilities and optimize CPU performance.
- Guest Network: If your main router supports a guest network with AP isolation, consider using it to isolate your secondary Access Point from devices that hold sensitive data on the main network.
By applying these simple settings, your TP-Link TL-WR840N Access Point will provide stable and secure coverage expansion for your smart home devices for years to come.
Frequently Asked Questions (FAQ)
1. Can I use the WAN port of the TL-WR840N in Access Point mode?
Yes. On newer firmware revisions with a native Access Point mode toggle, connect the cable to the WAN (blue) port. On older firmwares using manual settings, use one of the LAN (yellow) ports.
2. Will internet speeds decrease when using the WR840N as an Access Point?
Yes, if your internet speed is above 100 Mbps. The WR840N's Fast Ethernet ports physically limit data speeds to about 95 Mbps.
3. Should I set the same Wi-Fi channel on both routers?
No. Use non-overlapping channels (like 1, 6, or 11) on each router to prevent signal interference and collision issues.
4. What should I do if my devices do not switch networks automatically?
Ensure both routers share identical SSID names and security passwords, and adjust placement to allow correct roaming handovers.
Conclusion: Successful Network Expansion
Setting up the TP-Link TL-WR840N router as an access point is an effective and cost-friendly way to improve home Wi-Fi coverage. Using physical Cat5e or Cat6 cabling to bridge your main and secondary routers prevents wireless degradation, ensuring a stable connection in distant rooms. Keep WPA2 security enabled, update the firmware, and position the antennas correctly for the best home networking experience.


