How to Login to Vivo Fiber Router Configuration (192.168.15.1)
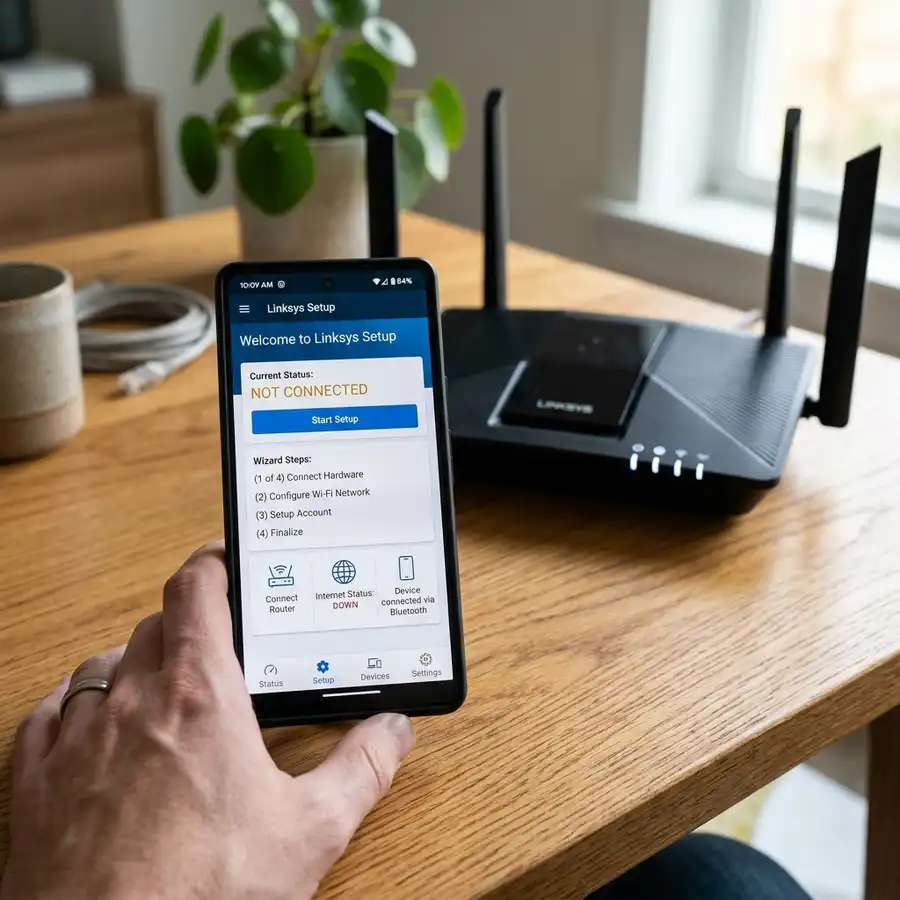
Configuring and managing a home network using a Vivo Fiber router is a fundamental task for anyone looking to optimize broadband speed, alter the wireless security key, open port forwarding rules for gaming consoles and PC gaming, or set up local DHCP servers. To access the web-based administrative management panel provided by Vivo's approved manufacturers (such as Askey, Mitrastar, Blu-castle, or HP), residential and business users need to use a specific default gateway numeric address. To login to your Vivo Fiber router, verify that your computer or mobile device is connected to the router's Wi-Fi network or via an Ethernet cable, launch your web browser, enter the default IP address 192.168.15.1 in the address bar, press Enter, and fill in the default credentials (typically admin for username and the unique admin password located on the label sticker on the bottom or back of the router).
Many users get confused by mixing up this private IP address with other classic standards used by other internet service providers, such as 192.168.1.1 or 192.168.0.1. However, Vivo adopts subnet 15 (192.168.15.0/24) to isolate its local network equipment and avoid automatic logical routing conflicts with third-party modems and repeaters installed in the household. If you wish to perform a complete technical maintenance check, understanding each logical step of authentication and configuration is crucial to avoid system failures in local packet forwarding and DHCP lease clashes. For other common home appliance troubleshooting guides, you can read our technical article on the Liectroux C30B robot vacuum beeping and not moving or check our analysis on whether a Wi-Fi security camera consumes too much data.
1. What is the 192.168.15.1 IP Address and Why Does Vivo Fiber Use It?
The IP address 192.168.15.1 is a private IPv4 address defined by the Internet Engineering Task Force (IETF) under the specifications of RFC 1918. These private addresses are designated exclusively for operations inside local area networks (LANs) and are not routable on the global public Internet. The Vivo router uses this IP address as the network's Default Gateway. The gateway acts as the edge communication interface of your LAN, translating incoming requests from connected devices and forwarding them to the public IP address provided by Vivo on the WAN (Wide Area Network) interface via NAT (Network Address Translation).
Vivo's decision to implement the 192.168.15.0 subnet with a default 24-bit subnet mask Classless Inter-Domain Routing (CIDR) of 255.255.255.0 serves clear network engineering purposes. Since the vast majority of older ADSL modems and secondary consumer routers use the default 192.168.1.1 or 192.168.0.1 subnets, using 192.168.15.1 prevents physical routing loops and logical address collisions when a user cascadingly connects routers in their home (connecting a LAN port of one to the WAN port of another). Additionally, this subnet allows for up to 253 usable IP addresses (from 192.168.15.2 to 192.168.15.254) for computers, smartphones, Smart TVs, and IoT appliances, which easily exceeds typical residential network demands.
In addition to the standard IPv4 architecture, modern Vivo Fiber routers also distribute local IPv6 addresses using DHCPv6 and SLAAC (Stateless Address Autoconfiguration). When a device connects to the network, it obtains both a local private IPv4 address in the range of 192.168.15.0/24 and a globally unique public IPv6 address. This dual-stack implementation ensures a smoother routing process for online multiplayer gaming, video conferencing tools, and modern peer-to-peer protocols by bypassing local NAT limitations entirely for IPv6 traffic flows.
2. Detailed Step-by-Step Guide to Log in to the Vivo Fiber Router Settings
To gain complete access to the web configuration console of your Vivo Smart Wi-Fi router (commercially known as the HGU - Home Gateway Unit), the user must follow the sequence of technical instructions below. Ensure that you perform this procedure using a device with a stable physical connection to avoid packet loss during the console's interface loading:
- Step 1: Establish the Connection (Physical or Wireless): Connect your configuration device (laptop, desktop, or smartphone) to the router's network. For maximum stability and to prevent disconnections midway through, we highly recommend using a Cat5e or Cat6 Ethernet patch cable plugged into one of the four yellow physical LAN ports situated on the HGU's rear panel. If you prefer Wi-Fi, connect to the 5 GHz band (SSID suffix ending in _5G) to avoid radio frequency interference.
- Step 2: Check Your Device's IP Configuration: The network card of your computer must be configured to acquire an IP address automatically from the DHCP pool. If you have previously assigned a static manual IP in a different subnet (such as 192.168.0.100), the system will fail to route to subnet 15. Open Windows Network Connections (Control Panel > Network and Sharing Center > Change Adapter Settings > IPv4 Properties) and ensure "Obtain an IP address automatically" is selected.
- Step 3: Launch Web Browser and Enter the Gateway IP: Start a modern browser and clear the local cache to prevent old redirect paths from loading. In the URL address bar at the top, type exactly
http://192.168.15.1and press Enter. Do not append "www." or additional characters. Verify that your browser hasn't forced the secure HTTPS protocol ("https://"), as some older Vivo firmware revisions do not listen on port 443 (SSL), only on the standard HTTP port 80. - Step 4: Bypass Browser Security Warnings: If the router uses a self-signed certificate for local access, your browser may display a warning stating "Your connection is not private". This warning is entirely normal for local private subnets. Click on "Advanced" and choose "Proceed to 192.168.15.1 (unsafe)" to load the default Vivo login portal.
To maintain secure and uncorrupted data flows, you should avoid configuring your router over insecure public Wi-Fi networks or with active cellular data connections running on your phone. If you have both Wi-Fi and 5G cellular data active, your mobile operating system might prioritize the cellular interface and route the 192.168.15.1 request to your cell tower instead of your local HGU switch, resulting in a page loading error.
3. How to Find the Admin Username and Password on Your Vivo Device
Once the router login screen has successfully loaded, the system will prompt you for two crucial credentials: the administrative username and password. Unlike generic retail routers that often use universal and insecure default combinations like "admin/admin", Vivo Fiber gateways are configured with an alphanumeric security key that is uniquely programmed at the factory for each individual hardware unit.
To locate these credentials, you must inspect the plastic shell of your router. Follow these practical steps:
- Turn the router upside down or examine the label printed on the rear panel of the unit.
- Look for a white adhesive label sticker placed directly by the manufacturer (Askey or MitraStar). This label contains barcodes, the device's MAC address, the physical serial number (S/N), and the default Wi-Fi SSID details.
- Find the specific field labeled "Settings Password" or "Senha de Configuração" (do not confuse this with the "Wi-Fi Password", which is only used to connect client devices to the 2.4 GHz or 5 GHz wireless radios).
- The administrative username is globally set to lowercase:
admin. - The administrative settings password typically consists of 8 to 12 alphanumeric characters, including uppercase letters, lowercase letters, and numbers (e.g., A7b9C2x1). Type it into the input field, keeping in mind that it is case-sensitive.
This unique administrative password is burnt into the SPI flash memory during hardware production. It is logically tied to the device's MAC address and unique serial number. This security design protects millions of homes in Brazil from massive automated attacks; even if an attacker knows you use a Vivo Fiber HGU, they cannot guess the admin login key without looking directly at the sticker on your specific device.

4. Crucial Settings to Modify Post-Login (SSID, Wi-Fi Password, DNS, DMZ)
After successfully logging into the advanced administration panel of the Vivo HGU, we strongly recommend implementing a few technical tweaks to enhance security and improve local bandwidth routing efficiency. The following table highlights the critical settings you should consider updating:
| Recommended Setting | Menu Navigation Path | Suggested Technical Parameters | Main Technical Benefit |
|---|---|---|---|
| Change DNS Servers | Advanced Settings > Local Network > DHCP Server | Primary DNS: 1.1.1.1 (Cloudflare) Secondary DNS: 8.8.8.8 (Google) |
Accelerates name resolution speeds and bypasses ISP-level DNS routing issues. |
| Modify SSID and Wi-Fi Key | Basic Setup > Wi-Fi (2.4 GHz and 5 GHz) | Security: WPA2-PSK (AES) or WPA3-SAE Key: Minimum 12 random characters |
Protects your local network from intrusion and unauthorized bandwidth leaching. |
| Disable WPS Protocol | Advanced Settings > Wi-Fi > WPS | Set state to "Disabled" | Secures a major security vulnerability where attackers exploit the physical WPS PIN via brute force. |
| Configure Port Forwarding | Advanced Settings > NAT / Port Forwarding | Define specific game console ports (e.g., TCP 3074) | Ensures an Open NAT status for console multiplayer games and stabilizes DVR connection routing. |
Furthermore, if you own a high-performance secondary Mesh router system (like a TP-Link Deco or ASUS ZenWiFi) and want it to serve as the primary routing brain of your home, you should log into the Vivo HGU and configure the WAN connection type to Bridge Mode. This forces the HGU to act strictly as a transparent fiber optic media converter, passing the external public IP address directly to the primary Mesh node, thereby resolving problematic double NAT scenarios.
When switching the device to bridge mode, ensure your secondary router's WAN port is connected to the HGU's LAN 1 port using a Cat6 Ethernet cable. This ensures your high-speed fiber connection (300 Mbps, 500 Mbps, or 1 Gbps) doesn't suffer from physical link bottlenecks. The LAN 1 port is configured by default on the customized Vivo firmware to act as the primary interface for transparent bridge data forwarding.
5. Troubleshooting Common Login Failures on the 192.168.15.1 Portal
If you type 192.168.15.1 into your browser and receive a "Connection timed out" (ERR_CONNECTION_TIMED_OUT) error, it indicates local network communication issues. Follow these professional diagnostic steps to restore connectivity:
- Temporarily Disable Mobile Data: Modern smartphones often automatically route data over cellular connections (LTE/5G) when connected to a Wi-Fi network that lacks an active internet connection. Disable cellular data on your device during setup to force all traffic through the router's local gateway.
- Confirm the Default Gateway IP: The router's IP address might have been altered by a previous administrator to prevent clashes. To confirm the current gateway IP in Windows, open Command Prompt (cmd) and type
ipconfig. Locate your active network adapter and note the "Default Gateway" line. On macOS, head to System Preferences > Network > Advanced > TCP/IP, and check the IP shown next to "Router". - Perform a Factory Reset (Hard Reset): If you cannot remember a custom password you configured earlier, or if the router's web server is unresponsive, perform a factory reset. Locate the tiny pinhole marked "Reset" on the back panel. Insert a paperclip and press the internal button for 15 seconds. Let the router reboot (it can take up to 5 minutes). All login information will revert to the default username and settings password printed on the back sticker.
You can also flush your computer's local DNS cache to clear any residual routing rules. On Windows, run the command `ipconfig /flushdns` in Command Prompt. In web browsers like Chrome, you might need to temporarily disable "Secure DNS over HTTPS" (DoH) in your security settings, as it can override local network hostnames and IP routes, preventing successful HTTP connections to private administrative addresses like 192.168.15.1.
Frequently Asked Questions (FAQ)
Is it safe to access my Vivo Fiber router through 192.168.15.1?
Yes, accessing your router through 192.168.15.1 is completely safe. This is a local, private IP address that resides entirely within your physical home network. No data is transmitted to the public internet during the login process. The security warnings shown by web browsers are simply due to the router's local page using a self-signed SSL certificate, which is standard for residential networking equipment.
Why is the settings password on my router's label not working?
This usually happens if the default settings password has been changed in the past for security reasons. To fix this, insert a paperclip into the physical "Reset" button hole on the back of the HGU and press it for 15 seconds. This will reset the entire configuration, allowing you to use the default settings password printed on the label.
Can I access 192.168.15.1 without an active fiber connection?
Yes. Accessing the 192.168.15.1 administrative interface only requires a local connection (via Wi-Fi or Ethernet cable) between your computer and the physical router. Even if your external fiber line is damaged or Vivo is experiencing an external outage, the local web console remains accessible for diagnostic purposes.
How do I manage my Vivo Fiber router remotely from outside my home?
For cybersecurity reasons, remote WAN management (via port 80 or 8080) is disabled by default on Vivo Fiber routers. To manage your device remotely, you must access the settings page locally at 192.168.15.1, navigate to the "Management" or "Remote Access" settings, and enable it while specifying a secure custom port. Additionally, setting up a Dynamic DNS (DDNS) client is recommended since Vivo assigns dynamic public IP addresses that change regularly.


