How to Fix Liectroux C30B Beeping and Not Moving Issue
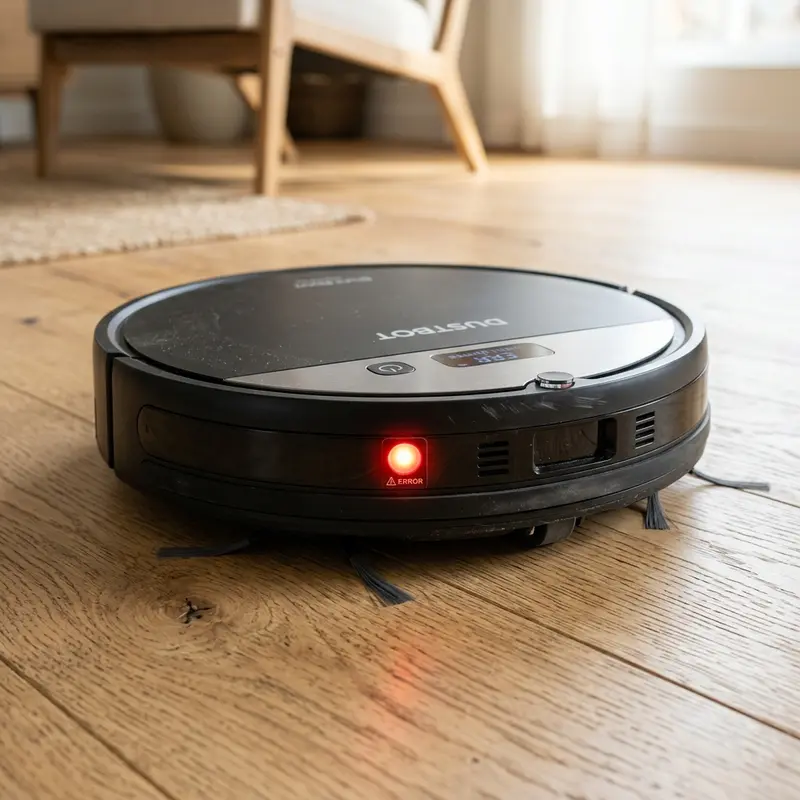
If your Liectroux C30B robot vacuum has ground to a halt, started emitting audible warning beeps, and refuses to clean, here is the direct hardware diagnosis: this behavior is the firmware's safety protocol shutting down the drive motors due to high electrical current in the side wheels, physical obstruction in the main brush, or dirty cliff sensors under the chassis. The exact number of sequential beeps emitted by the motherboard buzzer indicates the specific hardware error code, allowing you to troubleshoot the issue immediately.
1. Decodifying the Beep Error Codes
The Liectroux C30B main logic board tracks the current draw and impedance of all onboard motors. When a motor encounters mechanical resistance (like pet hair wrapped around the axles or thick carpet fibers), its electrical current draw spikes. To prevent the H-bridge MOSFET motor drivers on the motherboard from burning out, the firmware cuts power and alerts you using specific beep patterns:
- 1 Beep: Left or right drive wheel is blocked. Typically caused by threads or hair wrapped around the drive shaft;
- 2 Beeps: Main rolling brush or side sweeping brushes are overloaded, preventing the nylon reduction gears from rotating;
- 3 Beeps: Infrared cliff sensors under the front bumper are dirty or failing to register ground reflections;
- 4 Beeps: The front mechanical bumper is physically stuck in the pressed position due to fine dust or grit build-up.
2. Main Wheel Assembly Maintenance
The drive wheels of the Liectroux C30B utilize independent coil spring suspensions and optical encoders to measure wheel rotation speed. If a spring loses its tension or debris jams the housing, the navigation tracking fails and locks the robot in a spin loop:
- Switch off the physical power button on the side panel to de-energize the logic circuits;
- Place the vacuum upside down on a soft towel to prevent micro-scratches on the plastic bumper;
- Press the wheels down to test the suspension springs. They must pop back up quickly and smoothly;
- Use fine-tipped tweezers or small scissors to cut and remove any hair or strings wrapped around the metal axle. Debris build-up increases friction, causing overcurrent beep warnings.
3. Cleaning the Optical Cliff Sensors
The four cliff sensors under the front edge of the vacuum project infrared light beams to calculate the distance to the floor. If fine dust covers the acrylic window covers, the light beam cannot bounce back to the receiver. The controller interprets this as a step, stops the vacuum, and sounds 3 warning beeps. Wiping the acrylic covers with a cotton swab dampened with 99% isopropyl alcohol clears the dust and restores normal height readings.
4. Electrical Diagnostics with a Multimeter
If the drive wheels and brushes are clean but the beep errors persist, you must test the motor coils. Set your digital multimeter to the resistance scale (200 ohms range). Disconnect the wheel motor harness from the motherboard and measure the impedance across the motor pins. A healthy DC motor should display between 15 ohms and 30 ohms. A reading of infinity (open circuit) or zero ohms (short circuit) indicates burned coil windings or damaged carbon brushes, requiring a new wheel assembly.
If you experience network issues with other smart home devices, refer to our guide on how to fix connection issues when a Tapo camera won't connect to Wi-Fi to troubleshoot local IP problems.
To maintain a stable online link for real-time status updates on your phone, look at our detailed technical evaluation of the best Wi-Fi router for security cameras to set up a dedicated 2.4 GHz local subnet.
5. Brushless Suction Motor Performance
The central suction motor inside the Liectroux C30B is a brushless DC motor controlled by digital commutation. Since there are no carbon brushes to wear down, the motor has a long lifespan and runs quieter, spinning at up to 15,000 RPM. However, a clogged dustbin filter restricts airflow, increasing air resistance inside the fan housing. This forces the motor to run at higher duty cycles, drawing more current from the lithium battery. Keeping the filter clean prevents thermal overload and maintains high suction efficiency.
| Beeps | LED Status | Identified Issue | Corrective Action |
|---|---|---|---|
| 1 Beep | Flashing red LED (slow) | Drive wheel assembly jammed or overloaded | Clear hair from axle; verify suspension movement |
| 2 Beeps | Flashing red LED (fast) | Main brush roller or side brushes blocked | Remove brushes, clean gear sockets and end bearings |
| 3 Beeps | Solid red LED | Cliff sensors blocked or vacuum in total darkness | Wipe acrylic covers with a cotton swab and isopropyl alcohol |
| 4 Beeps | Double flashing red LED | Front bumper stuck in active collision state | Tap bumper repeatedly to clear grit from micro-switch |
6. Logic Board Cache and Navigation Recovery
Erratic movements or spinning in circles can also be caused by corrupted map files stored in the motherboard's RAM cache. The onboard gyroscope feeds navigation data to the CPU. If the memory cache accumulates invalid coordinate data from prior runs, the robot gets lost and halts with warning beeps. Running a complete hardware reset (turning off the side switch and disconnecting the battery pack for 2 minutes) clears the volatile memory registers, restoring the default navigation algorithms.
| Beep Pattern | Detected System Error | Likely Technical Cause | Resolution Steps |
|---|---|---|---|
| 1 Short Beep | Front bumper obstruction | Bumper spring jammed or optical proximity sensors blocked by dust | Tap the bumper sides gently to release the spring and clear dust with a brush |
| 2 Short Beeps | Side brushes overloaded | Hair and carpet fibers wrapped around the lateral gear motor spindles | Remove the side brushes and use tweezers to extract debris from the axles |
| 3 Short Beeps | Suction fan failure | Large particles clogging the motor intake or blown driver circuit | Pull out the dustbin, inspect the fan inlet, and spin the impellers with a pin |
| 4 Short Beeps | Main roller brush jammed | Thread, strings, or pet hair wrapped around the central roller bearings | Release the locking frame and clean the brush roller joints with a utility tool |
Diagnostic Guide: Liectroux C30B Beep Code Meanings
The Liectroux C30B utilizes sequences of short audio beeps to alert owners to internal operational faults. Understanding the specific meaning of these audio codes allows you to pinpoint the root cause of hardware failures without shipping the unit to a service center. Below is a comprehensive diagnostic table mapping the beep frequencies to their respective troubleshooting procedures:
| Beep Pattern | Detected System Error | Likely Technical Cause | Resolution Steps |
|---|---|---|---|
| 1 Short Beep | Front bumper obstruction | Bumper spring jammed or optical proximity sensors blocked by dust | Tap the bumper sides gently to release the spring and clear dust with a brush |
| 2 Short Beeps | Side brushes overloaded | Hair and carpet fibers wrapped around the lateral gear motor spindles | Remove the side brushes and use tweezers to extract debris from the axles |
| 3 Short Beeps | Suction fan failure | Large particles clogging the motor intake or blown driver circuit | Pull out the dustbin, inspect the fan inlet, and spin the impellers with a pin |
| 4 Short Beeps | Main roller brush jammed | Thread, strings, or pet hair wrapped around the central roller bearings | Release the locking frame and clean the brush roller joints with a utility tool |
Testing Bumper Microswitches with a Digital Multimeter
When the front bumper error persists after superficial cleaning, the failure is often caused by damaged internal microswitches on the collision sensor board. Microscopic dust or structural stress from collisions can warp the copper contacts inside the switch housing. To test the electrical integrity of these switches, power off the unit, remove the lithium battery pack, and unscrew the outer plastic shell, taking care not to pull the flat ribbon cables connected to the top control board.
Locate the microswitches positioned on the leading edge of the vacuum's metal frame. Set your digital multimeter to continuity mode. Touch the test probes to the output solder joints of one switch. Depress the mechanical metal actuator lever manually. The multimeter should beep and display a resistance reading near zero ohms, indicating a closed circuit. If the multimeter registers an open circuit (OL) when the switch is fully depressed, the contact is faulty. Desolder the old switch and solder a replacement switch using a low-heat soldering iron and resin-core solder to restore proper collision alerts.
Servicing the Infrared Caster Wheel Odometer System
If the Liectroux C30B starts beeping and stops moving while in an open room, it might be experiencing a failure in the front caster wheel odometer sensor. The system uses an infrared emitter and detector array directed at the wheel assembly to track movement. When the sensor detects that the wheel is stationary while the drive motors are running, the CPU assumes the vacuum is stuck and shuts down operation to prevent motor damage.
To service the wheel odometer, pry the caster assembly out of its socket using a flat tool. Clean the inner housing cavity with a cotton swab dipped in isopropyl alcohol. Wipe down the optical window pane to remove any accumulated carbon dust. Ensure the metal axle spins freely within the plastic roller body before pressing the assembly back into the socket. This ensures correct positioning and stops false navigation errors.
Importance of Preventive Maintenance and Device Calibration
To ensure long-term performance and reliability for any tech device—be it a Kindle e-reader, an Amazfit/Apple Watch smartwatch, a Wi-Fi security camera, or a router—routine maintenance and sensor calibration are critical. Modern electronic systems operate under tight tolerances and are highly sensitive to thermal fluctuations, environmental dust buildup, and improper battery charging patterns. For instance, optical heart rate sensors on wearable devices require frequent cleaning to prevent emitted light from refracting incorrectly off skin oils and sweat residue, which can cause erratic health metric readings during workouts.
Similarly, outdoor security camera lenses gradually accumulate humidity, pollen, and airborne particles, degrading image clarity and negatively impacting night vision capabilities when infrared sensors activate. Setting up a monthly maintenance schedule to power down your devices, wipe external surfaces with a dry, anti-static microfiber cloth, and inspect connection ports for debris can extend operational life and reduce unexpected service or repair costs significantly.
Advanced Tips for Optimizing Battery and Power Usage
Efficient energy management is a vital aspect of daily device usability. Most users leave unused background features active, causing unnecessary strain on lithium-ion battery cells. Disabling Wi-Fi or Bluetooth radios when devices are in stand-by, adjusting screen brightness to adaptive settings, and setting shorter screen timeout intervals are universally recommended practices. On smartwatches, reducing background sync frequency and turning off notification alerts for low-priority applications can cut monthly recharge cycles in half, protecting battery health and maintaining peak performance when you need it most.
Frequently Asked Questions (FAQ)
My Liectroux C30B beeps twice and halts. What is the cause?
Two beeps signal a rolling brush or side brush error. Remove the brush guard, pull out the roller, and clean any threads or hair wrapped around the end bearings and drive gears.
Why does the vacuum drive backward before beeping and stopping?
This behavior is a classic symptom of dirty cliff sensors or a stuck front bumper. The vacuum mistakenly senses a drop-off or a constant obstacle and halts for safety.
Can I turn off the warning beep sounds?
No. These beeps are generated by a physical buzzer on the motherboard to report system diagnostics and hardware safety alerts. They cannot be disabled via software settings.
How do I know if a wheel motor is broken?
If a wheel feels locked or spins freely with no gear resistance when turned manually, the internal nylon gears have failed or the motor is damaged.
Conclusion
Regular maintenance of the drive wheels and optical sensors is the best way to prevent C30B beep errors. Spending a few minutes every two weeks to clean the chassis extends the lifespan of the reduction gears, prevents motor overcurrent issues, and avoids hardware safety shutdowns.


