How to Configure Retraction Settings for PETG Filament in PrusaSlicer
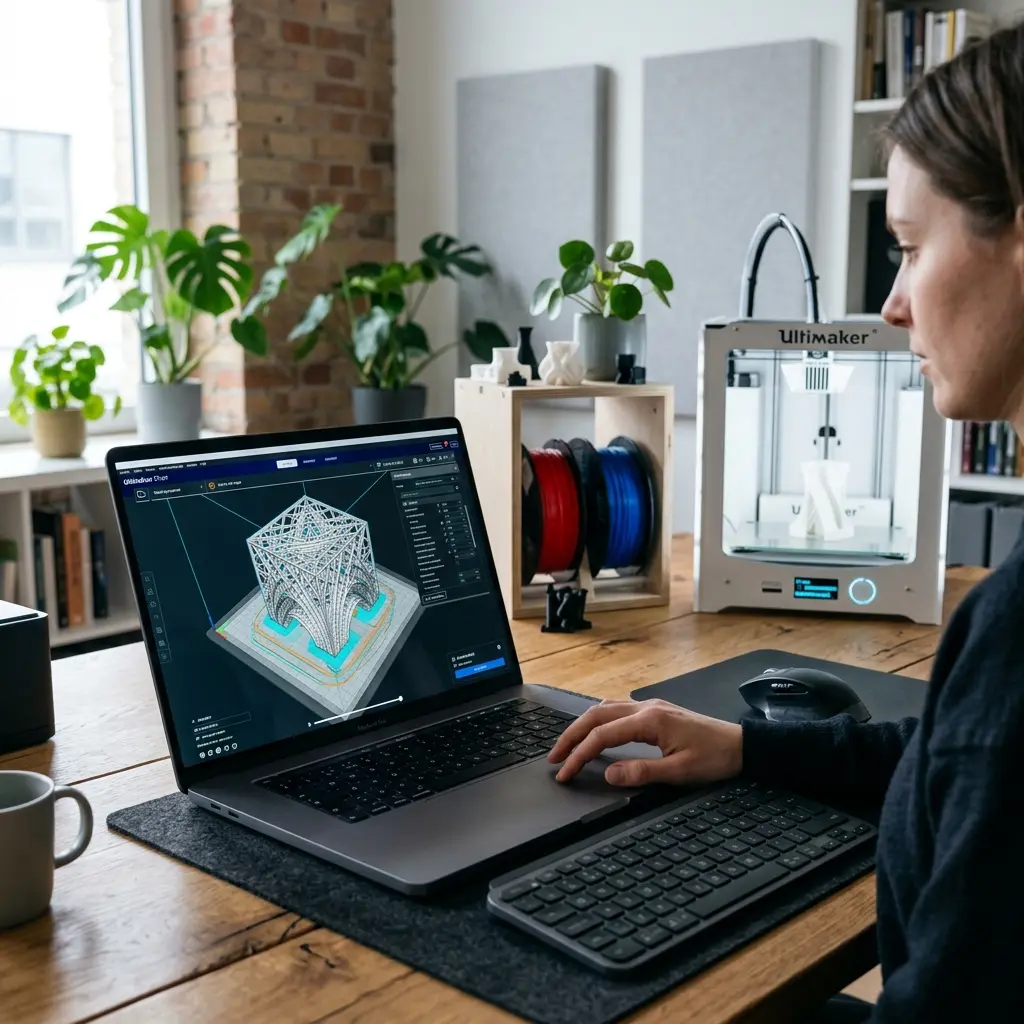
Configuring retraction settings for PETG filament in PrusaSlicer is essential to minimize stringing and ensure a high-quality print.
Understanding PETG Filament Characteristics
PETG (Polyethylene Terephthalate Glycol) is a popular filament choice in 3D printing due to its durability and ease of use.
This filament exhibits specific characteristics that affect printing, such as low shrinkage and good impact resistance, making it ideal for functional parts.
However, PETG is prone to stringing, which necessitates careful configuration of retraction settings in PrusaSlicer.
Knowing the properties of PETG can aid in optimizing print quality and achieving the desired results.
Key Retraction Settings in PrusaSlicer
PrusaSlicer offers several settings that influence how the printer handles retraction.
These include retraction length, speed, and extra restart distance, among others. Understanding these settings is crucial for effective configuration.
Retraction Length
Retraction length determines how much filament is pulled back into the nozzle during travel moves.
For PETG, a retraction length of 0.5 to 1.0 mm is typically recommended, but this can vary based on the specific printer and nozzle type.
Retraction Speed
The speed at which the filament retracts can significantly impact print quality.
A retraction speed of 30 to 50 mm/s is often suitable for PETG, but this may need adjustment based on the printer's capabilities.
Extra Restart Distance
This setting compensates for any filament oozing that can occur when the extruder resumes after a retraction.
Setting an extra restart distance of around 0.1 mm can help improve print quality by reducing stringing.
Step-by-Step Guide to Configure Retraction Settings
Follow these steps to configure retraction settings for PETG filament in PrusaSlicer:
- Open PrusaSlicer and load the model to be printed.
- Select the appropriate printer profile for your 3D printer.
- Navigate to the "Print Settings" tab.
- Expand the "Filament Settings" section.
- Locate the "Retraction" options within the filament settings.
- Adjust the "Retraction Length" to between 0.5 and 1.0 mm.
- Set "Retraction Speed" to 30-50 mm/s.
- Enter an "Extra Restart Distance" of approximately 0.1 mm.
- Save the settings and slice the model.
- Begin the printing process and monitor for any stringing issues.

Common Issues with PETG and Their Solutions
Even with optimized retraction settings, issues can still arise during printing with PETG.
Being aware of common problems allows for quicker troubleshooting and effective solutions.
Stringing
Stringing occurs when small strands of filament connect different parts of a print.
To minimize stringing, ensure that retraction settings are properly configured and consider increasing the travel speed.
Oozing
Oozing can lead to blobs or defects on the print surface.
Adjusting the retraction settings and ensuring the nozzle temperature is not too high can mitigate this issue.
Layer Adhesion Problems
PETG requires proper layer adhesion to achieve strong prints.
Ensure that the print temperature is within the optimal range for the specific PETG being used.

Comparative Overview of Filament Types
Understanding different filament types can aid in selecting the right material for specific applications.
| Filament Type | Strength | Flexibility | Ease of Printing | Common Use Cases |
|---|---|---|---|---|
| PETG | High | Moderate | Easy | Functional parts, outdoor applications |
| PLA | Moderate | Low | Very Easy | Prototyping, decorative items |
| ABS | High | Moderate | Moderate | Durable parts, automotive components |
| TPU | Moderate | High | Challenging | Flexible parts, phone cases |
| Nylon | Very High | Moderate | Moderate | Mechanical parts, functional prototypes |
Advanced Tips for Printing with PETG
Enhancing print quality with PETG involves more than just adjusting retraction settings.
The following tips can help achieve optimal results:
DomineTec Tip: Always perform a test print after adjusting settings to ensure quality. Consider printing a small calibration model to fine-tune settings further.
Additionally, using a textured or PEI print surface can improve adhesion and reduce warping.
Material Storage and Preparation
Proper storage and preparation of PETG filament are crucial for maintaining print quality.
Filament should be stored in a cool, dry place to prevent moisture absorption.
Consider using desiccant packs in storage containers to keep filament dry.
Before printing, allow the filament to acclimate to room temperature to reduce the risk of warping.

Monitoring and Adjusting During the Print
Monitoring the print process is crucial for identifying any issues early on.
Be prepared to pause the print and make adjustments to settings if stringing or oozing is observed.
Keep an eye on the first few layers, as these are critical for overall print success.
Adjustments can be made in real-time if the printer allows for it, ensuring the best possible outcome.
Post-Processing PETG Prints
Post-processing can enhance the appearance and functionality of PETG prints.
Common methods include sanding, painting, and applying coatings for improved durability.
Use fine-grit sandpaper for smoothing surfaces, but ensure the print is cooled to avoid warping.
For painting, use compatible paints that adhere well to PETG, and consider priming the surface first.
Frequently Asked Questions
What is the best retraction length for PETG?
A retraction length between 0.5 and 1.0 mm is generally recommended for PETG, depending on the printer and nozzle configuration.
How does temperature affect PETG printing?
Temperature plays a crucial role in PETG printing; temperatures between 230°C and 250°C are recommended to achieve optimal extrusion.
Can I use a different retraction speed for PETG?
Yes, retraction speed can be adjusted based on the printer's capabilities, with 30-50 mm/s being a common range for PETG.
Is PETG more difficult to print than PLA?
While PETG is slightly more challenging than PLA due to its tendency to string, proper settings can yield excellent results.
What types of surfaces work best for PETG prints?
Textured surfaces, PEI sheets, and glass with glue stick are excellent options for ensuring good adhesion with PETG.
Checklists for Successful PETG Printing
Utilizing checklists can streamline the preparation and printing process for PETG. Below are two detailed checklists to ensure success.
Pre-Printing Checklist
- Check the printer settings for compatibility with PETG.
- Ensure that the filament is dry and free from moisture.
- Verify that the nozzle is clean and free of clogs.
- Confirm that the bed is leveled properly.
- Set the correct temperature for the nozzle and heated bed.
- Adjust retraction settings according to the guidelines provided.
- Run a test print to evaluate settings before the final print.
Post-Printing Checklist
- Inspect the print for any defects or stringing.
- Allow the print to cool before removing it from the bed.
- Perform any necessary post-processing steps, such as sanding.
- Store unused filament properly to prevent moisture absorption.
- Clean the printer components, including the nozzle.
- Document any adjustments made for future reference.
- Evaluate the print quality and adjust settings for subsequent prints.




