How to set up a new iPhone from scratch takes under 30 minutes — power on, connect Wi-Fi, sign in to Apple ID, and follow the on-screen prompts.
Whether you just unboxed the latest iPhone 16 or received a refurbished model, the out-of-box experience has become remarkably polished over the years. Yet there are still a handful of decisions made in those first few minutes that shape your privacy, security, and daily convenience for months to come. Rushing through the setup wizard can leave you with a device that is not fully protected, not properly backed up, and missing the migration of years of photos, messages, and app data. This guide walks you through every screen, every choice, and every setting worth revisiting once the welcome sequence is done.
Before You Turn It On: What You Need Ready
Taking five minutes to gather the right items before powering on your new iPhone prevents interruptions mid-setup and makes the whole process smooth. Here is what to prepare:
- Your Apple ID email and password. If you do not have one, you can create it during setup, but having it ready saves time.
- Wi-Fi credentials. You will need a stable network from the very first screen. Mobile data alone can delay software verification steps.
- Your old iPhone — if transferring data via Quick Start (the fastest method).
- A Lightning or USB-C cable (depending on your model) if you plan to restore from a computer backup via Finder or iTunes.
- Your SIM card or carrier account details if you intend to activate the eSIM on your new iPhone instead of using a physical nano-SIM.
- Two-factor authentication access on a trusted device or phone number, since Apple will send a verification code when you sign in to your Apple ID.
It is also wise to back up your data before transferring from your old device — even if you plan to use Quick Start, having an additional backup on your computer protects you against the rare but devastating scenario where data is lost mid-migration.
Migration Methods at a Glance
| Method | Speed | Requires | Best For |
|---|---|---|---|
| Quick Start | Fast (15–45 min) | Old iPhone nearby, iOS 12.4+ | Most users upgrading from another iPhone |
| iCloud Restore | Medium (depends on internet) | iCloud backup, strong Wi-Fi | Users without old device handy |
| Finder / iTunes | Fast (local transfer) | Mac/PC, USB cable, prior backup | Power users, large libraries |
| Manual Setup | Slow | Nothing extra | First-time iPhone users, fresh start |
Step-by-Step: First-Time iPhone Setup
Once you press and hold the side button to power on, the familiar "Hello" screen appears in dozens of languages. Here is what each step actually means:
- Language and Region: Choose your primary language. Region affects default date formats, currency, and App Store availability. Choose accurately — you can change it later but some settings require a reset.
- Quick Start or Manual: If your old iPhone is nearby, hold it close to trigger the camera-based Quick Start pairing animation. This is the fastest and most complete migration path Apple offers.
- Connect to Wi-Fi: Select your home network and enter the password. Without Wi-Fi, the setup process stalls at activation.
- Activate iPhone: Apple's servers verify your device. This step takes 30–60 seconds. If it fails repeatedly, ensure your SIM is inserted correctly or the eSIM is provisioned by your carrier.
- Data & Privacy: A brief explanation of how Apple handles your data. Read it once — it informs the permissions you will grant throughout the process.
- Face ID or Touch ID setup: Enroll at least one biometric now. You can add a second face or additional fingerprints later in Settings.
- Create a Passcode: Choose a 6-digit numeric code or, better yet, tap "Passcode Options" and set an alphanumeric custom code. Longer passcodes dramatically increase brute-force resistance.
- Transfer or Restore: Choose your migration method (see the table above). If using Quick Start, keep both phones close together and plugged in to avoid interruption.
- Apple ID sign-in: Enter your credentials. A 2FA code will be sent to your trusted device. Approve it promptly.
- Terms and Conditions, iCloud, Siri, Screen Time, App Analytics: Each screen lets you opt in or out. Siri is useful; sharing diagnostics with Apple is optional and affects nothing functional.
- Appearance and Display Zoom: Choose Standard or Zoomed display. This affects icon and text size. Standard is preferred for most adults.
DomineTec Tip: During setup, if you skip iCloud Drive activation, your documents and Desktop folders from your Mac will not sync automatically. You can turn it on post-setup via Settings → [Your Name] → iCloud → iCloud Drive.
How to Transfer Data from Your Old iPhone (Quick Start)
Quick Start, introduced in iOS 12.4 and refined through every major update since, remains the gold standard for iPhone-to-iPhone migrations. The process uses a combination of Bluetooth for pairing, Wi-Fi Direct for high-speed transfer, and your iCloud credentials to re-link accounts. Here is the detailed flow:
- Place your old iPhone next to the new one. A card will appear on the old phone asking you to use your Apple ID to set up the new device. Tap Continue.
- A circular animation appears on the new iPhone. Hold the old iPhone over it and align it inside the viewfinder. This optical pairing confirms both devices are close together.
- You will be prompted to enter the old iPhone's passcode on the new device. This cryptographically transfers your encryption keys along with your data.
- Set up Face ID or Touch ID on the new phone, then choose Transfer from iPhone to move data directly, or Download from iCloud if you prefer a cloud restore.
- Keep both phones near each other and plugged in. Depending on total storage used, the transfer typically takes between 15 and 90 minutes.
Direct transfer (device-to-device) is faster and more complete than iCloud restore — it includes HealthKit data, local app data, and your home screen layout without requiring additional downloads. Importantly, your apps re-download automatically from the App Store in the background once the new device is active.
Security Settings You Cannot Skip
The setup wizard gets you through the basics, but several security-critical settings are buried in the system preferences and are easy to miss. Make a habit of checking these within the first hour of using your new iPhone:
Two-Factor Authentication
If it is not already enabled on your Apple ID, go to Settings → [Your Name] → Sign-In & Security → Two-Factor Authentication. Without 2FA, anyone who obtains your Apple ID password can access iCloud, purchase apps, and locate your device.
Find My iPhone
Verify this is active under Settings → [Your Name] → Find My → Find My iPhone. Enable Send Last Location as well — this transmits the phone's GPS position to Apple's servers when the battery drops critically low, giving you a final known location even if the device dies before you can track it.
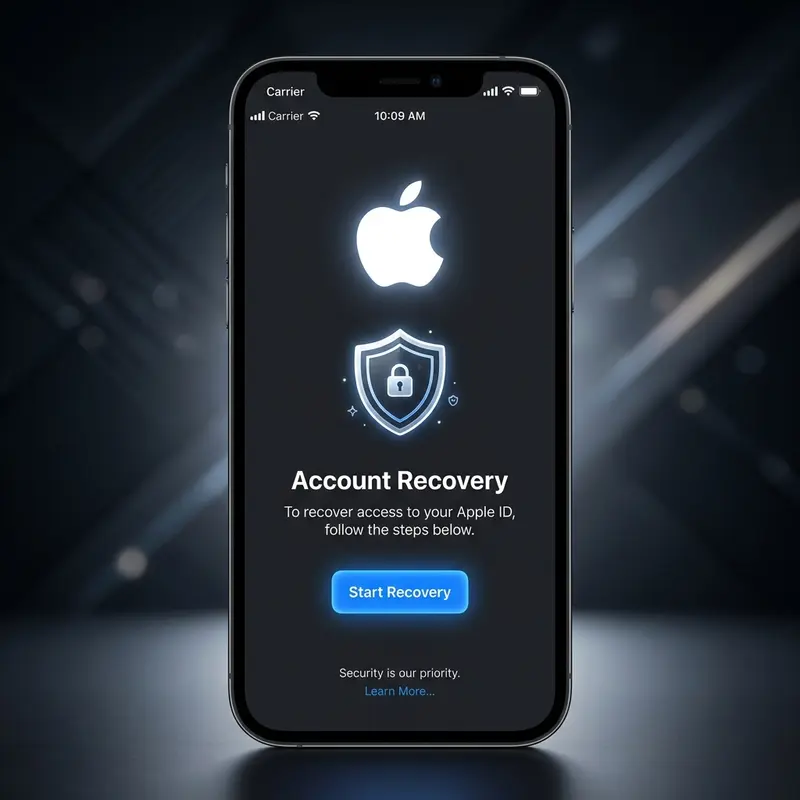
Advanced Data Protection
Introduced in iOS 16.2, this feature extends end-to-end encryption to your iCloud backups, photos, notes, and more. Enable it under Settings → [Your Name] → iCloud → Advanced Data Protection. You must set up an account recovery contact or recovery key first — Apple cannot help you recover data if you lose access without these.
Stolen Device Protection
Available since iOS 17.3, this setting (found under Settings → Face ID & Passcode → Stolen Device Protection) requires biometric authentication — not just a passcode — for sensitive actions like changing your Apple ID password or viewing saved passwords. It is specifically designed to prevent thieves who have watched you type your passcode from wiping your device and accessing your accounts.
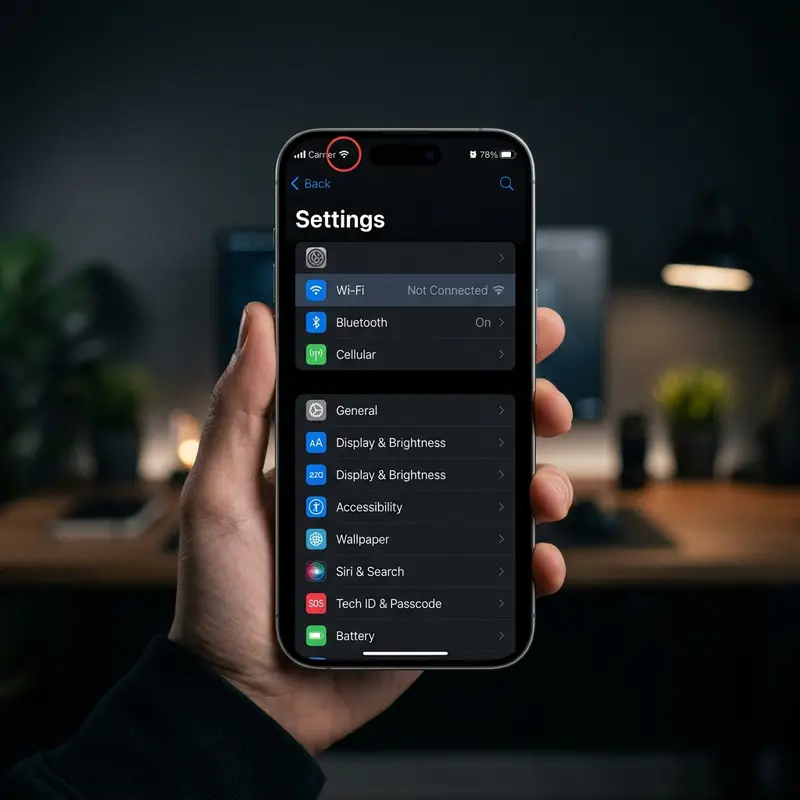
Private Wi-Fi Address
Go to Settings → Wi-Fi → [your network] → Private Wi-Fi Address. This rotates the MAC address your phone broadcasts on each network, making it harder for trackers at shopping centers, airports, and hotels to build a profile of your movements.
DomineTec Tip: DomineTec is an independent tech portal and does not represent Apple Support. For account recovery emergencies, always contact Apple directly at support.apple.com.
Recommended Customizations for Daily Use
Security is covered. Now make the phone actually yours. These are the customizations that have the biggest impact on day-to-day experience:
Control Center
Navigate to Settings → Control Center and add shortcuts that matter to you. Power users typically add: Screen Recording, Magnifier, Hearing (for Live Listen with AirPods), and Notes. Remove anything you never use to reduce clutter.
Focus Modes
Focus, found in Settings → Focus, lets you define profiles that filter notifications based on context. Create a Work focus that allows calls only from colleagues, and a Sleep focus that silences everything except emergency contacts. Assign each focus to a home screen page with only the relevant apps visible.
Notification Management
Do not leave notifications on default for every app. Go to Settings → Notifications immediately after setup and disable alerts for any app that does not urgently need your attention. Overloaded notification streams erode focus and train users to ignore alerts — including important ones.
Default Apps
Since iOS 14, Apple allows you to set third-party apps as defaults for email, browser, and (since iOS 16) navigation. If you prefer Chrome, Gmail, or Google Maps, set them as defaults under each app's individual settings page.
Back Tap
One of the most underrated accessibility shortcuts: go to Settings → Accessibility → Touch → Back Tap. Assign a double- or triple-tap on the back of the phone to trigger actions like taking a screenshot, scrolling to top, or running a Shortcut. It works flawlessly even through most cases.
Common Setup Mistakes and How to Avoid Them
Even experienced iPhone users make avoidable errors during the setup process. Here are the most frequent ones and how to sidestep them:
Skipping the iCloud Backup Before Migration
Quick Start is reliable, but not infallible. Phones have died mid-transfer, Wi-Fi has dropped, and data has been lost. Always perform a final iCloud backup or a local computer backup on the old iPhone before starting the migration. It takes five minutes and can save hours of heartache.
Using a Weak Passcode
A four-digit PIN offers only 10,000 combinations — trivially defeated by automated tools. Use the "Custom Alphanumeric Code" option. A mix of eight or more letters, numbers, and symbols makes brute-force attacks computationally impractical.
Ignoring Storage Management from Day One
If you chose a 128 GB model, storage will eventually become an issue. Enable Offload Unused Apps from the first day: Settings → App Store → Offload Unused Apps. This removes the app binary while keeping its documents and data, freeing space without deleting your progress or accounts.
Signing In to iCloud on a Shared Device
If the iPhone is being given to a family member, especially a child, set up a separate Apple ID for them rather than using your own. Family Sharing allows you to share purchases and subscriptions while keeping accounts, contacts, and messages entirely separate.
Not Testing Critical Apps Before Discarding Old Phone
Spend 30 minutes after migration verifying that banking apps, authenticator apps (like Google Authenticator or Authy), and work email accounts are working correctly on the new device. Some apps bind their authentication tokens to a specific device and require manual re-enrollment — doing this while you still have the old phone makes it far easier.
FAQ
Do I need an Apple ID to set up a new iPhone?
Technically you can skip Apple ID sign-in during setup by tapping "Set Up Later," but you will lose access to the App Store, iCloud, iMessage, FaceTime, and Find My. For any practical use, an Apple ID is effectively required. Creating one is free and takes about three minutes at appleid.apple.com.
Can I set up a new iPhone without Wi-Fi?
You can activate an iPhone using a cellular connection from your SIM card, but a Wi-Fi connection is strongly recommended for the initial setup — especially if you are restoring from an iCloud backup. Cellular activation is slower and may fail on some carrier configurations.
What happens to my old iPhone after Quick Start?
Your old iPhone is unaffected by Quick Start. All your data remains on it. You should erase it before selling or giving it away: go to Settings → General → Transfer or Reset iPhone → Erase All Content and Settings. Sign out of Apple ID first to disable Activation Lock.
How long does the initial iPhone setup take?
The setup wizard itself takes about 10–15 minutes. If you are doing a Quick Start migration from an old iPhone with a large amount of data (50 GB+), the full transfer can take 60–90 minutes. iCloud restores may take longer depending on your internet speed, as the apps and data download gradually in the background after the initial setup is complete.