How to Print Large PLA Parts Split into Sections and Glue Them Safely

Printing large PLA parts can be efficiently achieved by splitting them into manageable sections and securely gluing them together.
Understanding PLA Filament Properties
Polylactic Acid (PLA) is a popular thermoplastic used in 3D printing, known for its ease of use and biodegradable properties. It is derived from renewable resources like cornstarch and sugarcane, making it an environmentally friendly choice.
PLA exhibits excellent adhesion to the print bed, low warping, and a smooth finish, which are crucial factors when printing large parts. However, understanding its limitations, such as temperature sensitivity and brittleness, is essential for successful projects.
Why Split Large Parts for Printing?
Large prints often face challenges like warping, layer delamination, and excessive print times. By splitting a model into smaller sections, you can significantly reduce these risks.
This method allows for better thermal management and print quality.
Moreover, smaller parts can be printed with intricate details that would be hard to achieve with a single large piece. This technique also simplifies the handling of printed components during assembly.
Preparing Your 3D Model for Sectioning
Before printing, it is necessary to prepare the 3D model. Most slicing software offers tools for dividing models into smaller sections.
Popular slicing programs like Cura or PrusaSlicer enable users to customize cut lines and manage print settings efficiently.
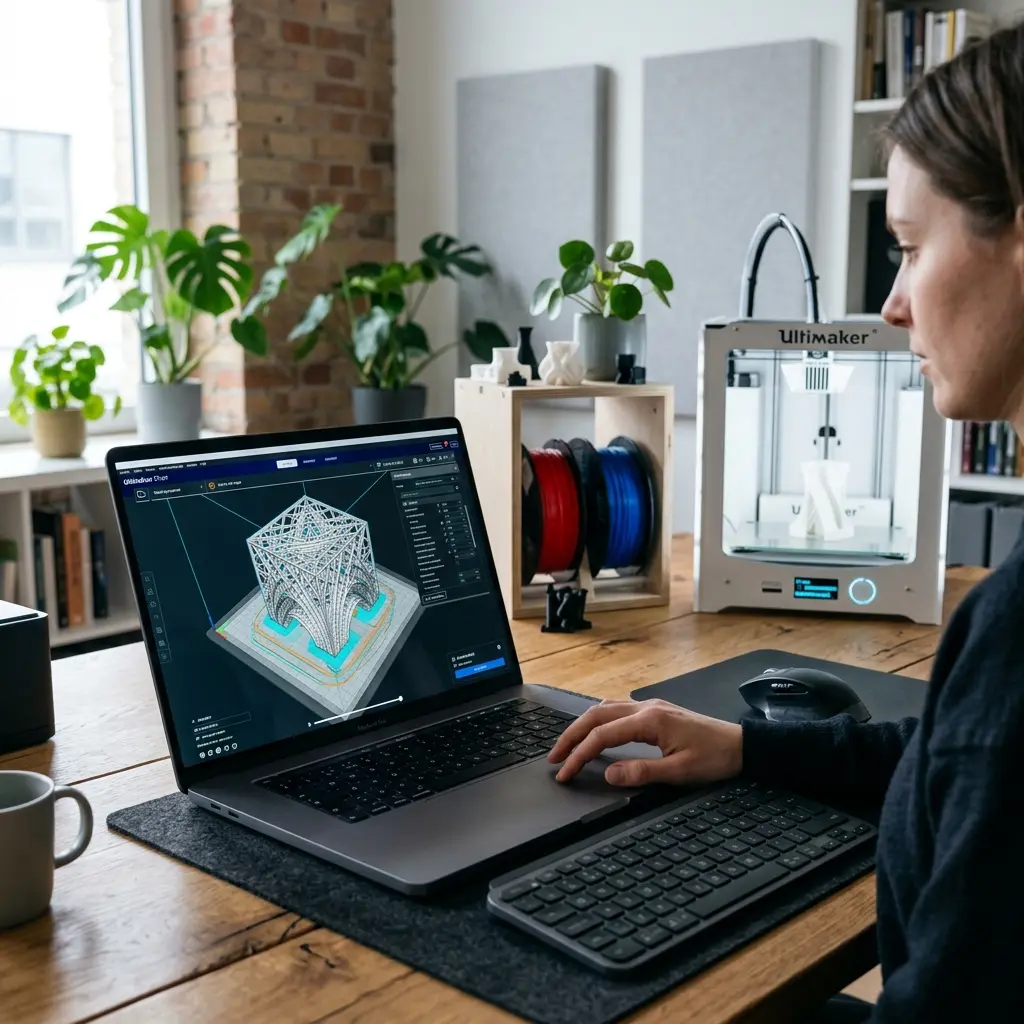
When sectioning a model, consider the orientation of each piece to minimize support requirements and ensure the best surface finish. Additionally, plan for alignment features like pegs or grooves to facilitate easier assembly later.
Choosing the Right Print Settings
When printing large sections of a model, selecting the appropriate print settings is vital for success. Key settings include layer height, print speed, and infill density.
A smaller layer height enhances detail but increases print time, while a higher infill density provides strength.
For large parts, it is advisable to use a layer height between 0.2mm and 0.3mm. This balance allows for good quality without excessive printing time.
Adjust the print speed to a moderate setting to ensure the extruder can maintain a consistent flow of filament.

Printing Your Sections
Once the model is prepared and the print settings are configured, it is time to start printing. Ensure that the printer is calibrated correctly, with the bed leveled and the nozzle clean.
This preparation helps achieve optimal adhesion and print quality.
Monitor the first few layers closely to identify any potential issues. If warping or adhesion problems occur, consider using a brim or raft to enhance bed adhesion.

Post-Processing: Cleaning and Preparing Parts for Assembly
After printing, each section requires post-processing to prepare for assembly. This process includes removing any support material and sanding the edges where the parts will be glued together.
A smooth surface ensures better adhesion between sections.
Utilize a fine-grit sandpaper or a sanding sponge for this task. Clean the surfaces thoroughly to remove any dust or debris, as contaminants can hinder the effectiveness of the adhesive.
Gluing the Sections Together
Choosing the right adhesive is crucial for ensuring a strong bond between PLA parts. Cyanoacrylate (super glue) or epoxy adhesives are recommended for their strength and fast curing times.
Each option has its advantages, with epoxy providing a more flexible bond.
To glue the sections, apply a thin layer of adhesive to one of the surfaces, then press the pieces together firmly. It is advisable to use clamps or weights to hold the parts in place while the adhesive cures.
DomineTec Tip: Use a small amount of baking soda on the adhesive to accelerate curing time and strengthen the bond.
Finishing Touches
After the glue has cured, inspect the seams for any imperfections. Sand down any uneven areas to create a smooth transition between the sections.
This step not only improves aesthetics but ensures structural integrity.
For additional finishing, consider painting or applying a clear coat to enhance the visual appeal of the assembled part. This can also provide a protective layer against UV exposure and physical damage.
Technical Comparison of Adhesives for PLA
| Adhesive Type | Strength | Cure Time | Flexibility | Ease of Use |
|---|---|---|---|---|
| Cyanoacrylate (Super Glue) | High | Instant | Rigid | Very Easy |
| Epoxy | Very High | 1-2 hours | Flexible | Moderate |
| PVA Glue | Moderate | 24 hours | Flexible | Easy |
Checklist for Successful Large PLA Prints
- Prepare the 3D model with appropriate sectioning.
- Check printer calibration and bed leveling.
- Choose optimal print settings (layer height, speed, infill).
- Monitor the first layers for adhesion issues.
- Prepare parts through sanding and cleaning before assembly.
- Select the right adhesive for gluing sections.
- Inspect and finish the seams after gluing.
Frequently Asked Questions
What is the best way to split a large 3D model?
Using slicing software, models can be split using the built-in tools that allow for customized cut lines. This ensures optimal orientation and alignment for printing.
Can PLA parts be painted after assembly?
Yes, PLA parts can be painted after assembly. Sanding the surface and using a primer can improve adhesion and finish quality.
How long does PLA take to cure when glued?
The curing time for PLA glued with cyanoacrylate is instant, while epoxy may take 1-2 hours depending on the formulation. Full strength may take longer, so it is advisable to wait before applying stress to the bond.
Does temperature affect PLA strength after printing?
Yes, PLA is sensitive to heat; exposure to temperatures above 60°C can weaken its structure. Proper storage and handling are essential to maintain its integrity.
What are the benefits of using epoxy over super glue for PLA?
Epoxy provides a stronger bond and greater flexibility, making it suitable for parts that may experience stress or movement. It also fills gaps better than super glue.
Advanced Techniques for Sectioning Models
Advanced users can utilize additional software tools for more complex sectioning. Tools like Meshmixer or Blender allow for more intricate cuts and can help in creating alignment features such as dovetails or interlocking shapes.
Considerations when using advanced techniques include ensuring that the sections fit together perfectly and that the overall structure retains its integrity post-assembly.
Understanding the Impact of Print Orientation
Print orientation significantly affects the mechanical properties of the final product. Printing a model vertically may enhance strength in the vertical direction but can lead to weaknesses horizontally.
When sectioning, it is important to analyze how each part will be oriented during printing to optimize strength and minimize the need for supports. For instance, flat sections should be printed flat to avoid warping.
Material Considerations Beyond PLA
While PLA is an excellent choice for many applications, users may also consider other materials for specific projects. Alternatives like ABS, PETG, or Nylon offer different mechanical properties that may be better suited for certain applications.
Each material has its own set of requirements regarding print settings, adhesion, and post-processing, so it’s crucial to evaluate the project needs before selection.
Environmental Considerations in 3D Printing
Environmental impact is an important consideration in 3D printing. PLA is biodegradable, but proper disposal and recycling methods should still be followed to minimize waste.
Users are encouraged to explore eco-friendly practices, including recycling failed prints and using biodegradable adhesives where applicable.
Final Thoughts on 3D Printing Large PLA Parts
3D printing large PLA parts requires careful planning, from model preparation to post-processing. By following the outlined techniques and considerations, users can achieve high-quality results.
Emphasizing the importance of each step in the process ensures that the final product meets expectations while also adhering to best practices in 3D printing.




