How to Adjust Extruder Spring Tension to Solve Underextrusion Issues
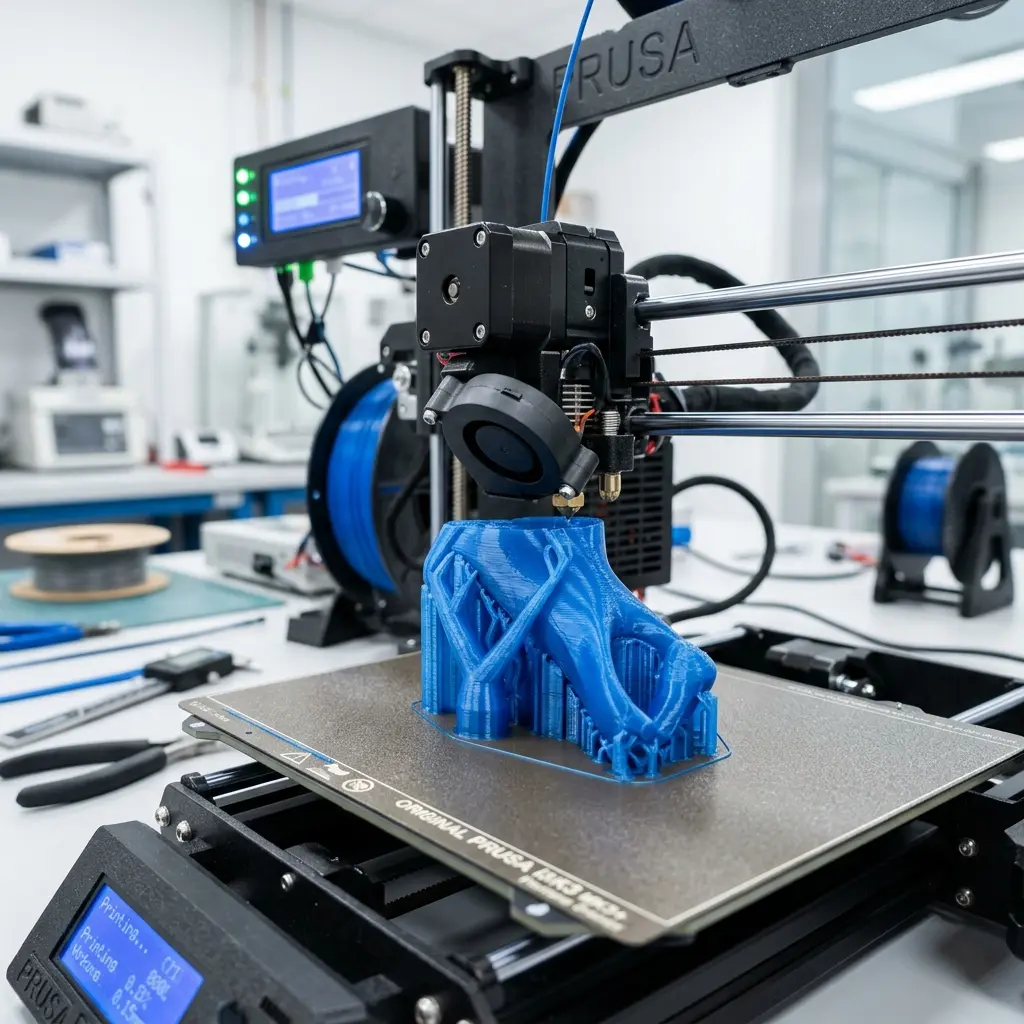
Adjusting the extruder spring tension optimally can significantly address underextrusion issues in 3D printing.
Understanding Underextrusion in 3D Printing
Underextrusion occurs when the 3D printer fails to supply enough filament to the nozzle during the printing process. This can lead to weak prints, gaps, and poor surface quality, which can be frustrating for users.
Common causes of underextrusion include improper temperature settings, inadequate filament supply, or mechanical issues like insufficient tension in the extruder spring. Adjusting the spring tension is a crucial step in resolving these mechanical issues.
Identifying the Right Extruder Tension
Before adjusting the extruder spring tension, it is essential to identify the correct tension level needed for your specific extruder type. Different extruders have varying requirements based on design and material used.
Generally, a properly adjusted tension allows the filament to be gripped securely without causing it to deform. Too much tension can lead to filament grinding, while too little can result in slippage.
Tools Required for the Adjustment
Adjusting the extruder spring tension requires minimal tools. The following items are typically needed:
- Hex key or screwdriver (depending on your extruder model)
- Calipers or a ruler
- Filament (to test extrusion)
Having these tools ready can streamline the adjustment process, ensuring efficient troubleshooting of underextrusion issues.
Step-by-Step Guide to Adjust Extruder Spring Tension
The adjustment process can be broken down into clear, manageable steps:
- Power off the 3D printer and remove the filament.
- Locate the extruder assembly, focusing on the tension adjustment mechanism.
- Loosen the tension adjustment screw using the appropriate tool.
- Adjust the tension by either tightening or loosening the spring. A quarter turn is a good starting point.
- Re-secure the adjustment screw and reinsert the filament.
- Perform an extrusion test to observe any changes in material flow.
- Repeat the adjustment if necessary until optimal extrusion is achieved.
Visual Inspection of the Extruder and Filament
It is critical to conduct a visual inspection of the extruder and filament before and after adjusting the spring tension. Look for signs of wear or damage in both components.
Ensure the filament is compatible with your printer and free from kinks or knots that might impede smooth feeding. Regular inspections can prevent future underextrusion issues.

Impact of Filament Type on Extrusion Settings
The type of filament used significantly influences the required tension settings. Different materials have varying characteristics that affect how they interact with the extruder.
For example, soft filaments like TPU require less tension compared to rigid materials such as PLA and ABS. Understanding the specific requirements of each filament type can enhance print quality and reduce underextrusion occurrences.

Common Mistakes When Adjusting Tension
Several common mistakes can arise during the adjustment process. Here are a few to avoid:
- Over-tightening the spring, leading to filament grinding.
- Neglecting to test extrusion after each adjustment.
- Ignoring filament compatibility, which can exacerbate underextrusion.
Being aware of these pitfalls can enhance the effectiveness of the adjustment process.
Maintenance and Calibration for Optimal Performance
Regular maintenance and calibration are essential for optimal printer performance. Keeping the extruder clean and regularly checking the tension can prevent underextrusion issues from arising.
Utilize proper cleaning techniques for the nozzle, as clogs can also lead to underextrusion. A clean and well-maintained extruder ensures consistent and reliable filament feeding.

Understanding Extruder Specifications and Tension Adjustment
Different extruders come with various specifications that dictate how tension adjustments should be made. Understanding these specifications can lead to better results.
| Extruder Type | Recommended Spring Tension | Common Filaments |
|---|---|---|
| Bowden Extruder | Medium | PLA, ABS, PETG |
| Direct Drive Extruder | Low to Medium | TPU, PLA |
| Geared Extruder | High | ABS, Nylon |
Testing Your Adjustments
After making adjustments, conducting a series of test prints is vital. Start with a simple calibration print, which can reveal if the adjustments were successful.
Monitor the print closely for any signs of underextrusion. If issues persist, further fine-tuning may be necessary.
DomineTec Tip: Use a digital caliper to measure the filament diameter and ensure it matches the printer settings. This can help improve extrusion accuracy.
Frequently Asked Questions
What are the signs of underextrusion?
Signs of underextrusion include gaps in layers, weak parts, and inconsistent surface finishes. Observing these factors can help identify underlying issues promptly.
How often should the extruder spring tension be adjusted?
Adjustments should be made as needed, especially when switching filament types or after significant use. Regular checks can help maintain optimal performance.
Can underextrusion be fixed without adjusting the tension?
Yes, underextrusion can also be addressed by adjusting print temperature, speed, or flow rate. However, mechanical adjustments may still be necessary for optimal results.
Is it safe to experiment with extruder tension settings?
Experimenting with tension settings is generally safe, but caution is advised. It is essential to monitor the effects closely to avoid damage to the extruder or filament.
What tools are essential for maintaining an extruder?
Basic tools include hex keys, screwdrivers, and cleaning supplies. Having these tools accessible can facilitate regular maintenance and timely adjustments.
Additional Factors Influencing Extrusion Quality
Beyond spring tension, several additional factors can influence extrusion quality in 3D printing. These factors include temperature settings, nozzle diameter, and print speed.
Optimizing these parameters in conjunction with spring tension will yield the best results. A holistic approach to printer settings is recommended for improved performance.
Checklist for Optimal Filament Feeding
To ensure optimal filament feeding, consider the following checklist:
- Check filament diameter and compatibility with the printer.
- Inspect the extruder and nozzle for clogs or wear.
- Ensure proper tension adjustment on the extruder spring.
- Verify temperature settings are appropriate for the filament type.
- Monitor print speed for compatibility with material properties.
This checklist can serve as a quick reference to address common issues related to extrusion.
Understanding the Role of Print Temperature
Print temperature plays a crucial role in extrusion quality. Each filament type has a specific temperature range that must be adhered to for optimal results.
Higher temperatures can lead to over-extrusion, while lower temperatures may cause underextrusion. Understanding the temperature requirements of your filament is essential for successful printing.
Advanced Troubleshooting Techniques
For persistent underextrusion issues, advanced troubleshooting techniques may be necessary. Consider the following strategies:
- Calibrate the extruder steps per millimeter to ensure accurate filament feeding.
- Experiment with different slicer settings, such as flow rate and retraction distance.
- Review printer firmware settings for any relevant adjustments.
These techniques can help identify deeper issues that may not be resolved through simple tension adjustments.




