To configure a TP-Link router as a Wi-Fi repeater, access the admin panel via 192.168.0.1 or tplinkwifi.net, disable the DHCP server to prevent IP address conflicts, change the router's LAN IP address to match the primary network subnet (e.g., 192.168.0.254), and enable the WDS (Wireless Distribution System) bridging feature under wireless settings to scan, select, and connect to your main Wi-Fi network using its security password.
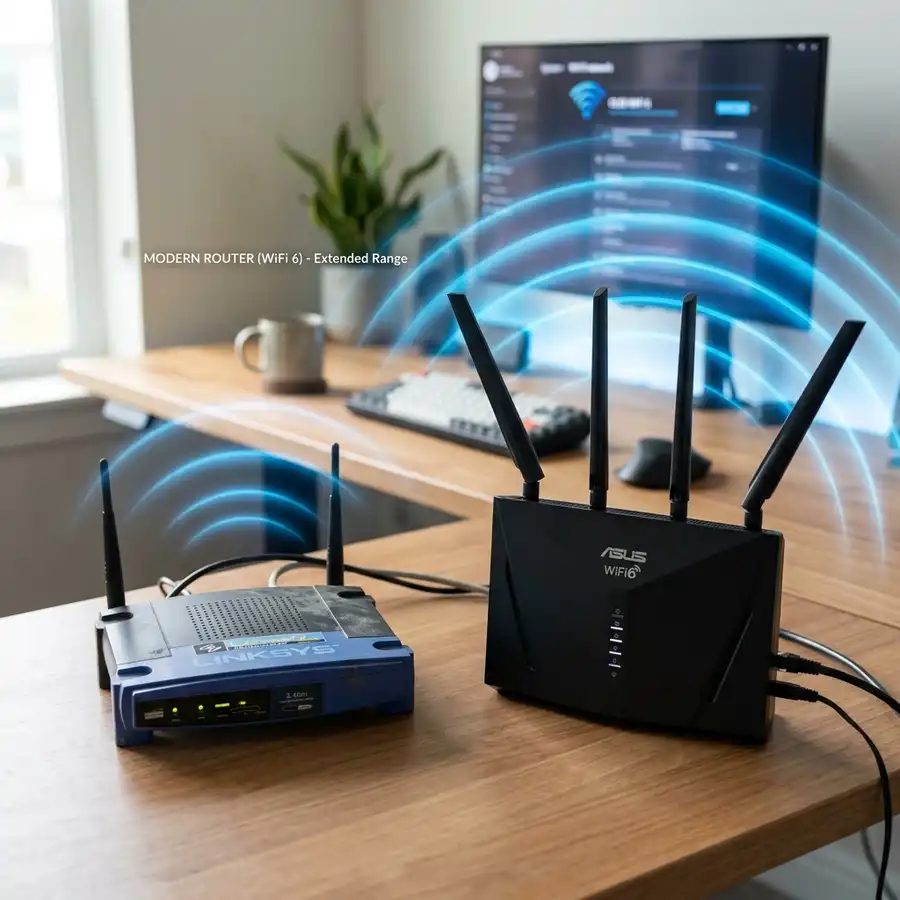
Repurposing an older TP-Link router as a Wi-Fi repeater is one of the most effective and cost-efficient ways to extend your wireless network coverage and eliminate frustrating dead zones. Instead of purchasing a cheap, low-power wall plug repeater, configuring a standard router as a bridge lets you take advantage of superior processing hardware, larger high-gain external antennas, and extra physical LAN ports. This technical guide outlines the entire process step-by-step, ensuring a highly stable network expansion without common IP configuration conflicts.
1. Understanding the Repeater Mode and WDS Bridging in TP-Link Routers
The feature that allows a TP-Link router to connect to another wireless router and broadcast its network is called WDS (Wireless Distribution System). WDS creates a layer-2 wireless bridge between the primary router (connected to your ISP modem) and the secondary TP-Link router (operating as the repeater). This setup allows data packets to flow transparently between both devices without requiring a physical Ethernet cable connection between them. It is particularly useful in environments where drilling holes or running long Cat6 cables is physically impossible or structurally restricted.
Unlike simple range extenders, a TP-Link router running WDS bridging provides a highly stable connection with robust frame transmission. However, to establish this bridge successfully, specific settings must be perfectly aligned. These settings include matching the Wi-Fi transmission channel, selecting identical wireless security standards, and modifying the local area network (LAN) IP addressing scheme. Without these precise configurations, the two routers will not be able to establish a sustained link, leading to frequent packet drops, high latency, and intermittent disconnects.
It is important to note that TP-Link routers use different interface styles based on their hardware generation. Older models (with green or blue interfaces) refer to this function as "WDS Bridging" under the Wireless Settings menu. Newer models (featuring the modern blue/cyan interface or the Archer series) may have a dedicated "Operation Mode" toggle in the quick setup menu, allowing you to choose "Repeater/Bridge Mode" directly. Regardless of the interface, the underlying networking principles of linking MAC addresses and disabling routing functions remain identical.
By using WDS, you preserve the original network packet headers, which is critical for local network discovery. Devices connected to the secondary router can communicate seamlessly with devices on the primary router, such as local media servers, smart home hubs, network-attached storage (NAS) devices, and wireless printers. This transparency makes WDS bridging significantly superior to standard double-NAT repeater configurations that isolate connected devices into separate networks.
2. Essential Preparations: Performing a Factory Reset and Checking Connections
Before beginning the technical setup, it is highly recommended to perform a full factory reset on the secondary TP-Link router. This step clears out any residual configurations, such as custom WAN connections, port forwarding rules, bandwidth control limits, or firewall settings that could conflict with the repeater mode. To perform a reset, power on the router, locate the physical "Reset" or "WPS/Reset" button on the rear panel, and press and hold it down for 10 to 15 seconds until all system LEDs flash simultaneously. Release the button and wait for the system to reboot into its default state.
Once the reboot is complete, disconnect all Ethernet cables linking the secondary router to any other network device. During the initial configuration phase, you should only connect your setup computer or mobile phone directly to the secondary router. You can do this by plugging an Ethernet cable into one of the yellow LAN ports on the back, or by connecting wirelessly to the default SSID (typically named "TP-LINK_XXXX" or "TP-Link_XXXX" without a password, or using the default wireless password printed on the specification label underneath the unit).
Ensure that your computer's network interface card or your mobile device's Wi-Fi adapter is set to "Obtain an IP address automatically" (DHCP). This allows the secondary router's default DHCP server to assign a temporary local IP to your device, which is required to access the administrative web interface. If your device has a static IP address configured from a previous network setup, it may fail to communicate with the TP-Link's default subnet.
For the setup process, place the secondary router on a test bench close to the primary router. Performing the initial configuration in a controlled environment ensures that you have a strong, reliable connection to the primary Wi-Fi network during the scan. Once the bridge is successfully established and verified, you can relocate the secondary router to its permanent location in the house.
3. Step-by-Step Configuration Guide for WDS Bridging
Follow these precise steps within the secondary router's web interface to enable the wireless bridge:
- Open a standard web browser (such as Google Chrome, Mozilla Firefox, Microsoft Edge, or Apple Safari) and type 192.168.0.1 or tplinkwifi.net into the URL address bar, then press Enter.
- Enter the administrative login credentials. On older TP-Link models, the default username and password are both admin. On modern models, you will be prompted to create a new, secure administrator password upon the first login.
- Navigate to the left-hand menu, click on Wireless, and select Wireless Settings.
- Locate and check the box labeled Enable WDS Bridging (or Enable WDS). This action reveals several new configuration fields.
- Click on the Survey or Search button. The router will scan the surrounding airspace for active wireless networks.
- Locate your primary router's Wi-Fi network (SSID) in the list and click the Connect button in the corresponding row.
- The router will automatically populate the SSID and BSSID (MAC Address) fields. In the Key Type (or Security) field, select the exact security protocol used by your main router (typically WPA-PSK/WPA2-PSK).
- In the Password field, enter your primary Wi-Fi network's password.
- Set the Wi-Fi transmission channel. The secondary router's channel must match the primary router's channel. If your main router is set to channel 11, select 11 in the Channel dropdown list of the secondary router.
- Click Save. The router will save these settings, but you must complete the LAN IP and DHCP adjustments before rebooting the device.
Double-check that the security protocol type matches perfectly. If your primary router uses WPA2-PSK with AES encryption, but you choose WPA-PSK with TKIP on the secondary router, the handshake process will fail. This prevents the secondary router from authenticating, and the status of the WDS link will remain stuck in a disconnected loop.
4. Disabling the DHCP Server to Avoid Address Conflicts
Modifying the LAN IP address and turning off the secondary router's DHCP server is the most critical step in the entire WDS configuration. If you fail to perform these steps, both routers will attempt to distribute IP addresses to devices on your network. This creates a severe IP conflict, resulting in immediate connection drops, packet collisions, routing loops, and the frustrating "Connected, no internet" error on your computers and mobile devices.
First, change the LAN IP address of the secondary router. In the left-hand menu, navigate to Network and select LAN. By default, the IP address is likely set to 192.168.0.1. You must change this to a static IP within the subnet of your primary router but outside its automatic DHCP range. For example, if your primary router is at 192.168.0.1 and its DHCP pool starts at 192.168.0.100, change the secondary router's IP to 192.168.0.254. If your primary router is at 192.168.1.1, change the secondary router's IP to 192.168.1.254. Click Save and confirm the reboot prompt.
Once the router reboots, log back into the interface using the newly assigned IP address (e.g., 192.168.0.254) in your browser. Next, navigate to the DHCP menu and select DHCP Settings. Change the DHCP Server setting from "Enabled" to Disabled. This ensures that the primary router remains the sole authority for managing, assigning, and routing IP addresses across the entire home network. Click Save and reboot the router once more to apply all changes.
By disabling the secondary DHCP server, you establish a clean layer-2 network topology. Devices connecting to the secondary router will request IPs directly from the primary router. This configuration ensures that all devices reside on a single, unified subnet, permitting seamless communication between local clients, simple printer sharing, and error-free network resource allocation.
5. Optimal Router Placement and Channel Tuning for Maximum Performance
The physical placement of your secondary TP-Link router determines the throughput and stability of your extended Wi-Fi network. A common mistake is placing the repeater in the middle of a dead zone where the primary signal is already extremely weak. If the secondary router receives a degraded, slow, or noisy signal from the primary unit, it will only retransmit that low-quality connection, resulting in poor performance.
The ideal location for the repeater is approximately halfway between the primary router and the targeted dead zone. In this position, the repeater can receive a strong signal (aim for at least 50% signal strength or a signal-to-noise ratio above -70 dBm) and broadcast a fresh, strong signal into the areas of the house that require coverage. Elevate the router on a shelf or desk, keep it out of closed cabinets, and avoid placing it near thick concrete walls, large metal appliances, mirrors, or other electronic equipment that emit electromagnetic interference (such as microwave ovens, cordless phones, and baby monitors).
Furthermore, because the WDS bridge relies on a single frequency band to both receive data from the primary router and transmit it to clients, Wi-Fi speeds on the repeater will be reduced by approximately 50%. To mitigate this performance loss, configure a fixed channel width of 20 MHz on the 2.4 GHz band. This reduces overlap with neighboring Wi-Fi networks and increases overall link stability. Additionally, ensure that both routers are using the same Wi-Fi standard (802.11n) for the bridge connection, which provides the best balance of range and compatibility.
You can choose to name the secondary router's Wi-Fi network the exact same SSID and password as the primary network to allow basic roaming, or give it a unique name (such as "MyNetwork_EXT") if you prefer to manually control which router your devices connect to. For older hardware, using a distinct SSID is often more reliable, as it prevents devices from clinging to a weak primary signal when a stronger repeater signal is available nearby.
6. Comprehensive Troubleshooting Guide for Common Setup Issues
If you encounter issues during or after the configuration process, refer to the troubleshooting table below to identify the problem and implement the recommended solution:
| Symptom / Problem | Probable Cause | Recommended Solution |
|---|---|---|
| WDS Status stuck on "Scan", "Assoc", or "Init" | Incorrect Wi-Fi password, channel mismatch, or MAC filtering active. | Re-enter the primary Wi-Fi password carefully. Verify that both routers are set to the exact same static channel (e.g., Channel 6). Disable MAC filtering on the primary router. |
| Connected to Wi-Fi, but no Internet access | DHCP server is still active on secondary router, or incorrect LAN IP subnet. | Ensure DHCP is fully Disabled on the secondary router. Check that the LAN IP (e.g., 192.168.0.254) matches the main router's subnet (e.g., 192.168.0.1). |
| Slow speeds or frequent disconnections | The repeater is too far from the main router, causing high packet loss. | Move the secondary router closer to the primary router to achieve a stronger bridge link. Switch channel width to 20 MHz on 2.4 GHz. |
| Cannot access secondary router web interface | IP address conflict, or computer is on a different subnet. | Connect your computer directly to a LAN port via Ethernet, assign a static IP to your computer (e.g., 192.168.0.10), and navigate to the secondary router's new LAN IP. |
| Devices disconnect during peak hours | Interference from neighboring networks or appliance emissions. | Change the main Wi-Fi channel to a non-overlapping one (1, 6, or 11) and update the secondary router's wireless channel settings accordingly. |
By following these detailed steps, you can successfully extend your home network using an older TP-Link router. Ensuring that IP addresses do not overlap, disabling the redundant DHCP server, and matching transmission channels are the fundamental pillars of a successful wireless bridge setup. Check periodically for firmware updates to resolve security issues and optimize wireless stability over time.


