What is Z-Wobble? How to Fix Horizontal Ribbing Lines on 3D Prints

Z-Wobble refers to the vertical misalignment in 3D prints, leading to horizontal ribbing lines. It can be fixed by ensuring proper printer calibration and maintenance.
Understanding Z-Wobble: The Basics
Z-Wobble is a common issue in 3D printing that manifests as a series of horizontal lines or ridges on the surface of a print. This phenomenon occurs due to vertical misalignments in the printer’s Z-axis movement.
Often, Z-Wobble is caused by mechanical issues, such as loose components, an unlevel bed, or inadequate stepper motor performance. Identifying the root cause is essential for effective resolution.
Common Causes of Z-Wobble
Several factors can contribute to Z-Wobble. Understanding these causes can aid in diagnosing and fixing the issue.
- Improper Bed Leveling: An uneven build surface can lead to inconsistent layer adhesion, causing visible ribbing.
- Loose Components: Loose screws or fittings on the Z-axis can result in vertical misalignment during printing.
- Stepper Motor Issues: Inconsistent stepper motor performance can contribute to Z-axis wobbling.
- Filament Quality: Poor quality filament can also impact extrusion consistency, leading to ribbing.
- Worn Out Parts: Components that have worn out over time may not perform optimally, affecting print quality.
Identifying Z-Wobble in Your Prints
Detecting Z-Wobble during the printing process is crucial for timely intervention. A few techniques can be employed to identify the issue:
- Visual Inspection: Examine the print closely for horizontal lines or ridges.
- Print Test Models: Use calibration prints specifically designed to reveal Z-Wobble.
- Check Layer Consistency: Review layer heights and consistency across the print.
Steps to Fix Z-Wobble
Fixing Z-Wobble involves a systematic approach to identify and address the root causes. Follow these steps to mitigate the issue:
- Ensure the printer is powered off and unplugged before making adjustments.
- Check and level the build plate thoroughly.
- Inspect the Z-axis components for looseness and tighten any loose screws.
- Examine the stepper motors for proper function and alignment.
- Replace worn-out components, if necessary, to ensure optimal performance.
- Print a test model to verify that Z-Wobble has been resolved.
Advanced Techniques to Reduce Z-Wobble
In addition to basic fixes, certain advanced techniques can further minimize Z-Wobble:
- Install Z-axis Supports: Additional supports can stabilize the Z-axis, reducing wobble.
- Use Anti-Backlash Nuts: These can help maintain a consistent Z-axis position.
- Upgrade to a Dual Z-axis: A dual Z-axis setup can enhance stability and reduce wobble.

Calibration Techniques to Prevent Z-Wobble
Proper calibration is vital to prevent Z-Wobble. Here are some recommended calibration techniques:
Start by ensuring the nozzle height is set correctly. Utilize a piece of paper to gauge the distance between the nozzle and the bed. The perfect gap will allow the paper to slide with slight resistance.
Next, adjust the extrusion multiplier in slicer settings to ensure that the correct amount of filament is being extruded, contributing to a smoother finish.
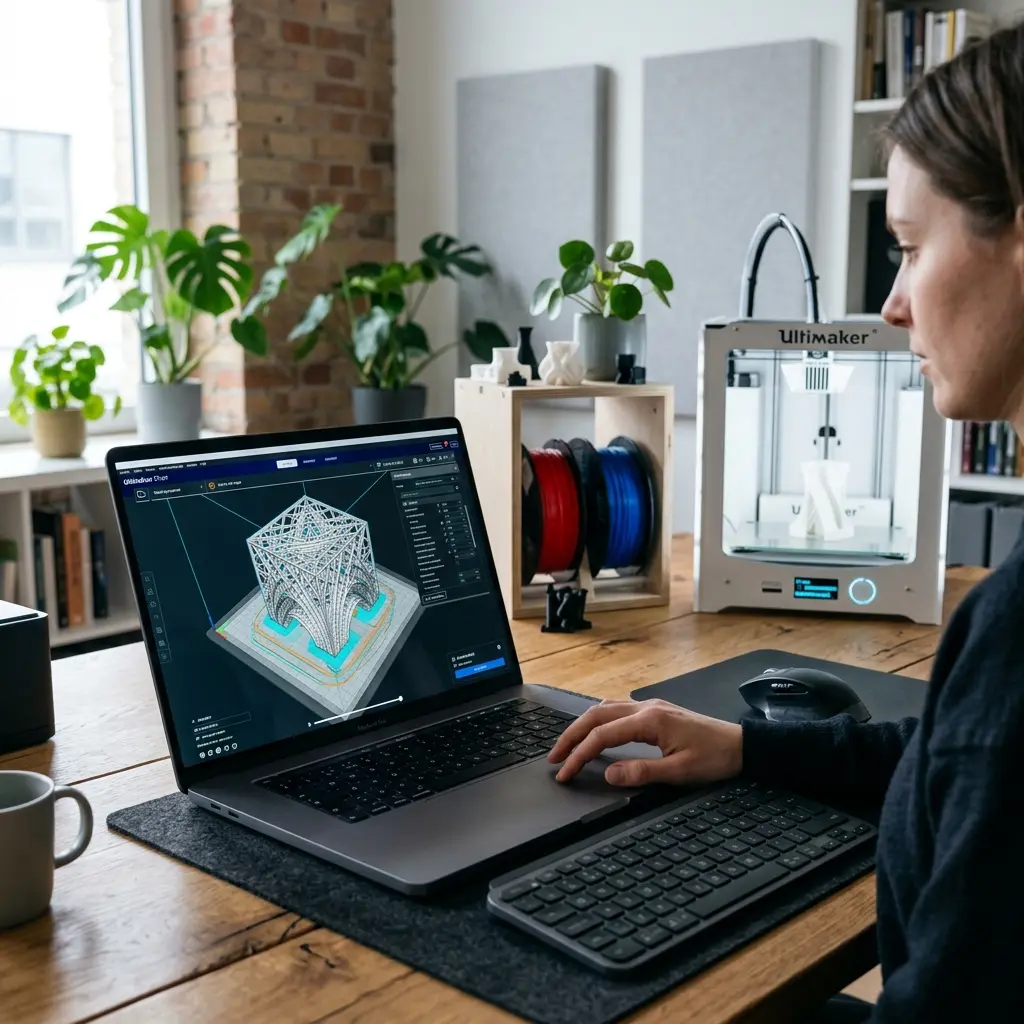
Using Slicer Settings to Address Z-Wobble
Optimizing slicer settings can significantly impact print quality. Adjusting parameters like layer height, print speed, and retraction settings can help mitigate Z-Wobble.
For instance, a slower print speed can enhance layer adhesion and reduce the occurrence of Z-Wobble. Additionally, a smaller layer height can lead to finer details, making any Z-Wobble less noticeable.
Maintenance Tips for 3D Printers
Regular maintenance is crucial in preventing Z-Wobble and ensuring overall print quality. Here are some essential maintenance tips:
- Routine Cleaning: Regularly clean the nozzle and other components to maintain optimal performance.
- Lubricate Moving Parts: Apply lubricant to guide rods and leadscrews to ensure smooth movement.
- Check for Wear: Regularly inspect components for signs of wear and replace them as necessary.

DomineTec Tip: Regularly monitor printer performance and perform maintenance checks every few weeks to ensure optimal function.
Frequently Asked Questions
What is Z-Wobble and how does it affect prints?
Z-Wobble is a vertical misalignment on the Z-axis that results in visible horizontal lines on prints. This issue can negatively impact the aesthetic and structural integrity of the final product.
How can bed leveling prevent Z-Wobble?
Proper bed leveling ensures that the nozzle maintains a consistent distance from the print bed, promoting uniform layer adhesion. This reduces the likelihood of misalignment and Z-Wobble.
What are the signs of Z-Wobble in a 3D print?
Visible horizontal lines or ridges on a print's surface are the primary signs of Z-Wobble. Additionally, uneven layer heights may also indicate this issue.
Can Z-Wobble be fixed without professional help?
Most Z-Wobble issues can be resolved by following proper maintenance and calibration techniques. Users can often correct the problem independently with careful adjustments.
What is the best way to enhance print quality?
Improving print quality involves regular maintenance, proper calibration, and optimal slicer settings. Ensuring high-quality filament can also contribute significantly to better prints.
In-Depth Analysis of Z-Wobble Effects
The impact of Z-Wobble extends beyond mere aesthetics. It can lead to functional issues in parts that require precision, such as mechanical components.
For example, if a part is designed to fit with another component, Z-Wobble can create gaps or misalignments that prevent proper assembly.
Table: Comparison of Common 3D Printer Issues
| Issue | Symptoms | Common Causes | Resolution |
|---|---|---|---|
| Z-Wobble | Horizontal lines on layers, uneven surfaces | Loose components, bed leveling issues | Tighten components, level bed |
| Stringing | Thin strands of filament between parts | High print temperature, improper retraction | Adjust temperature, optimize retraction settings |
| Layer Separation | Visible gaps between layers | Incorrect temperature, poor adhesion | Increase nozzle temperature, enhance bed adhesion |
| Under-extrusion | Thin or missing lines of filament | Clogged nozzle, incorrect extrusion settings | Clean nozzle, adjust extrusion multiplier |
Checklist for Preventing Z-Wobble
- Check bed leveling before every print.
- Tighten Z-axis components regularly.
- Inspect and clean the nozzle frequently.
- Use high-quality filament to ensure consistent extrusion.
- Lubricate moving parts every few prints.
- Perform regular maintenance checks on mechanical components.
Conclusion
Addressing Z-Wobble is essential for achieving high-quality 3D prints. By following the outlined steps and implementing regular maintenance, users can significantly improve print outcomes.
Understanding the causes and solutions to Z-Wobble not only enhances print quality but also prolongs the lifespan of the 3D printer.




