How to Remove the Ubiquiti Branding and Logo from the UniFi Voucher Page

Removing the Ubiquiti branding and logo from the UniFi voucher page can be achieved through specific configurations in the controller.
Understanding UniFi Voucher Customization
The UniFi Controller allows customization of various elements, including the voucher page. This involves modifying the HTML and CSS files associated with the captive portal.
Accessing the UniFi Controller
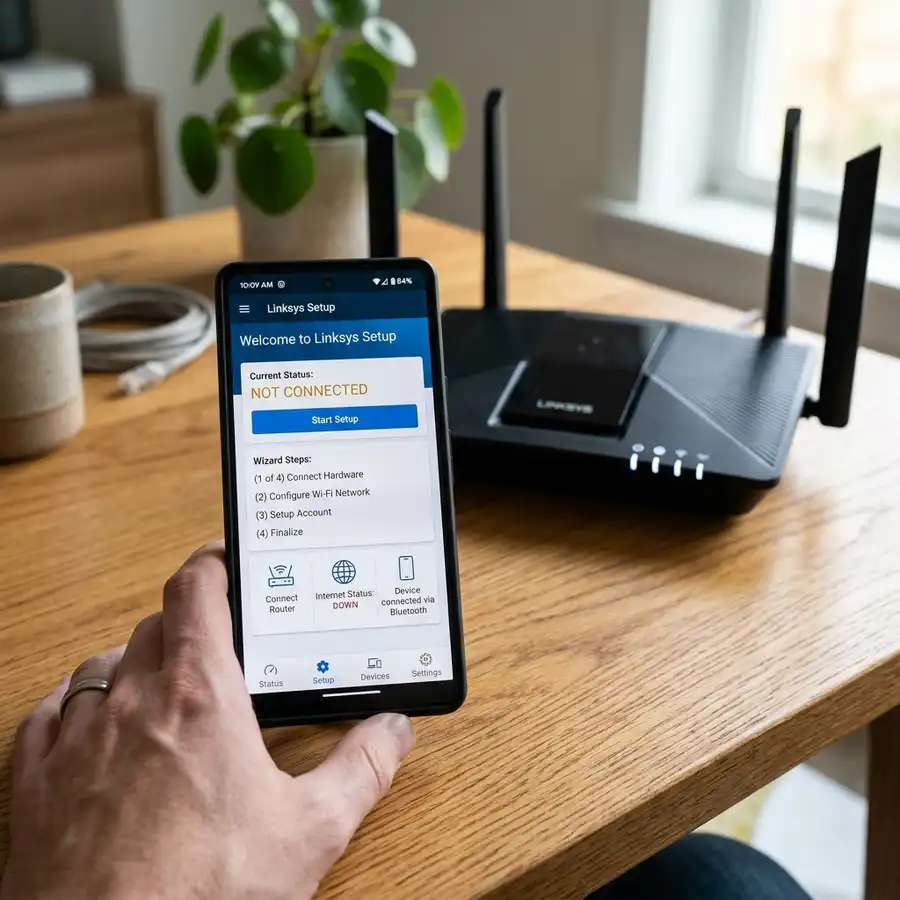
To begin, access the UniFi controller interface. This can be done by navigating to the controller's IP address via a web browser.
Identifying the Customization Files
Locate the customization files in the controller’s directory. Typically, these files are found in the following path: `/usr/lib/unifi/data/sites/
Editing the HTML and CSS
Use a text editor to open the `voucher.html` file and the associated CSS file. The logo and branding elements are defined within these files.
Removing the Branding
Search for the `` tag that references the Ubiquiti logo. Remove or comment out this line to eliminate the branding from the voucher page.
Testing Your Changes
After making changes, save the files and restart the UniFi service to apply the modifications. Use the command: `sudo systemctl restart unifi`.
DomineTec Tip: Ensure to back up original files before making changes for easy restoration.
Technical Specifications Comparison
| Feature | Default | Custom |
|---|---|---|
| Branding | Ubiquiti Logo | Custom Logo |
| Page Layout | Standard | Customizable |
| HTML/CSS Access | Limited | Full Control |
Step-by-Step Process
- Access the UniFi controller via a web browser.
- Navigate to the voucher directory.
- Edit the `voucher.html` file.
- Remove the Ubiquiti branding code.
- Restart the UniFi service.

Final Considerations
Ensure all modifications comply with local regulations regarding branding and customization. Testing should be comprehensive to maintain user experience.
Understanding the UniFi System Architecture
The UniFi system architecture comprises several interconnected components, including the UniFi Controller, access points, and the underlying database management system. Each of these components plays a crucial role in the overall functionality, making it essential to compreender their interrelationships for effective customization.
The UniFi Controller serves as the central management interface, allowing administrators to configure and monitor network devices. It communicates with the access points through secure channels, utilizing protocols such as SSH and HTTPS to ensure data integrity and security.
The underlying database, typically based on MongoDB, stores configurations, client data, and session information. Understanding this database structure is vital for anyone looking to customize the UniFi voucher page, as it holds the keys to modifying various attributes, including branding elements.
Through the UniFi Controller API, developers can interact with the system programmatically, enabling advanced customization options that go beyond the standard user interface. This API provides endpoints for retrieving and modifying settings, making it feasible to remove or replace branding without manual intervention.
Customizing HTML and CSS for the Voucher Page
Customizing the HTML and CSS of the UniFi voucher page requires a deep understanding of web technologies, including HTML5, CSS3, and JavaScript. The voucher page is essentially a web application that can be modified by injecting custom code into the existing framework.
To begin the customization process, it is essential to access the file structure of the UniFi Controller, typically hosted on a local server or cloud environment. The template files for the voucher page can be found in the installation directory, often under a path such as /usr/lib/unifi/html or similar.
Once the files are located, modifications can be made to the HTML structure to remove or replace Ubiquiti branding elements. This might involve editing specific divs or spans that contain logo images or text, ensuring that new elements are compliant with the existing layout to maintain user experience.
CSS changes are also crucial in this process, as they dictate the visual styling of the voucher page. Custom styles can be added or existing styles modified to align with the branding guidelines of the organization, ensuring a seamless transition from the default UniFi appearance to a personalized version.
Implementing Localized Language Support and Custom Messaging
Localization of the UniFi voucher page can significantly enhance user engagement and clarity. Customizing language support involves editing language files found within the UniFi controller directory.
These files often contain key-value pairs which define the text appearing on the voucher page. Modifications can be made to these pairs to reflect localized terms while ensuring that the user experience remains intuitive.
In addition to language adjustments, adding custom messaging can provide context or prompts specific to the service being offered. This could include instructions on how to redeem vouchers or information about network policies.
Testing the localized pages across various devices and browsers is essential to ensure that the new messaging displays correctly and that the adjustments made do not disrupt the functionality of the page.
Customizing the UniFi Controller Configuration
Altering the UniFi Controller configuration is a pivotal step in removing Ubiquiti branding from the voucher page. This can be achieved through the controller's settings, where parameters related to guest access and interface customization can be modified.
Accessing the UniFi Controller's configuration requires administrator privileges, as unauthorized changes could lead to system instability. Upon logging into the controller, navigate to the 'Settings' section and locate 'Guest Control', where several options are available for customization.
Within the Guest Control settings, the 'Portal Page' section allows for the manipulation of the branding elements. The logo and text that appear on the voucher page can be replaced or removed by providing custom HTML or CSS code snippets that overwrite the default Ubiquiti entries.
Implementing these changes necessitates saving the configuration and potentially rebooting the controller for the changes to take effect. Continuous monitoring of the portal page after modifications ensures that the branding elements are effectively removed.
Leveraging CSS Customization for Enhanced Aesthetics
Custom CSS can significantly enhance the visual appeal of the UniFi voucher page while also facilitating the removal of Ubiquiti branding. By injecting custom styles, a more personalized user interface can be created, aligning with specific branding requirements.
To implement custom CSS, access the UniFi controller's settings and locate the section that allows for custom scripts or styles. This could be under advanced settings or a user interface section, depending on the controller version being utilized.
Once in the appropriate section, CSS rules should be crafted to override existing styles that display Ubiquiti branding. For instance, using selectors to target the logo or brand name and applying `display: none;` can effectively hide these elements from the page.
Testing the changes across different browsers and devices is critical to ensure consistent appearance. Additionally, to maintain updates and avoid losing custom styles during controller upgrades, it is advisable to document the CSS changes or maintain them in a separate file for easy reapplication.
Utilizing the UniFi API for Automation and Customization
The UniFi API provides a powerful mechanism to automate the removal of Ubiquiti branding from the voucher page. By leveraging API calls, it is possible to programmatically modify settings related to the user interface.
Authentication with the UniFi API typically involves generating a session token by sending a POST request with valid administrator credentials to the controller's API endpoint. Once authenticated, various endpoints can be accessed to manipulate settings, including those related to the voucher page.
Specific API calls can be crafted to update voucher settings, including the removal of branding elements. This could involve sending PATCH requests to modify existing branding properties or adding custom branding elements as required.
For organizations with extensive deployments, scripting these API interactions can automate the process across multiple controllers, ensuring consistency and saving significant administrative time. Monitoring API responses is crucial to confirm successful updates and troubleshoot any potential issues that arise during execution.
Troubleshooting Common Issues During Customization
Customizing the UniFi voucher page can occasionally lead to unexpected errors or issues that disrupt the overall functionality of the captive portal. Common problems include broken links, missing images, or CSS styles not rendering correctly.
One effective method for troubleshooting involves inspecting the browser console for any JavaScript errors that may arise during the loading process of the voucher page. To access the console in most browsers, right-click on the page and select "Inspect," then navigate to the "Console" tab.
If any error messages appear, they may provide clues about missing files or syntax errors in the HTML and CSS code. For example, a "404 Not Found" error indicates that a referenced resource, such as an image or stylesheet, is not accessible, requiring verification of the file paths in the code.
Another common issue is related to caching, which may prevent newly uploaded files from appearing. To resolve this, clearing the browser cache can be a quick fix, or utilizing a hard refresh (Ctrl + F5 on Windows or Cmd + Shift + R on macOS) ensures that the most current versions of files are loaded.
In some instances, changes may not reflect due to server-side caching mechanisms. If using a reverse proxy or CDN, it is crucial to purge the cache on those services to ensure that users see the latest version of the voucher page.
Implementing Additional Security Measures for the Voucher System
Enhancing the security of the UniFi voucher system is essential, especially in public environments where unauthorized access can occur. One primary method is to implement HTTPS for the voucher page to encrypt data transmitted between users and the server.
This can be achieved by obtaining an SSL certificate from a reputable Certificate Authority (CA) and configuring the UniFi controller to serve the voucher page over HTTPS. The configuration typically involves setting the "Web Server" settings in the UniFi controller interface to include the SSL certificate and key files.
Another critical security measure involves configuring access controls for the voucher generation and management interface. This can be performed by creating user roles within the UniFi controller, ensuring that only authorized personnel can create and modify vouchers.
Additionally, implementing rate limiting on the voucher generation requests can prevent abuse by restricting the number of vouchers that can be generated from a single IP address over a specified time frame. This can be done by configuring firewall rules or using a dedicated rate-limiting tool on the server.
Lastly, monitoring the network traffic for suspicious activities using packet analysis tools such as Wireshark can provide insights into potential security threats. Setting up alerts for unusual traffic patterns can help in proactively addressing any vulnerabilities before they are exploited.
Troubleshooting Specific Errors During Customization
Troubleshooting errors in the UniFi voucher page customization process can often be a daunting task. Common issues arise from improper modifications to the HTML or CSS files, which can lead to the page not rendering correctly or displaying errors.
One frequent error is the "404 Not Found" message when accessing the customized voucher page. This typically indicates that the edited files have not been correctly saved in the designated directory or that the path to these files has not been properly configured in the UniFi Controller settings.
To resolve this issue, verify the file paths in the UniFi Controller settings. Use the command line to navigate to the directory where the customization files are stored, ensuring that all necessary files are indeed located there.
For example, using the terminal, the command "ls /var/lib/unifi/html/" can be executed to list all files in the HTML directory. If the required files are missing, they must be re-uploaded or recreated, followed by a restart of the UniFi Controller service using "service unifi restart" to apply changes.
Another common issue is related to CSS not loading as expected, which may result in unstyled elements or layout glitches. To diagnose this, inspect the page using browser developer tools (F12) to check the network tab for any failed requests related to CSS files.
If CSS files are not loading, it may be due to caching. Clearing the browser cache or using a private browsing mode can help verify if this is the culprit. Additionally, check the file permissions with "chmod 644 /var/lib/unifi/html/custom.css" to ensure that the UniFi Controller can access the CSS files.
Best Practices for Secure Customization of the Voucher System
Implementing best practices during the customization of the UniFi voucher system is essential for maintaining security and functionality. One of the primary considerations is the handling of sensitive data, such as user credentials and voucher codes, which should not be exposed in the HTML source.
To enhance security, validate all user inputs and ensure that any JavaScript utilized does not inadvertently expose sensitive information through console logs. Using HTTPS for all connections to the UniFi Controller is mandatory to protect data in transit.
Another best practice is to regularly update the UniFi software and any dependencies involved in the customization process. Keeping the UniFi Controller up to date ensures that any security vulnerabilities are patched, reducing the risk of exploitation.
Configuring firewalls to restrict access to the UniFi Controller interface can further bolster security. Implementing IP whitelisting allows only trusted IP addresses to access the controller, minimizing the attack surface.
Additionally, conducting regular audits of the customization files is advisable. This ensures that no unauthorized changes have been made and that all modifications comply with security standards.
Documenting all changes made to the voucher page can also prove beneficial. Keeping a changelog helps track modifications and provides a reference point for troubleshooting if issues arise.
Frequently Asked Questions
What is the UniFi voucher page?
The UniFi voucher page is a captive portal that users see when connecting to a UniFi network.
Can I revert changes made to the voucher page?
Yes, changes can be reverted by restoring the original files from the backup created before editing.
Is it necessary to restart the UniFi service after changes?
Yes, restarting the service is necessary to apply any changes made to the HTML or CSS files.
Are there any risks involved in customization?
Customization may lead to unexpected behavior if not done correctly, potentially affecting user connectivity.
Can I add my own logo instead of removing the Ubiquiti logo?
Yes, replacing the Ubiquiti logo with a custom logo is possible by editing the relevant HTML code.


