How to Screen Record iPhone Without App (Full Guide 2026)
Whether you want to capture an epic gaming achievement, demonstrate a software walkthrough for a colleague, troubleshoot a bug, or save an important online lecture, recording your screen is an essential skill. In the early days of iOS, users had to resort to jailbreaking their devices or downloading sketchy, ad-ridden third-party utilities. Thankfully, Apple introduced a native solution that eliminated these security and privacy risks. If you are searching for a clean, efficient way to capture your screen, you have come to the right place. In this detailed guide, we will explain exactly how to screen record iphone without app, utilizing the powerful, built-in features that Apple provides right out of the box.
By using the native iOS screen recording tool, you avoid watermarks, time limits, and unwanted advertisements. Furthermore, you do not have to worry about third-party apps spying on your screen activity or harvesting sensitive login credentials. The entire process takes place locally on your device, ensuring maximum security and smooth performance. Below, we break down every aspect of this feature, from initial activation to advanced audio settings, editing tips, and workarounds for common platform restrictions.
Does the iPhone Have a Native Screen Recorder? How to Screen Record iPhone Without App
Yes, the iPhone does indeed feature a highly advanced, built-in native screen recorder. Apple introduced this utility with the release of iOS 11 back in 2017. Before this milestone, capturing your screen required connecting your iPhone to a macOS computer via a Lightning cable and using QuickTime Player, or installing unauthorized third-party applications from outside the App Store. The native integration of this tool changed everything, turning screen recording into a seamless, system-level task.
Operating directly within the iOS kernel, the native screen recorder captures everything displayed on your screen at a high frame rate (typically 60 frames per second on modern iPhones) and at your screen's native resolution. It dynamically adapts to device orientation, meaning it will automatically switch between portrait and landscape modes depending on how you hold your phone. Because it is a system-level utility, it is incredibly stable, utilizes hardware acceleration to minimize battery drain, and works in tandem with the operating system's privacy indicators. When recording, iOS displays a distinct indicator—such as a red status bar or a red ring around the Dynamic Island—to ensure you are always aware that your screen is being captured. This prevents background apps from secretly recording your device's activity without your consent.
How to Add the Screen Recording Button to Control Center
Although the screen recorder is built into iOS, it is not enabled in the Control Center by default. You need to perform a quick, one-time setup to add the toggle switch to your Control Center. The configuration steps vary slightly depending on whether you are running an older iOS version (iOS 11 through iOS 17) or the newer, heavily revised Control Center in iOS 18.
For iOS 11 through iOS 17:
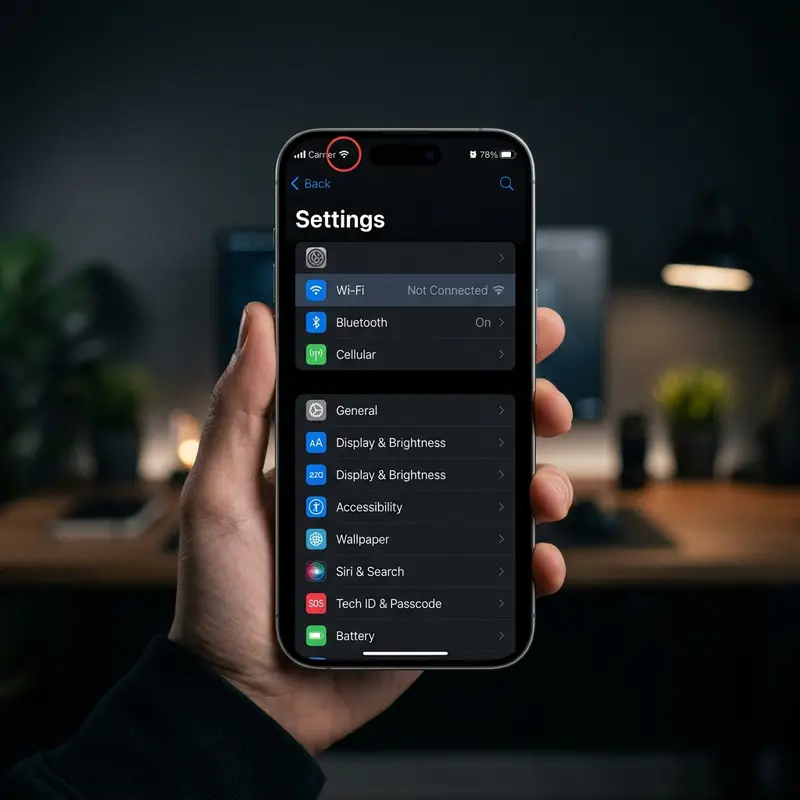
- Open the Settings app on your iPhone.
- Scroll down and tap on Control Center.
- If you are on iOS 13 or older, you may need to tap Customize Controls; on newer versions, you will see the list immediately.
- Scroll down to the More Controls section (marked with green plus buttons) and locate Screen Recording.
- Tap the green plus (+) icon next to Screen Recording to move it to the Included Controls section.
- You can use the three horizontal bars on the right side of the list to drag and reposition the icon to your preferred spot in the Control Center grid.
For iOS 18:
iOS 18 introduced a fully customizable, multi-page Control Center. You can add the screen recorder toggle directly from the Control Center interface without opening the Settings app:
- Swipe down from the top-right corner of your screen to open the Control Center.
- Press and hold on an empty space inside the Control Center, or tap the plus (+) icon in the top-left corner to enter edit mode.
- Tap Add a Control at the bottom of the screen.
- Scroll down to the "Utility" category or use the search bar at the top to search for "Screen Recording".
- Select the Screen Recording widget. You can now drag it to resize it or place it on any page of your Control Center.
- Tap anywhere on the empty screen or swipe up to exit edit mode.
How to Start and Stop Screen Recording
Once you have added the Screen Recording button to your Control Center, using it is incredibly straightforward. Here is the step-by-step process to start and stop your capture:
To Start Recording:
- Access the Control Center:
- On iPhones with Face ID (iPhone X and newer): Swipe down from the top-right corner of the screen.
- On iPhones with Touch ID (iPhone 8 and older, and iPhone SE): Swipe up from the bottom edge of the screen.
- Locate the Screen Recording button, which looks like a solid white circle inside a thin white ring.
- Tap the button. A three-second countdown will begin inside the icon (3, 2, 1). This brief pause gives you enough time to close the Control Center and navigate to the screen, app, or game you wish to capture.
- When the countdown ends, the recording starts. You will hear a short chime (if your volume is up), and the screen recording icon in the Control Center will turn red.
- While recording, a visual indicator will be visible at the top of your screen:
- On iPhones with a notch (iPhone X through 14): The clock in the top-left corner will be highlighted in red.
- On iPhones with the Dynamic Island (iPhone 14 Pro, 15, and 16 series): A red recording icon and a timer will appear inside the Dynamic Island.
- On iPhones with a home button: A solid red bar will appear across the very top of the screen.
To Stop Recording:
You can end the recording at any time using one of two simple methods:
- Method 1 (Quickest): Tap the red recording indicator (the red clock, the Dynamic Island, or the red bar at the top of your screen). A pop-up menu will appear asking: "Stop Screen Recording?". Tap Stop to confirm.
- Method 2: Open the Control Center again by swiping down or up, and tap the red, blinking Screen Recording button.
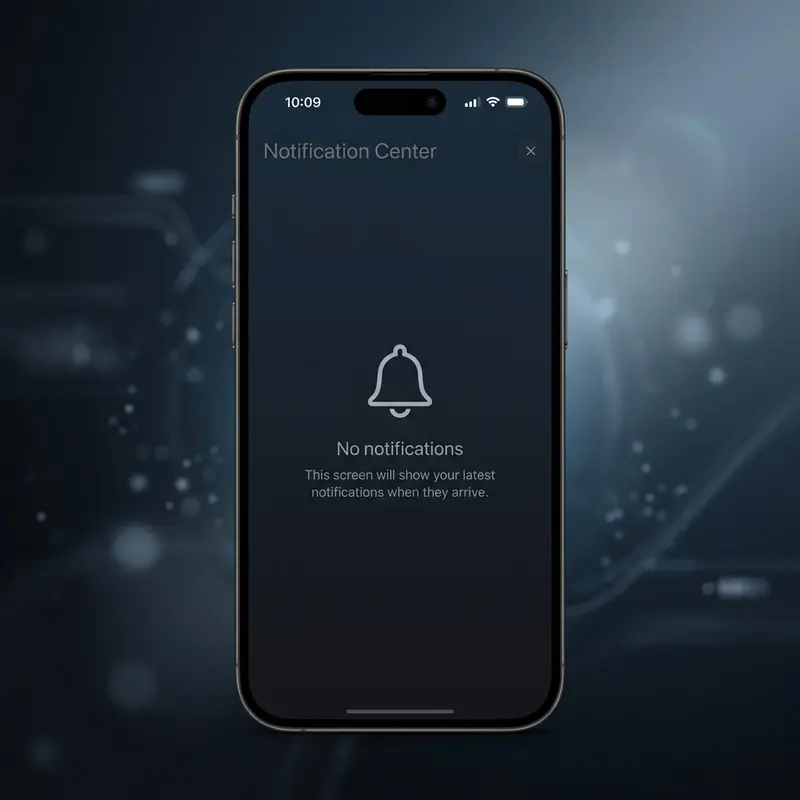
After stopping, a notification banner will slide down from the top of the screen, stating: "Screen Recording video saved to Photos". Tapping this banner will immediately open the Photos app and play your newly recorded video.
How to Record Screen with Microphone Audio
By default, the iPhone's screen recorder captures internal system audio. This includes game sounds, background music playing within apps, and alert chimes. However, it does not capture external audio, such as your voice or ambient room sound. If you are creating a tutorial, explaining a document, or recording a video call walkthrough where you need to speak, you must manually enable the microphone.
To record your screen with microphone audio, follow these steps:
- Open the Control Center on your iPhone.
- Instead of simply tapping the Screen Recording button, press and hold it (utilizing Haptic Touch or a firm press).
- A hidden options menu will pop up on your screen. At the bottom of this menu, you will see a microphone icon labeled Microphone Off.
- Tap the microphone icon. The icon will turn red, and the label will change to Microphone On.
- From this same menu, tap Start Recording at the top of the list. The three-second countdown will begin.
- Once the recording starts, both system audio and external audio captured by your iPhone's built-in microphone will be mixed into the video track.
Note: The iPhone will remember this setting for future recordings. If you want to perform a silent recording later without your voice, you must repeat the steps above to toggle the microphone off. Keep in mind that recording with the microphone enabled will capture all environmental noises, so it is highly recommended to record in a quiet room or use external headphones with a built-in microphone for the best audio quality.
What You CANNOT Record (iOS Restrictions & DRM)
While the native screen recorder is incredibly versatile, you will occasionally encounter situations where it fails to capture content. This is not a software bug, but rather a deliberate feature designed to protect copyright holders and user privacy. iOS enforces strict Digital Rights Management (DRM) and security protocols across the system.
Here are the primary restrictions you will run into:
- Copyrighted Video Streaming (DRM): Apps like Netflix, Disney+, Prime Video, Hulu, HBO Max, and Apple TV+ block screen recording entirely. If you attempt to record while playing a movie or show in these apps, the video output will be a solid black screen, though you might still hear the audio track. This is enforced at the hardware level, preventing unauthorized reproduction of copyrighted material.
- Protected Audio Tracks: Certain music streaming services, such as Apple Music or Spotify, may mute the audio of your screen recording if you try to capture songs playing through their apps.
- Privacy and Security Fields: iOS is designed to protect your sensitive personal data. If you open a banking app, a password manager (like 1Password or Apple Keychain), or enter a passcode screen while recording, the operating system will automatically black out those specific screens or input fields to ensure your credentials are not captured.
When you are capturing screenshots or recording videos of high-end graphics or apps, you might also be wondering which iPhone has the best camera to record physical screens or capture high-fidelity media, since physical cameras are the only way to bypass these software DRM blocks. Taking a physical photo or video of an iPhone screen using another high-quality phone is the only practical workaround when dealing with strict applications that trigger black screens.
How to Edit and Share Your Recorded Videos
After saving your screen recording, it will appear in your Photos app as a standard MP4/M4V video file. Often, the beginning of your recording will show you closing the Control Center, and the end will show you tapping the stop button. You can easily clean up these extra frames and polish your video directly inside iOS.
Trimming and Editing in the Photos App:
- Open the Photos app and select your screen recording.
- Tap Edit in the top-right corner of the screen.
- At the bottom of the screen, you will see the video timeline. Tap and hold either the left or right yellow slider arrow.
- Drag the sliders inward to trim away the unwanted beginning or end of the video. The frame indicator will zoom in, allowing you to make frame-by-frame adjustments.
- You can also tap the crop tool to rotate the video, change its aspect ratio, or zoom in on a specific part of the screen.
- To adjust visual parameters, tap the dial icon to modify exposure, contrast, highlights, shadows, and color saturation.
- Once you are satisfied, tap Done in the bottom-right corner. You can choose to either Save Video (which overwrites the original but allows you to revert edits later) or Save Video as New Clip (which creates a second, trimmed file).
Sharing Your Recordings:
To share your video, open it in the Photos app, tap the Share button (an arrow pointing out of a box) in the bottom-left corner, and choose your preferred method: AirDrop to another Apple device, send via Messages or Mail, or upload to messaging apps like WhatsApp or Telegram. However, keep in mind that screen recordings—especially long ones recorded at high frame rates—can generate massive file sizes. If you record for extended periods, you may quickly run into an iPhone storage full warning, which can prevent you from saving new files or taking photos. To manage your storage, consider compressing the videos, uploading them to iCloud Drive, or transferring them to a computer before deleting the originals from your device.
iOS Compatibility and Feature Matrix
The screen recording tool has evolved significantly since its introduction. Below is a comprehensive matrix detailing the capabilities, limitations, and key features of the native screen recorder across different major versions of iOS:
| iOS Version | Native Support | Audio Options | Control Center Integration | Max Resolution & Quality | Key Features / Changes |
|---|---|---|---|---|---|
| iOS 11 | Yes | System & Mic Audio | Yes (Manual Add) | Screen resolution (up to 1080p, 60fps) | First introduction of native screen recording. Red top bar indicator. |
| iOS 14 | Yes | System & Mic Audio | Yes (Manual Add) | Screen resolution (up to 1080p, 60fps) | Improved integration with system widgets, automatic silencing of notification banners during active recording. |
| iOS 16 | Yes | System & Mic Audio | Yes (Manual Add) | Screen resolution (up to 1290p, 60fps) | Dynamic Island integration introduced on Pro models, replacing the red status bar. Better background rendering. |
| iOS 17 | Yes | System & Mic Audio | Yes (Manual Add) | Screen resolution (up to 1290p, 60fps) | AirPlay recording support enhancements, smoother transitions, auto-pausing when incoming cellular calls are answered. |
| iOS 18 | Yes | System & Mic Audio | Yes (In-app Customizable) | Screen resolution (up to 1290p, 60fps) | Control Center redesign. Direct widget customization without going to Settings. Support for spatial audio recording in apps. |
Frequently Asked Questions (FAQ)
Can I screen record on iPhone without them knowing (in video calls)?
It depends entirely on the application you are using. If you are recording a standard phone call, a FaceTime call, or a WhatsApp video call, iOS does not send any notification to the other party. However, FaceTime will automatically mute the audio of the recording to comply with privacy laws, meaning you will only capture the video track. For third-party apps, policies differ: Zoom and Microsoft Teams do not actively notify participants when you use the native iOS screen recorder, but they do have settings that allow hosts to block recording. On the other hand, highly privacy-focused apps like Snapchat and certain secure messaging platforms are designed to detect screen recording APIs. Snapchat, for example, will send a direct notification to the other user stating that you have recorded the screen. Always respect privacy laws and obtain consent before recording private conversations.
Is there a time limit for iPhone screen recording?
Technically, there is no hard-coded time limit set by Apple for screen recording. You can record for hours if you wish. However, practical limits are dictated by three main factors: your iPhone's available storage space, its battery life, and thermal conditions. Because screen recordings are captured in high resolution and high frame rates, they generate large file sizes—often averaging 30MB to 50MB per minute of recording, depending on the complexity of the screen content. If your device runs out of storage, the recording will stop automatically and might fail to save properly, corrupting the file. Furthermore, screen recording is resource-intensive; it can cause your iPhone to heat up, which may trigger thermal throttling, reducing performance, or stopping the recording to protect the internal battery.
Why is my screen recording missing audio?
If your screen recording has no sound, it is usually due to one of three common issues. First, you may have forgotten to turn on the microphone. To fix this, long-press the Screen Recording button in the Control Center and ensure the microphone icon is red (Microphone On). Second, you may be trying to record an app that blocks audio capture due to Digital Rights Management (DRM). Streaming apps like Netflix, Apple Music, and YouTube Premium will block the audio output of screen recordings. Third, check if your iPhone is in Silent Mode (Ringer switch set to orange). While some apps bypass Silent Mode and allow their audio to be recorded, others do not. Finally, ensure your volume is turned up during playback, as some media players default to mute when opening screen recorded files.
How do I screen record in 4K resolution?
You cannot natively record your iPhone screen in true 4K (3840 x 2160 pixels) because the screen resolution of even the largest iPhones (like the Pro Max models) is lower than 4K. The native screen recorder is designed to capture the exact pixel output of your screen. For example, an iPhone 15 Pro Max has a screen resolution of 2796 x 1290 pixels, so your recording will match that resolution. If you absolutely need a 4K output file, you have to connect your iPhone to a computer (macOS or Windows) using a high-quality USB-C or Lightning cable, mirror the screen to a software like QuickTime Player or OBS Studio, and capture the mirrored window while setting the output rendering resolution to 4K. Keep in mind that this upscales the video and does not add actual native detail.