How to Level Your 3D Printer Bed: Easy Paper Method and Auto-Leveling

Leveling the 3D printer bed ensures optimal printing quality and can be achieved using the easy paper method or auto-leveling technology.
Understanding the Importance of Bed Leveling
Bed leveling is a crucial step in the 3D printing process. It directly affects the adhesion of the first layer, which is essential for a successful print.
An uneven bed can lead to issues such as warping, poor layer adhesion, and print failures. Proper leveling ensures that the nozzle is at the correct distance from the build plate across its entire surface.
Tools Needed for Leveling Your 3D Printer Bed
Before beginning the leveling process, gather the necessary tools. The basic tools include:
- A piece of standard printer paper
- A wrench for adjusting screws
- Optional: Digital caliper for precision measurements
For printers equipped with auto-leveling, the setup may require different tools or software configurations. It is advisable to check the printer’s manual for specific requirements.
Easy Paper Method for Manual Leveling
The easy paper method is a popular technique for manually leveling the printer bed. Follow these steps to achieve a perfectly leveled surface:
- Preheat the printer to the temperature used during printing.
- Home the printer axes, ensuring the nozzle is in its starting position.
- Insert a standard piece of printer paper between the nozzle and the bed.
- Adjust the bed height using the screws until the paper slides with slight resistance.
- Repeat the process for all corners and the center of the bed.
After leveling, it is advisable to run a test print to verify that everything is functioning correctly.
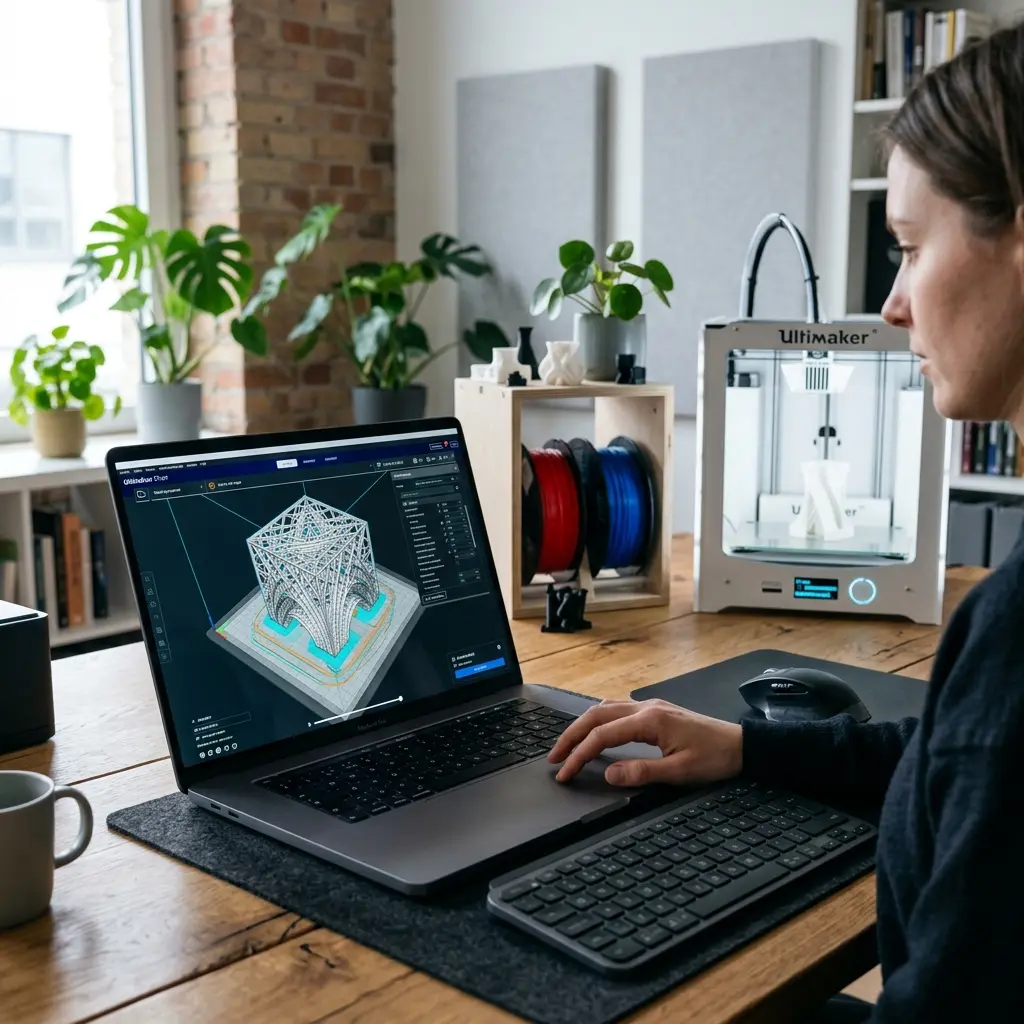
Exploring Auto-Leveling Technology
Auto-leveling technology has revolutionized the way 3D printers are calibrated. This feature uses sensors to automatically adjust the bed level, eliminating the need for manual adjustments.
Printers with auto-leveling capabilities can save time and enhance consistency in prints. Understanding how to enable and configure this feature is essential.
Steps to Enable Auto-Leveling
To enable auto-leveling on a compatible printer, follow these general steps:
- Access the printer's control panel or software.
- Locate the auto-leveling option in the settings menu.
- Run the auto-leveling sequence as prompted by the printer.
- Wait for the printer to complete the process, which may take a few minutes.
- After auto-leveling, perform a test print to ensure proper calibration.
Regular maintenance and recalibration may still be necessary, especially after significant changes or repairs to the printer.

Common Issues During Bed Leveling
Various issues can arise during the bed leveling process. These can include inconsistent gaps between the nozzle and the bed, bed warping, and incorrect Z-offset settings.
To troubleshoot, ensure that the surface of the bed is clean and free from debris. Regular cleaning of the nozzle and bed can also help maintain print quality.
DomineTec Tip: Using a glass bed can significantly improve leveling consistency, as it provides a flat and rigid surface.
Technical Specifications and Configurations
Understanding the specifications of a printer can aid in achieving optimal leveling. Below is a comparison of common bed types and their characteristics:
| Bed Type | Material | Heating Capability | Ease of Leveling |
|---|---|---|---|
| Glass | Tempered Glass | Yes | Moderate |
| Metal | Aluminum | Yes | Easy |
| PEI | Polyetherimide | No | Easy |
| BuildTak | Polymer | No | Moderate |
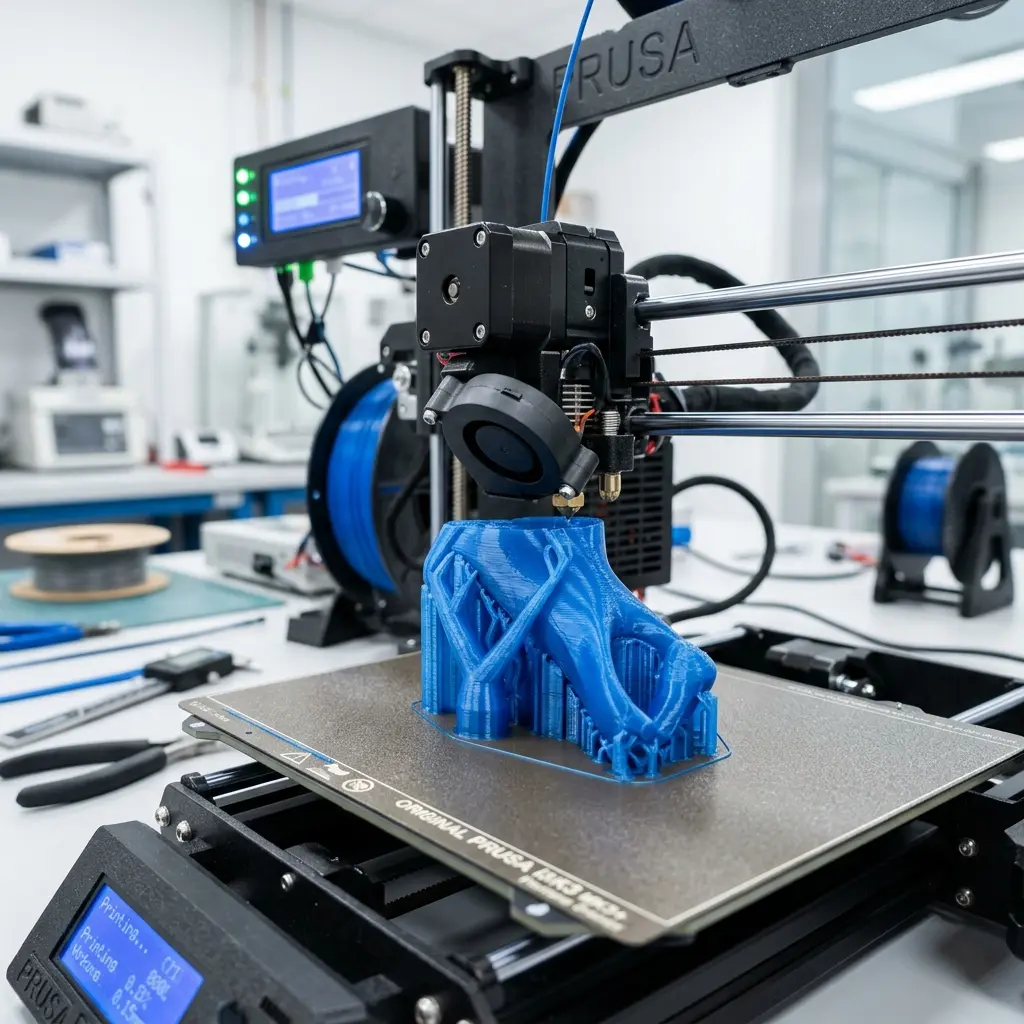
Best Practices for Maintaining Bed Leveling
To maintain a well-leveled bed, regular checks and adjustments are recommended. Conduct a routine inspection of bed level before each printing session to ensure optimal performance.
In addition, keep the bed surface clean to prevent adhesion issues caused by dust or residue. Always allow the bed to cool down before making adjustments to avoid burns or injuries.
Checklist for Bed Leveling
Here’s a detailed checklist to ensure all steps for leveling a 3D printer bed are covered:
- Preprint Preparation:
- Gather all necessary tools (paper, wrench, caliper).
- Ensure the printer is clean and in good condition.
- Preheat the printer to the intended printing temperature.
- Manual Leveling:
- Home the printer and position the nozzle.
- Check each corner and center with the paper method.
- Adjust screws for consistent resistance at all points.
- Auto-Leveling:
- Access settings and enable auto-leveling.
- Run the auto-leveling sequence.
- Verify adjustments with a test print.
- Post-Leveling:
- Keep a log of leveling adjustments.
- Check level before each printing session.
- Clean the bed regularly to maintain adhesion.
Frequently Asked Questions
What is the best method for leveling a 3D printer bed?
The best method depends on the printer model and user preference. The easy paper method is effective for manual printers, while auto-leveling is convenient for compatible models.
How often should a 3D printer bed be leveled?
It is advisable to level the bed before each printing session or whenever changes are made to the printer setup or environment.
Can a warped bed affect print quality?
Yes, a warped bed can lead to inconsistent nozzle distances, resulting in poor adhesion and defective prints. Regular leveling can mitigate this issue.
Is auto-leveling worth it?
Auto-leveling can save time and improve print consistency, making it a worthwhile investment for those who frequently use their 3D printers.
How do I know if my bed is level?
Testing with a simple print or checking the distance between the nozzle and bed at multiple points can confirm leveling accuracy.
Advanced Configurations for Bed Leveling
Utilizing advanced configurations can significantly improve the bed leveling process. Features such as mesh bed leveling or linear offset adjustments allow for enhanced precision in print quality.
Many 3D printers come equipped with firmware that supports advanced leveling techniques. It is advisable to familiarize oneself with the specific features available for optimal results.
Integrating these configurations may require a deeper understanding of the printer's settings. However, the benefits in print adhesion and surface quality are well worth the effort.
Common Calibration Mistakes
Calibration mistakes can lead to poor print quality and material wastage. One common error is failing to adjust the nozzle height accurately, resulting in either too much or too little distance from the print bed.
Another frequent mistake is neglecting to check the bed surface for debris or warping. A clean, level surface is crucial for achieving consistent first layers.
It is also important to regularly verify the calibration after significant printer adjustments or maintenance. Regular checks help maintain the printer’s performance and ensure high-quality prints.
Cost Estimations for Bed Leveling Tools
The cost of leveling tools can vary significantly based on the method chosen. Basic tools like feeler gauges or paper sheets are inexpensive, typically costing under $10.
On the other hand, more advanced solutions such as automatic bed leveling sensors can range from $20 to $100. Investing in automated systems may lead to time savings and improved print accuracy in the long run.
Budget should also account for potential upgrades to firmware or printer parts that may be necessary. Evaluating the total cost against the expected quality improvements is essential for informed decision-making.
Security Precautions During Bed Leveling
Safety precautions should always be prioritized during the bed leveling process. Ensuring that the printer is powered off during manual adjustments can prevent accidental burns or injuries.
Additionally, keeping hands clear of moving parts is essential to avoid injuries from the printer's components. Using tools designed for adjustment can further minimize risks.
Regular maintenance checks can help identify any potential hazards before they lead to accidents. A well-maintained printer is not only more efficient but also safer to operate.
Alternative Choices for Bed Leveling
Alternative choices for leveling the printer bed include using software solutions that assist in the calibration process. Many slicers now offer features for custom bed leveling adjustments that can be applied during the slicing stage.
Another option is the use of flexible build plates, which can provide a more forgiving surface for prints. These plates can often self-level slightly with heat, reducing the need for frequent manual adjustments.
Exploring different materials and methods can lead to improved user experience and print outcomes. Researching community feedback on alternative solutions can provide valuable insights.
Benefits of Auto-Leveling Systems
Auto-leveling systems provide a significant advantage by eliminating the need for manual adjustments. This technology utilizes sensors to measure the distance between the nozzle and bed, ensuring optimal print conditions.
These systems can save considerable time and reduce the chance of human error during the leveling process. As a result, users can expect consistent first layers and improved overall print quality.
Upgrading to an auto-leveling system may require an initial investment, but the long-term benefits are often worth the cost. Enhanced precision and reduced setup time can lead to more successful prints and less material waste.
Understanding the Importance of First Layer Adhesion
First layer adhesion is a critical aspect of successful 3D printing and is heavily influenced by bed leveling. A properly leveled bed ensures that the filament adheres correctly to the surface, preventing issues such as warping or shifting.
Factors such as bed temperature and surface material also play a role in adhesion. Understanding these elements can lead to better print outcomes and fewer failed prints.
Regular checks of the first layer during test prints may help in assessing adhesion quality. This proactive approach can assist in identifying potential adjustments needed for optimal performance.
``` ```htmlHow to Level Your 3D Printer Bed: Easy Paper Method and Auto-Leveling
Introduction
3D printer bed leveling is a crucial step in ensuring high-quality prints. A properly leveled bed allows for optimal adhesion of the first layer, which is vital for the overall success of a print. This document will cover two primary methods for leveling a 3D printer bed: the Easy Paper Method and Auto-Leveling.
Why Bed Leveling Matters
Improper bed leveling can lead to a variety of printing issues, including:
- Poor adhesion of the first layer
- Inconsistent layer height
- Warping of printed parts
- Clogged nozzles
Easy Paper Method
The Easy Paper Method is a manual way to level the printer bed using a standard piece of paper. This straightforward technique is effective for most 3D printers.
Materials Needed
- A standard A4 or letter-sized sheet of paper
- A 3D printer with adjustable bed height
Steps to Level the Bed Using the Easy Paper Method
- Turn on the 3D printer and home the axes.
- Preheat the printer bed to the temperature used during printing.
- Move the print head to the first corner of the bed.
- Insert the piece of paper between the nozzle and the bed.
- Adjust the bed height until there is slight resistance when moving the paper.
- Repeat the process for each corner of the bed, as well as the center.
- Recheck the corners to ensure consistency.
Tips for Effective Bed Leveling
- Perform the leveling process after the bed has been heated.
- Use the same paper for each corner to maintain consistency.
- Make small adjustments to avoid overshooting the desired distance.
Auto-Leveling
Auto-leveling is an advanced feature available in some 3D printers, which automates the bed leveling process. It uses a probe or sensor to measure the distance between the nozzle and the bed at multiple points, adjusting the printing parameters accordingly.
Types of Auto-Leveling Sensors
There are several types of auto-leveling sensors used in 3D printers:
| Sensor Type | Description | Advantages | Disadvantages |
|---|---|---|---|
| Inductive Sensor | Detects metal surfaces using electromagnetic fields. | Accurate and reliable; works with most metal beds. | Cannot be used with non-metal surfaces. |
| Capacitive Sensor | Detects changes in capacitance to sense the bed surface. | Works with various materials, including glass and plastic. | Can be affected by the presence of debris. |
| BLTouch | A type of probe that physically touches the bed surface. | Highly accurate; works with most materials. | Requires installation and calibration. |
Setting Up Auto-Leveling
Setting up auto-leveling can vary depending on the printer model and the type of sensor used. Follow these general steps:
- Install the auto-leveling sensor according to the manufacturer's instructions.
- Connect the sensor to the printer's mainboard.
- Update the firmware to enable auto-leveling features.
- Calibrate the sensor to ensure accurate readings.
- Run the auto-leveling routine as per the printer’s instructions.
Benefits of Auto-Leveling
- Reduces the time required for manual bed leveling.
- Enhances print consistency and quality.
- Minimizes human error during the leveling process.
Conclusion
Leveling the bed of a 3D printer is essential for achieving high-quality prints. Whether using the Easy Paper Method or an advanced auto-leveling system, it is important to understand the process and best practices. Each method has its advantages and can be chosen based on the printer capabilities and user preference.
Further Resources
``` ```htmlHow to Level Your 3D Printer Bed
Importance of Bed Leveling
Bed leveling is crucial for achieving high-quality 3D prints. An unlevel bed can lead to poor adhesion, warping, and uneven layer deposition.
Overview of Bed Leveling Methods
There are two primary methods for leveling a 3D printer bed: the easy paper method and auto-leveling. Each method has its own advantages and is suitable for different types of 3D printers.
Easy Paper Method
Materials Needed
- Standard printer paper
- 3D printer
- Calibration settings in the printer's software
Step-by-Step Guide
Follow these steps to level your 3D printer bed using the easy paper method.
Step 1: Prepare the Printer
Ensure the printer is turned on and heated to the typical printing temperature. This helps in accurate leveling as the bed expands when heated.
Step 2: Disable Stepper Motors
Access the printer's control panel and disable the stepper motors for manual adjustments. This allows for easy movement of the print head and bed.
Step 3: Position the Print Head
Move the print head to one of the corners of the bed. Ensure it is positioned directly above the build surface.
Step 4: Use the Paper for Calibration
Place a standard piece of printer paper between the nozzle and the bed. Adjust the bed height until there is slight resistance when moving the paper.
Step 5: Repeat for All Corners
Repeat the previous steps for each corner of the bed and the center. This ensures the entire surface is level.
Auto-Leveling Method
Understanding Auto-Leveling
Auto-leveling uses a probe or sensor to measure the distance between the nozzle and the bed. This method automates the leveling process, making it more efficient.
Types of Auto-Leveling Sensors
| Type | Description | Advantages |
|---|---|---|
| Inductive Sensors | Detect metal surfaces through electromagnetic fields. | Reliable and typically more accurate. |
| Capacitive Sensors | Measure distance to any surface, including glass. | Versatile for various bed materials. |
| Mechanical Probes | Physically touch the bed surface to measure height. | Simple and cost-effective. |
Setting Up Auto-Leveling
Setting up auto-leveling involves installing the sensor and configuring the firmware. Follow the manufacturer's instructions for correct installation.
Step 1: Install the Sensor
Secure the auto-leveling sensor to the print head using the provided mounting hardware. Ensure it is aligned with the nozzle.
Step 2: Configure Firmware
Update the printer's firmware to enable auto-leveling features. Refer to the specific firmware documentation for detailed instructions.
Step 3: Run the Auto-Leveling Routine
Initiate the auto-leveling process from the printer's control panel. The printer will probe multiple points on the bed to create a mesh map.
Step 4: Save the Settings
After the probing is complete, save the leveling data in the printer’s memory. This ensures consistent performance across multiple print jobs.
Common Issues with Bed Leveling
- Inconsistent first layers due to incorrect leveling.
- Improper sensor calibration leading to false readings.
- Bed surface wear affecting leveling accuracy.
Conclusion
Proper bed leveling is essential for successful 3D printing. Both the easy paper method and auto-leveling can significantly improve print quality when executed correctly.
```



