How to Fix Z-Wobble on Your 3D Printer Using Flexible Couplers on Z-Axis

To fix Z-wobble on a 3D printer, using flexible couplers on the Z-axis can effectively improve print quality.
Understanding Z-Wobble: Causes and Effects
Z-wobble is a common issue in 3D printing characterized by vertical banding or rippling on the surface of prints. This defect occurs due to misalignment or play in the Z-axis movement.
Factors contributing to Z-wobble include loose components, improper bed leveling, and inadequate coupling between the stepper motor and the lead screw. Identifying the root cause is essential before applying a solution.
The effects of Z-wobble can significantly impact the aesthetic quality and structural integrity of printed objects. This can lead to increased post-processing time and material waste.
What are Flexible Couplers?
Flexible couplers are mechanical components that connect the stepper motor to the lead screw of the Z-axis. They allow for slight misalignments without transferring stress to the motor or screw.
These couplers can compensate for minor misalignments and vibrations, making them an effective solution for Z-wobble. They come in various materials, including metal and plastic, each with its unique properties.
Flexible couplers are designed to absorb misalignment and prevent the transmission of vibrations, which can degrade print quality. Understanding their role is crucial for successful 3D printing.
Benefits of Using Flexible Couplers
Integrating flexible couplers into a 3D printer setup offers several advantages. They significantly reduce the transmission of vibrations from the motor, enhancing print quality.
Additionally, flexible couplers help maintain alignment during the printing process, resulting in more consistent layer adhesion. Their ability to absorb minor misalignments also prolongs the life of mechanical parts.
By using flexible couplers, users can expect reduced maintenance needs over time, as they help protect sensitive components from wear and tear. This can lead to lower overall costs in printer operation.
Types of Flexible Couplers
| Type | Material | Flexibility | Best Use Case |
|---|---|---|---|
| Metal Couplers | Aluminum | Low | High torque applications |
| Plastic Couplers | Polyamide | High | Light-duty applications |
| Spring Couplers | Steel | Very High | Vibration damping |
Step-by-Step Guide to Installing Flexible Couplers
To effectively install flexible couplers on the Z-axis of a 3D printer, follow these steps:
- Power off the 3D printer and unplug it from the wall.
- Remove the existing couplers, if present, from the stepper motor and lead screw.
- Clean the motor shaft and lead screw to ensure proper adhesion.
- Align the flexible coupler onto the motor shaft and tighten the set screw.
- Align the other end of the coupler onto the lead screw and tighten securely.
- Ensure the coupler is straight and that there is no binding in the Z-axis movement.
- Reconnect the printer to power and perform a test print to evaluate improvements.
Additional Tips for Reducing Z-Wobble
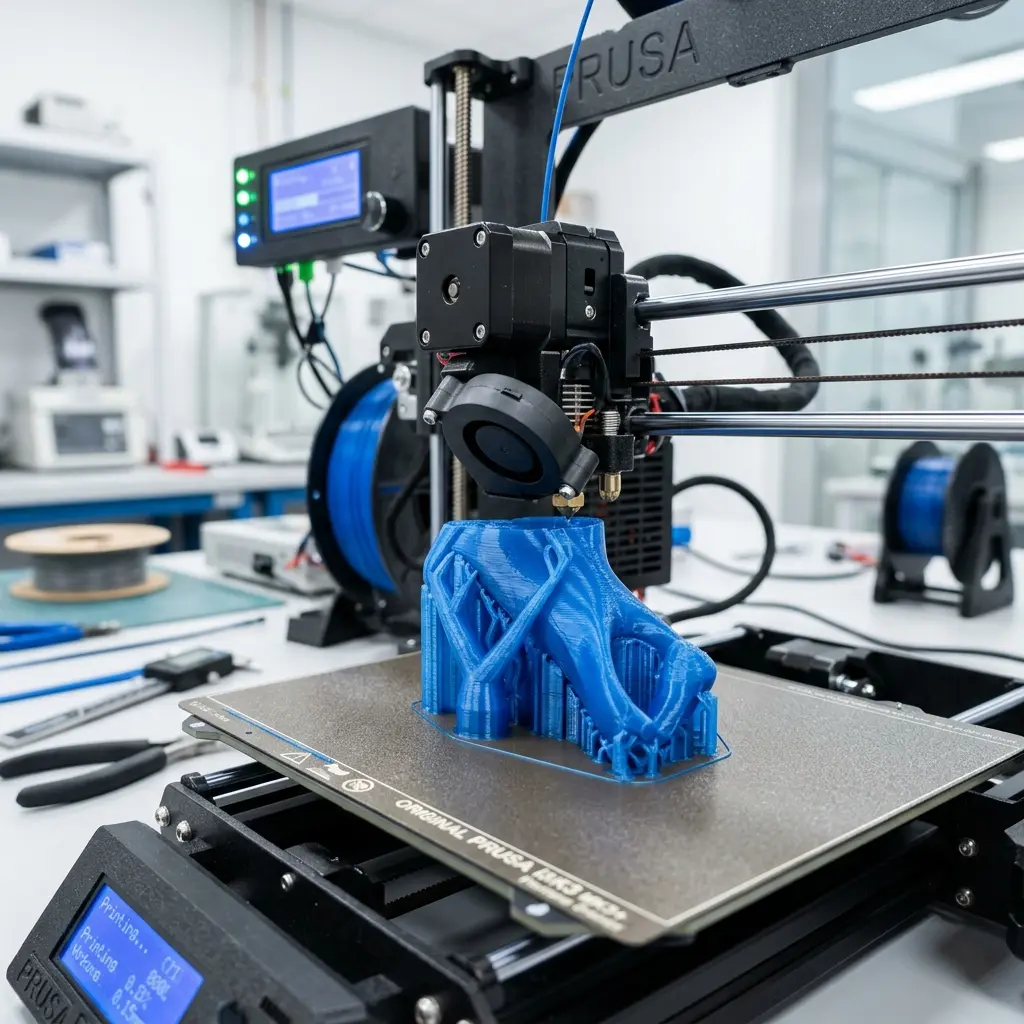
Aside from installing flexible couplers, several other techniques can help mitigate Z-wobble in 3D prints. Regularly check and tighten all mechanical parts, including the lead screw and frame.
Using a high-quality lead screw can also minimize wobbling. Additionally, ensuring the bed is level and using a properly configured slicer can further enhance print quality.
DomineTec Tip: Opt for a lead screw with a finer pitch, as it can enhance the precision of vertical movements.
Maintaining a clean workspace is also essential to prevent debris from affecting print quality. Regularly inspect and lubricate moving parts to ensure smooth operation.

Diagnosing Z-Wobble: Additional Considerations
Before concluding that Z-wobble is solely due to coupler issues, perform a thorough diagnosis. Check for bed leveling using a reliable method, as an unlevel bed can exacerbate Z-wobble.
Examine the printer frame for rigidity; a flexible frame may allow for unwanted movement during printing. Finally, inspect the slicer settings for potential issues, especially layer height and print speed.
It is also advisable to check the tension of the belts and the stepper motor's alignment. Any misalignment here can contribute to poor print quality as well.
Frequently Asked Questions
What is Z-wobble in 3D printing?
Z-wobble refers to vertical inconsistencies in the print surface, often causing banding or rippling. It typically results from misalignment or play in the Z-axis system.
How do flexible couplers improve print quality?
Flexible couplers reduce vibration transfer from the stepper motor to the lead screw, maintaining better alignment during printing. This leads to improved layer adhesion and overall print quality.
Can other factors cause Z-wobble?
Yes, factors such as improper bed leveling, loose mechanical components, and poor quality lead screws can contribute to Z-wobble. A comprehensive diagnosis is crucial for effective remediation.
Are flexible couplers compatible with all 3D printers?
Most 3D printers can utilize flexible couplers, but compatibility may depend on the specific design and coupling size. Always verify the specifications before installation.
What maintenance is required after installing flexible couplers?
Regularly inspect the couplers for wear and ensure they remain securely fastened. Additionally, periodic checks on the Z-axis alignment and bed leveling are recommended for optimal performance.
Checklist for Z-Wobble Diagnosis and Solutions
- Check for loose components on the Z-axis.
- Inspect the bed leveling accuracy.
- Examine the printer frame for rigidity.
- Ensure that the flexible coupler is properly installed.
- Evaluate the quality of the lead screw.
- Verify slicer settings, including layer height and print speed.
- Maintain a clean workspace to prevent debris interference.