How to Setup and Remove Brim Bed Adhesion in PrusaSlicer Slicer
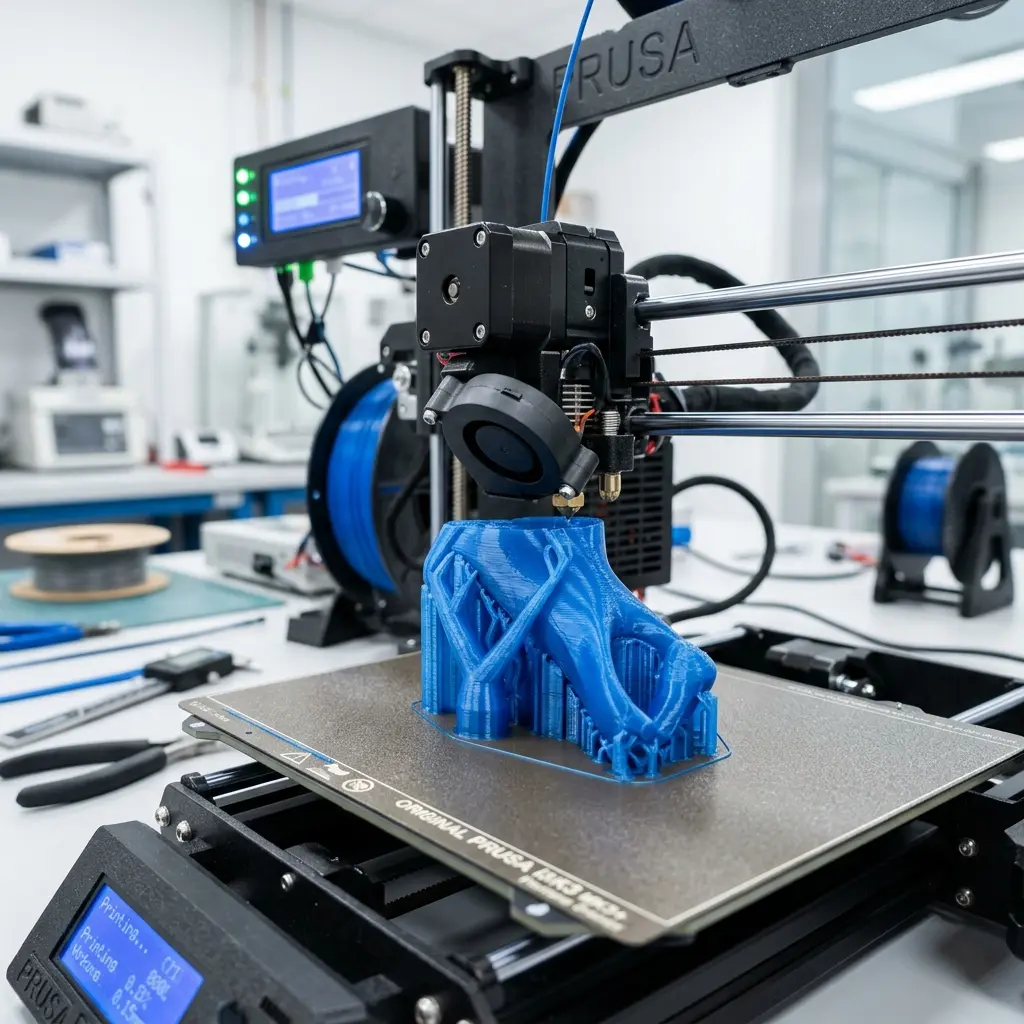
Setting up and removing brim bed adhesion in PrusaSlicer is straightforward and essential for quality prints.
Understanding Brim Bed Adhesion
Brim is a popular bed adhesion method used in 3D printing, particularly with FDM printers. It consists of a few extra layers of filament printed around the base of the model.
This feature enhances stability by increasing the surface area that adheres to the build plate. Utilizing a brim is especially beneficial for prints with small footprints, as it prevents warping and lifting during the printing process.
When to Use Brim Bed Adhesion
Brim is ideal for certain print scenarios. Models with a small base area or those made from materials prone to warping, like ABS, benefit significantly from this technique.
Additionally, prints with intricate details or overhangs may require the extra stability that a brim provides. Understanding when to apply this feature can dramatically improve print quality.
Setting Up Brim Bed Adhesion in PrusaSlicer
Configuring brim bed adhesion in PrusaSlicer is a simple process. Follow these steps to ensure proper settings are applied:
- Open PrusaSlicer and load your model.
- Select the model in the 3D view.
- Navigate to the "Print Settings" tab.
- Click on the "Build Plate Adhesion" section.
- Choose "Brim" from the drop-down menu.
- Adjust the brim width and number of brim layers as needed.
- Save the settings and slice the model.
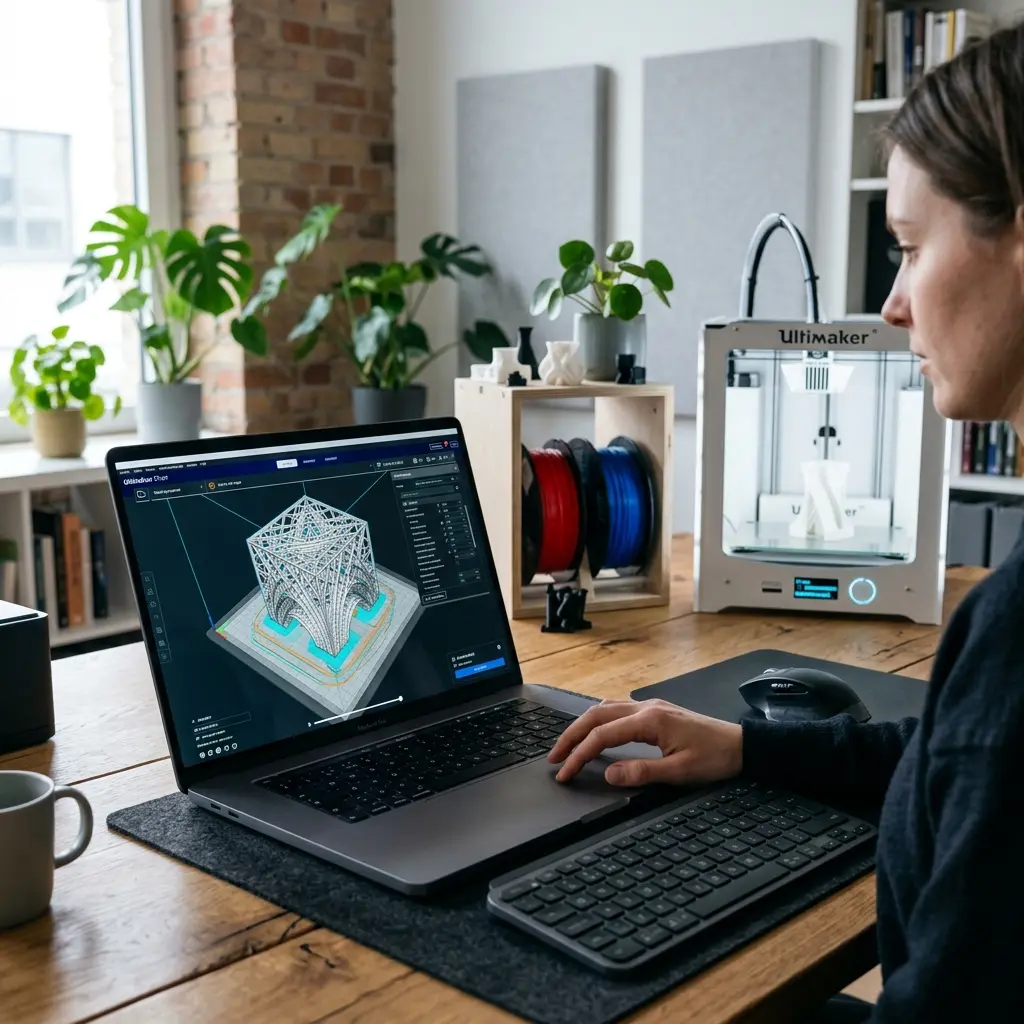
Adjusting Brim Settings for Optimal Results
Fine-tuning brim settings can lead to better adhesion and print quality. The brim width is particularly crucial, as it determines how far the brim extends from the model.
A wider brim can provide more stability, while a narrower brim may suffice for larger models. Experimenting with these settings can yield the best results tailored to specific print requirements.
DomineTec Tip: Always perform a test print with adjusted brim settings to find the optimal configuration for your specific model and material.
Removing Brim After Printing
Once the print is complete, the brim must be carefully removed. This step is crucial to ensure that the finished model maintains its integrity without damage.
To remove the brim, follow these guidelines:
- Wait for the print to cool completely before handling.
- Gently flex the build plate to loosen the brim.
- Use a spatula or similar tool to carefully pry the brim away from the model.
- Inspect the model for any leftover brim material.
- Use pliers or cutters to remove any stubborn brim remnants.

Common Issues with Brim Bed Adhesion
Despite its benefits, using brim bed adhesion can lead to certain challenges. Some common issues include difficulty in removal, excessive filament usage, and surface finish problems.
Ensuring the proper bed leveling and nozzle height can help mitigate these issues. Regular maintenance of the printer also plays a vital role in achieving consistent results.
Comparative Analysis of Adhesion Methods
| Adhesion Method | Pros | Cons |
|---|---|---|
| Brim | Improves stability, easy to set up | Can be tricky to remove, increases filament use |
| Raft | Excellent adhesion, supports complex shapes | More material waste, longer print time |
| Skirt | Helps prime the nozzle, easy to remove | Poor adhesion, not suitable for all models |
Best Practices for Using Brim Bed Adhesion
Implementing best practices can significantly enhance the effectiveness of brim bed adhesion. Below are key considerations to keep in mind:
- Ensure the print bed is clean and free from debris to maximize adhesion.
- Use the right nozzle temperature for the filament being printed to improve adhesion.
- Regularly check and calibrate the printer's bed leveling.
- Experiment with different brim widths based on the specific model and material.
- Consider the environmental conditions of the printing area, such as temperature and airflow.
Checklist for Successful Brim Setup
Utilizing this checklist can assist in ensuring that your brim setup is optimal:
- Model is correctly oriented in the slicer.
- Brim option is selected in the build plate adhesion settings.
- Brim width is adjusted based on the model's size.
- Print settings are saved before slicing.
- Printer is calibrated and leveled properly prior to printing.
Frequently Asked Questions
What is the purpose of using a brim in 3D printing?
A brim increases the surface area of a model's base, enhancing adhesion to the build plate and reducing the risk of warping.
How do you adjust the brim width in PrusaSlicer?
The brim width can be adjusted in the "Build Plate Adhesion" section under "Print Settings" in PrusaSlicer.
Can brim be used with all types of filaments?
While brim works well with most filaments, it is particularly beneficial for those prone to warping, such as ABS and PETG.
Is it necessary to use a brim for large prints?
For larger prints, a brim may not be necessary, but it can still provide additional stability depending on the model's design.
What are some alternative adhesion methods to brim?
Alternatives to brim include rafts and skirts, each offering unique benefits and drawbacks depending on the printing scenario.
Advanced Techniques for Brim Utilization
Advanced users may explore techniques that optimize brim usage further. These include:
- Combining brim with other adhesion methods for enhanced stability.
- Utilizing a multi-material printer to create a support brim using different filament types.
- Modifying the design of the model to improve adhesion points.
Conclusion
Understanding and implementing brim bed adhesion in PrusaSlicer is crucial for achieving high-quality 3D prints. By following the guidelines provided, users can effectively utilize brim for enhanced print stability and success.
Careful consideration of when and how to use brim will lead to improved results and better print quality overall.




