How to Configure Auto Z-Offset Using a BLTouch Sensor on 3D Printer
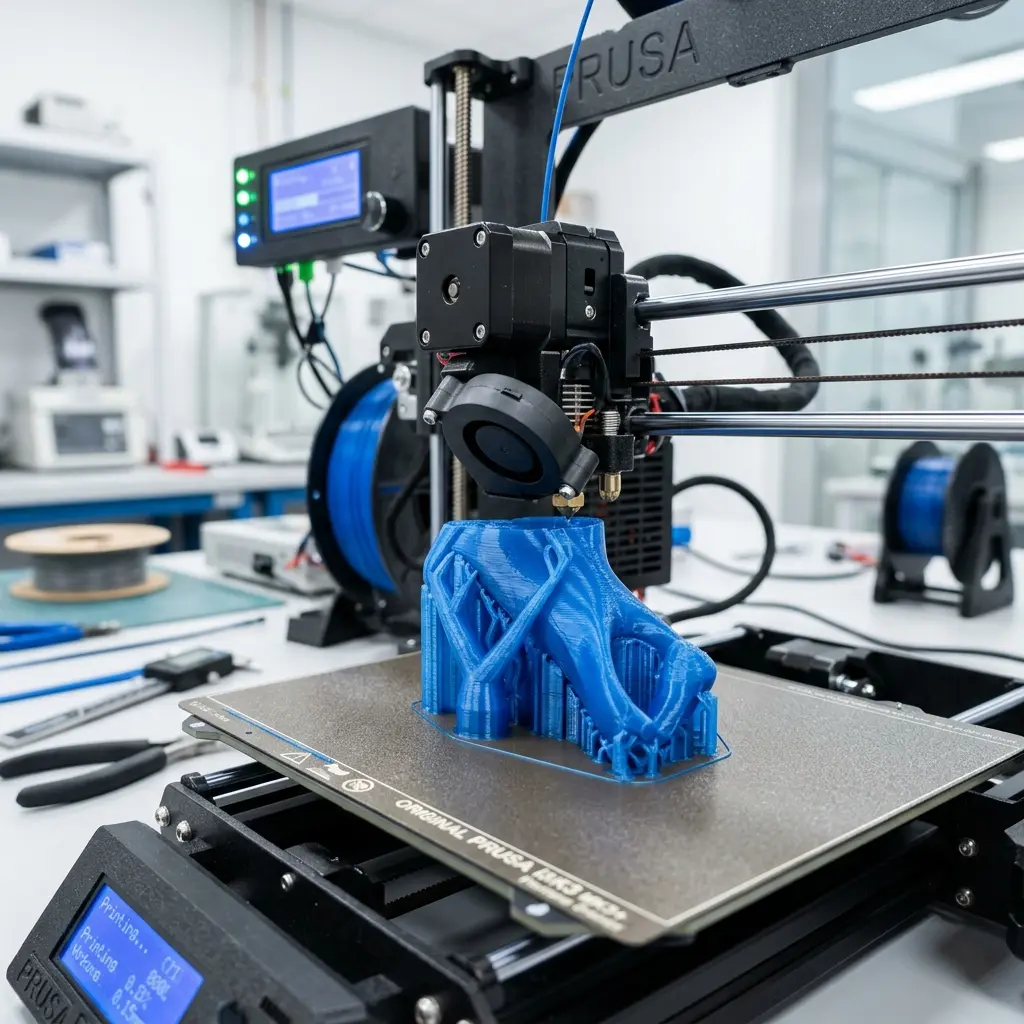
Configuring auto Z-offset using a BLTouch sensor on a 3D printer simplifies the bed leveling process, ensuring optimal first-layer adhesion.
Understanding the BLTouch Sensor
The BLTouch sensor is a popular choice for automating bed leveling in 3D printers. This device uses a probe to detect the distance from the nozzle to the print bed.
It is designed to provide precise measurements, allowing for consistent first-layer quality. Understanding its functionality is key to effective configuration.
Components of the BLTouch Sensor
The BLTouch sensor consists of several essential components. These include the probe, control board, and wiring harness.
The probe extends and retracts to measure the bed's surface while the control board processes the data. Proper installation of each component is vital for optimal performance.
Importance of Auto Z-Offset
Auto Z-offset plays a crucial role in achieving an ideal first layer. Properly setting the Z-offset ensures that the nozzle is neither too far nor too close to the bed.
This balance helps to avoid issues such as poor adhesion or nozzle damage. Auto Z-offset makes this adjustment easier and more reliable.
Required Tools and Materials
Before starting the configuration, gather the necessary tools and materials. A few essential items include:
- 3D printer with a compatible firmware (like Marlin)
- BLTouch sensor kit
- USB cable for firmware updates
- Calibration tools (such as a ruler or feeler gauge)
- Slicing software (e.g., Cura)
Installation Steps for the BLTouch Sensor
Installing the BLTouch sensor involves several key steps. Follow this outline to ensure proper setup:
- Power off the 3D printer and unplug it.
- Mount the BLTouch sensor onto the printer's print head according to the manufacturer's instructions.
- Connect the sensor's wiring to the printer's mainboard.
- Ensure all connections are secure before powering the printer back on.
- Update the firmware to include BLTouch support if necessary.

Configuring Firmware for BLTouch
Firmware configuration is essential for the BLTouch to function properly. The most commonly used firmware for 3D printers is Marlin.
Access the firmware configuration file and enable the BLTouch feature by editing the configuration.h file. Adjust relevant parameters to suit the specific printer model.
Setting Up Auto Z-Offset
Once the BLTouch is installed and the firmware configured, the next step is to set the auto Z-offset. This process involves measuring the distance between the nozzle and the bed:
- Home the printer using the control panel or software.
- Use a piece of paper or feeler gauge to measure the gap between the nozzle and the bed.
- Adjust the Z-offset in the firmware settings based on this measurement.
- Save the settings and restart the printer.

Testing the Configuration
After setting the Z-offset, conducting a test print is vital. This step verifies that the configuration works correctly.
Observe the first layer during the test print. If the filament adheres well without issues, the configuration was successful.
If not, further adjustments may be necessary.
Common Issues and Troubleshooting
Several common issues can arise during the configuration process. Identifying these problems can save time and frustration:
- Too close to the bed: If the nozzle digs into the bed, adjust the Z-offset to a higher value.
- Too far from the bed: If the filament does not stick, reduce the Z-offset.
- Sensor malfunction: Ensure all connections are secure and the firmware is correctly configured.
Maintenance of the BLTouch Sensor
Maintaining the BLTouch sensor is crucial for long-term performance. Regular checks for dirt and debris can prevent inaccurate readings.
Cleaning the sensor and surrounding area ensures reliable operation. Replacement parts may be necessary if issues persist.
| Feature | BLTouch | Other Sensors |
|---|---|---|
| Precision | ±0.01 mm | ±0.1 mm |
| Compatibility | Most 3D printers | Limited compatibility |
| Ease of Installation | Moderate | Easy |
| Auto Bed Leveling | Yes | Varies |
DomineTec Tip: Regularly update the firmware to ensure compatibility with the latest features and improvements for the BLTouch sensor.
Integrating with Slicing Software
Integration with slicing software like Cura enhances the overall printing experience. Proper settings enable the right Z-offset during slicing.
Ensure that the Z-offset settings in Cura match those configured in the firmware. This consistency will lead to optimal printing results.
Frequently Asked Questions
What is the purpose of a BLTouch sensor?
The BLTouch sensor automates bed leveling for 3D printers, ensuring a consistent distance between the nozzle and the print bed.
How do I know if my Z-offset is set correctly?
A correctly set Z-offset allows the first layer to adhere well without digging into the print bed. Observing the first layer during a test print provides a clear indication.
Can I use a BLTouch sensor with any 3D printer?
Most 3D printers support the BLTouch sensor, but compatibility may vary based on the firmware and printer model. Always check the specifications.
How often should I calibrate my printer?
Calibration should be performed regularly, especially after significant changes such as firmware updates or physical adjustments to the printer.
What should I do if the BLTouch sensor fails?
If the BLTouch sensor fails, check all wiring connections and ensure the firmware is up to date. Replace the sensor if issues persist.
Advanced Configuration Techniques
Advanced users may want to explore additional configuration options for the BLTouch sensor. These include customizing probe offsets and implementing mesh bed leveling.
Custom probe offsets allow for fine adjustments based on the printer's specific geometry. Mesh bed leveling creates a grid of measurements for uneven surfaces.
Custom Probe Offset Settings
Probe offsets can be adjusted in the firmware to align the probe's measurements with the nozzle's position. This ensures accurate readings during the leveling process.
Refer to your printer's documentation for specific instructions on modifying these settings.
Implementing Mesh Bed Leveling
Mesh bed leveling compensates for imperfections across the print bed. This feature requires additional configuration in the firmware and can be particularly beneficial for uneven surfaces.
To enable mesh leveling, locate the appropriate settings in the firmware and follow the instructions for calibration.
Checklists for Successful Setup
BLTouch Installation Checklist
- Confirm compatibility with the printer model.
- Gather all necessary tools and materials.
- Power off the printer before installation.
- Securely mount the sensor on the print head.
- Connect all wiring according to the manufacturer's guide.
- Update firmware to support the BLTouch sensor.
Firmware Configuration Checklist
- Access and edit the configuration.h file.
- Enable BLTouch settings in the firmware.
- Adjust probe offsets as necessary.
- Compile and upload the firmware to the printer.
Z-Offset Setup Checklist
- Home the printer using the control panel.
- Measure the gap between the nozzle and the bed.
- Adjust the Z-offset based on the measured distance.
- Save settings and restart the printer.
Conclusion
Configuring the auto Z-offset using a BLTouch sensor is a critical step in 3D printing. Proper installation and configuration ensure high-quality prints and reliable performance.
Regular maintenance and calibration can further enhance the printer's capabilities. Following this guide will help achieve optimal results with minimal effort.




