How to Get the Perfect First Layer in 3D Printing: Bed Adhesion Guide
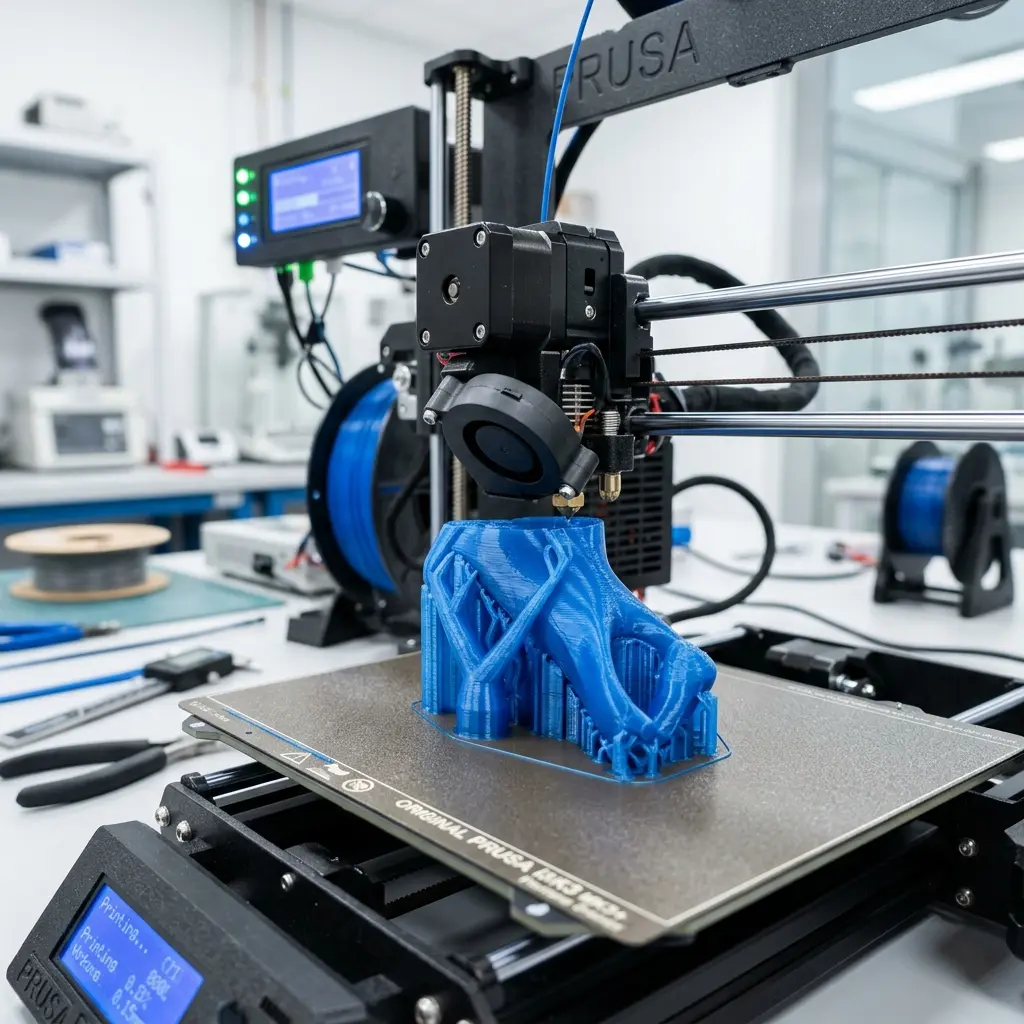
Achieving the perfect first layer in 3D printing ensures successful prints and optimal bed adhesion, enhancing overall print quality.
Understanding Bed Adhesion in 3D Printing
Bed adhesion is critical for the success of any 3D print. A well-adhered first layer prevents warping and ensures that subsequent layers are built accurately.
Several factors influence bed adhesion, including:
- Surface Material: The type of material used for the build surface can significantly affect adhesion. Different filaments interact differently with various surfaces.
- Nozzle Height: The distance between the nozzle and the print bed must be calibrated correctly to ensure optimal filament extrusion and adhesion.
- Environmental Conditions: Factors such as room temperature, humidity, and air flow can impact how well the filament adheres to the bed.
Understanding these elements can significantly enhance print quality and reduce the likelihood of print failures.
Choosing the Right Build Surface
The build surface plays a crucial role in ensuring proper bed adhesion. Various materials are available, including glass, PEI, BuildTak, and more, each offering distinct advantages.
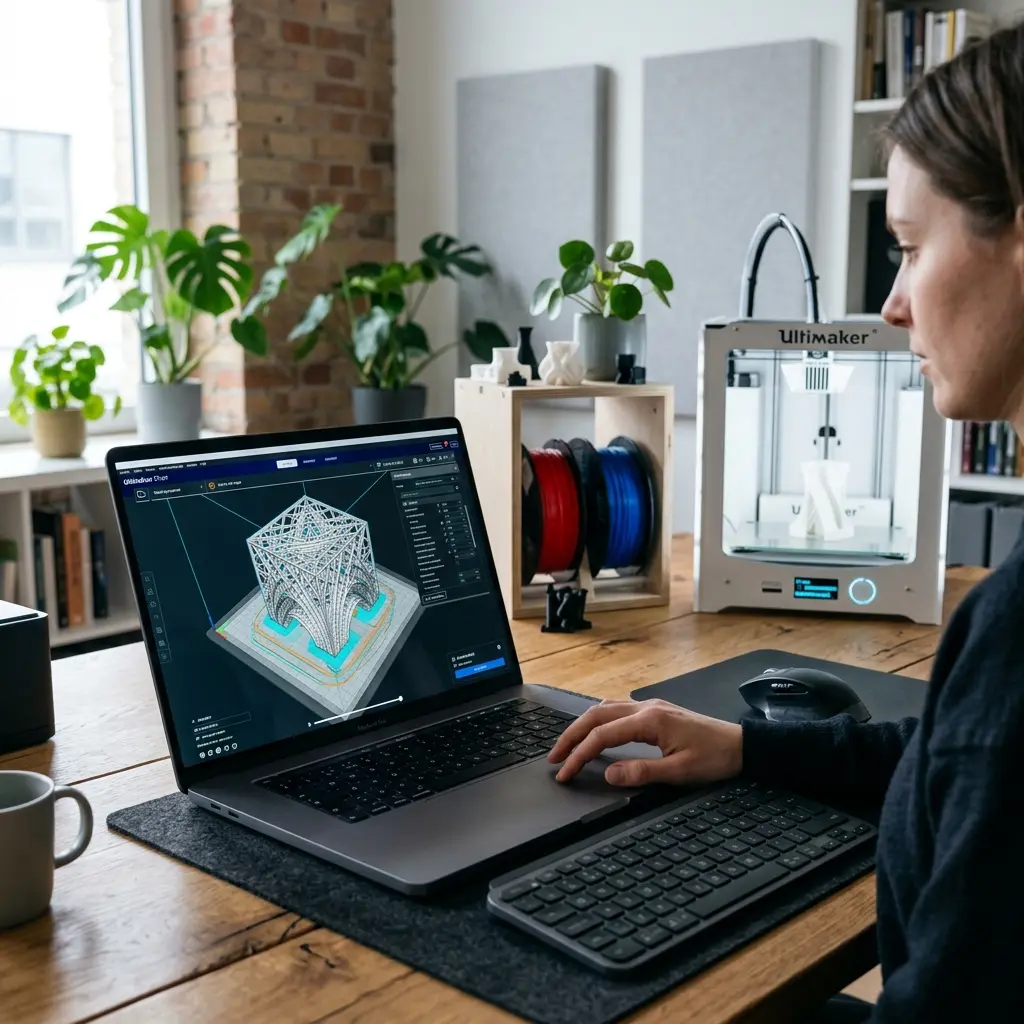
Here is a comparison of popular build surface materials:
| Material | Advantages | Disadvantages | Best Filaments |
|---|---|---|---|
| Glass | Smooth finish, easy to clean | Can be slippery for some filaments | PLA, PETG |
| PEI | Excellent adhesion, reusable | Can be damaged by some solvents | ABS, PLA, PETG |
| BuildTak | Good adhesion, durable | Can be costly, requires replacement | PLA, ABS |
Selecting the right surface material based on the filament being used is essential for optimal results and to avoid print failures.
Calibrating the Nozzle Height
Correct nozzle height is vital for a successful first layer. If the nozzle is too far from the bed, the filament will fail to adhere; if too close, it can clog or damage the nozzle.
Utilizing a piece of paper or a feeler gauge can help achieve the perfect distance. Here’s a simple checklist for nozzle height calibration:
- Home the printer to ensure the nozzle is in the correct starting position.
- Place a piece of paper or feeler gauge on the bed beneath the nozzle.
- Adjust the height until a slight resistance is felt when moving the paper.
- Repeat on all corners of the bed to ensure even leveling.
Fine-tuning this parameter can lead to significant improvements in adhesion and print quality.

Temperature Settings for Optimal Adhesion
Temperature settings impact the viscosity of the filament, affecting adhesion. Each filament type has a recommended printing temperature that should be followed for best results.
For example, PLA typically prints well around 190-220°C, while ABS may require higher temperatures to ensure proper bonding.
Below is a table of common filament types and their recommended temperature settings:
| Filament Type | Recommended Printing Temperature (°C) | Recommended Bed Temperature (°C) |
|---|---|---|
| PLA | 190-220 | 60-70 |
| ABS | 230-260 | 90-110 |
| PETG | 220-250 | 70-80 |
Adjusting these settings according to the filament type can enhance bed adhesion and overall print quality.
Utilizing Adhesives and Treatments
Various adhesives can be applied to the build surface to improve adhesion. Glue sticks, hairspray, and specialized 3D printing adhesives are popular options.
These adhesives create a sticky layer that helps the filament bond to the bed during the initial layers. Here’s a checklist of common adhesives and their applications:
- Glue Stick: Ideal for PLA and easy to apply; simply coat the bed evenly.
- Hairspray: Works well with ABS; spray a thin layer onto the bed before printing.
- Specialized 3D Adhesives: Formulated for various filaments; follow the manufacturer’s instructions for best results.

Common Issues and Troubleshooting
Despite best efforts, bed adhesion issues may still arise. Common problems include warping, lifting corners, and filament not sticking.
Here’s a troubleshooting guide for common adhesion problems:
| Issue | Possible Causes | Solutions |
|---|---|---|
| Warping | Incorrect temperature settings, uneven bed leveling | Adjust temperatures, re-level the bed, use a heated bed |
| Lifting Corners | First layer too high, inadequate bed adhesion | Lower nozzle height, apply adhesive |
| Filament Not Sticking | Dirty bed, wrong surface material | Clean the bed, switch to a more compatible surface |
Identifying the root cause is crucial. Inadequate bed leveling or incorrect temperatures often lead to these issues.
Step-by-Step Guide to Achieving the Perfect First Layer
To ensure a successful first layer, follow this comprehensive step-by-step guide:
- Prepare the Build Surface: Clean it thoroughly to remove any residues. A clean surface is essential for adhesion.
- Select the Appropriate Material: Choose the right build surface based on the filament type being used.
- Calibrate the Nozzle Height: Use a piece of paper or feeler gauge to achieve the perfect distance from the bed.
- Set the Correct Printing Temperature: Adjust the temperature according to the filament specifications.
- Consider Applying a Thin Layer of Adhesive: Depending on the filament, an adhesive may improve adhesion.
- Start the Print: Initiate the print and monitor the first layer closely for any issues.
DomineTec Tip: Always conduct a test print with a small object to confirm settings before starting larger prints.
Comparing Filament Types and Their Adhesion Properties
Understanding how different filament types behave during printing can help select the best options for projects. Below is a detailed comparison of common filament types:
| Filament Type | Recommended Temperature (°C) | Best Adhesive | Typical Applications | Adhesion Strength |
|---|---|---|---|---|
| PLA | 190-220 | Glue Stick | Prototyping, Models | High |
| ABS | 230-260 | Hairspray | Functional Parts, Toys | Medium |
| PETG | 220-250 | Specialized Adhesive | Containers, Mechanical Parts | High |
Frequently Asked Questions
What is the best surface for bed adhesion?
Common surfaces include glass, PEI, and BuildTak. Each material has unique properties that can enhance adhesion based on the filament used.
How can temperature affect first layer adhesion?
Temperature directly influences the filament's viscosity. Correct temperature settings ensure the filament bonds effectively with the build surface.
Is bed leveling necessary for good adhesion?
Yes, proper bed leveling is crucial for achieving a successful first layer. An uneven bed can result in poor adhesion and failed prints.
What can be done to fix warping issues?
Adjusting print temperature, improving bed adhesion, and using a heated bed can help mitigate warping. These strategies enhance the first layer's stability.
When should an adhesive be used?
Using an adhesive is recommended when experiencing consistent adhesion problems. It can provide an additional bonding layer for the filament.
```htmlAdvanced Configuration Settings for Bed Adhesion
Careful adjustments to bed leveling and nozzle height can significantly enhance the first layer's adhesion. Utilizing mesh bed leveling techniques allows for compensating any irregularities in the print surface, ensuring a consistent first layer across the entire build plate.
The ideal first layer temperature often requires experimentation based on filament type. Increasing the initial layer temperature by 5-10 degrees Celsius can improve adhesion and reduce warping, especially with materials like ABS and PETG.
Layer height settings also play a crucial role; a thicker first layer can better adhere to the print bed. It is recommended to set the first layer height to 0.2mm or higher, depending on the nozzle size, for optimal results.
Common Calibration Mistakes and How to Avoid Them
One of the most frequent calibration mistakes involves an improperly leveled bed, which can lead to inconsistent first layer adhesion. Regularly checking bed level and making small adjustments can prevent these issues from arising.
Another common error is using the wrong nozzle height, which can cause the filament to either squish too much or not adhere at all. Performing a paper test can help determine the correct distance between the nozzle and the bed for optimal extrusion.
Not accounting for temperature variations in the printing environment can also affect bed adhesion. Ensuring that the print area remains consistently warm can help maintain the proper temperature for filament adhesion.
Cost Estimations for Adhesion Solutions
Investing in high-quality build surfaces, such as glass or specialized PEI sheets, can enhance bed adhesion significantly. While initial costs may seem high, the longevity and performance of these surfaces often justify the expense.
Adhesive solutions, such as glue sticks or sprays, can provide an affordable option for improving adhesion. These products typically range from $5 to $20, depending on brand and quantity, making them accessible for most users.
Budgeting for regular maintenance tools, like calibration prints and bed leveling tools, can also prevent costly printing failures. Setting aside funds for these tools ensures that the printer remains in optimal condition for consistent results.
Security Precautions When 3D Printing
Proper ventilation is crucial when printing with certain materials, as fumes can be harmful. Ensuring that the printing area is well-ventilated can mitigate potential health risks associated with inhaling these fumes.
Monitoring the printer during initial prints can help catch any issues that may arise, such as fire hazards from overheating components. Utilizing thermal runaway protection features in the firmware is essential for added safety.
Using a secure power supply and ensuring that all electrical components are properly insulated can prevent electrical fires. Regular checks on wiring and connections can further enhance safety during operation.
Alternative Choices for Print Surfaces
Several alternative print surfaces, such as painter's tape or Kapton tape, can provide effective adhesion for various filament types. These options are often more cost-effective and can be easily replaced when worn out.
Using textured surfaces, such as BuildTak or textured glass, can improve adhesion by creating a mechanical bond with the filament. These surfaces often require minimal maintenance and can yield excellent results across different materials.
Experimenting with different surface materials can lead to discovering the optimal combination for specific filaments. Each material has unique properties that can enhance adhesion depending on the print environment and filament characteristics.
``` ```htmlHow to Get the Perfect First Layer in 3D Printing: Bed Adhesion Guide
The first layer is crucial in 3D printing, as it sets the foundation for the entire print. Proper bed adhesion ensures that the model adheres to the print bed, preventing issues such as warping or layer separation. This guide outlines techniques and factors that contribute to achieving the perfect first layer.
Factors Affecting Bed Adhesion
- Print Surface Material: Different materials offer varying levels of adhesion.
- Bed Temperature: The temperature of the print bed can significantly impact adhesion.
- Nozzle Height: The distance between the nozzle and the print bed affects the flow of filament.
- Filament Type: Different filament materials require different adhesion techniques.
Common Print Surfaces and Their Adhesion Properties
| Surface Material | Adhesion Properties | Best Uses |
|---|---|---|
| Glass | Good adhesion with glue stick or hairspray | PLA, PETG |
| PEI (Polyetherimide) | Excellent adhesion, no additional products needed | ABS, PLA, TPU |
| BuildTak | Good adhesion, easy to clean | PLA, ABS, PETG |
| Blue Painter's Tape | Moderate adhesion, easy to replace | PLA |
| Kapton Tape | Good adhesion for high-temperature materials | ABS, Nylon |
Techniques to Improve Bed Adhesion
- Leveling the Print Bed: Ensure the print bed is level for consistent nozzle height across the entire surface.
- Setting the Correct Z-Axis Offset: Adjust the nozzle height to achieve a proper squish of the first layer.
- Using a Raft or Brim: Adding a raft or brim provides extra surface area for adhesion.
- Applying Adhesives: Use glue sticks, hairspray, or specific 3D printing adhesives to enhance adhesion.
Print Settings for Optimal First Layer
| Setting | Recommended Value | Adjustment Tips |
|---|---|---|
| Layer Height | 0.2 mm | Increase for better adhesion, decrease for finer details. |
| Print Speed | 20-30 mm/s | Slower speeds improve adhesion, especially for the first layer. |
| Extrusion Width | 100-120% of nozzle diameter | Wider extrusion can enhance adhesion by creating a solid base. |
| Bed Temperature | 60-70°C for PLA, 100°C for ABS | Adjust based on filament type and manufacturer's recommendations. |
Testing and Troubleshooting Bed Adhesion
After setting up the printer, it is essential to test and troubleshoot bed adhesion issues. Here are some common problems and solutions:
- Problem: Warping
- Solution: Increase bed temperature and ensure the first layer adheres well.
- Solution: Use a brim or raft for better stability.
- Problem: Filament not sticking
- Solution: Check bed leveling and Z-offset.
- Solution: Clean the bed surface and apply adhesive if necessary.
- Problem: Uneven first layer
- Solution: Level the bed and adjust Z-offset for consistent height.
- Solution: Lower print speed for the first layer.
Conclusion
Achieving the perfect first layer is essential for successful 3D printing. By understanding the factors affecting bed adhesion, utilizing the right surfaces and techniques, and adjusting print settings, it is possible to enhance the likelihood of a successful print. Regular testing and troubleshooting will further assist in refining the process and ensuring optimal results.
Understanding Bed Adhesion
Bed adhesion is crucial for successful 3D printing, as it ensures that the first layer sticks properly to the print bed. A well-adhered first layer prevents warping and other printing issues.
Factors Influencing Bed Adhesion
- Print Surface Material: Different materials offer varying levels of adhesion.
- Nozzle Temperature: The temperature of the nozzle affects filament flow and adhesion.
- Bed Temperature: A heated bed can improve adhesion for certain materials.
- Filament Type: Each filament has specific adhesion properties that must be considered.
- Print Speed: Slower speeds can enhance first layer adhesion.
Choosing the Right Print Surface
Print surface material plays a significant role in achieving optimal adhesion. Common surfaces include glass, PEI sheets, and blue painter's tape.
Glass Bed
Glass provides a flat and smooth surface that can promote good adhesion. A heated glass bed can enhance performance with certain filaments.
PEI Sheets
PEI (Polyetherimide) sheets are popular for their excellent adhesion properties and ease of use. They are particularly effective for PLA and ABS filaments.
Blue Painter's Tape
Blue painter's tape is a cost-effective solution that works well for PLA. It provides a textured surface that increases grip.
Temperature Settings for Optimal Adhesion
Temperature settings greatly influence the adhesion of the first layer. Adjusting both nozzle and bed temperatures can lead to better results.
Nozzle Temperature
Higher nozzle temperatures can ensure that the filament is more fluid and able to adhere better. However, printing too hot can lead to stringing and other issues.
Bed Temperature
A heated bed helps in maintaining the temperature of the first layer, reducing the chance of warping. Different materials require different bed temperature settings for optimal adhesion.
| Filament Type | Nozzle Temperature (°C) | Bed Temperature (°C) |
|---|---|---|
| PLA | 190-220 | 50-60 |
| ABS | 220-250 | 90-110 |
| PETG | 220-250 | 70-80 |
Print Speed Considerations
Print speed affects how well the first layer adheres to the bed. Reducing print speed for the first layer can enhance adhesion and overall print quality.
Recommended First Layer Speed
A slower first layer speed, typically around 20-30 mm/s, allows the filament to settle better on the print bed. This can help minimize issues like warping and lifting.
Adjusting Print Speed
Most slicing software allows for specific speed settings for the first layer. Utilizing this feature can lead to improved adhesion and first layer quality.
Calibration and Leveling
Proper bed leveling is essential for achieving the perfect first layer. An uneven bed can lead to inconsistent adhesion and failed prints.
Manual Bed Leveling
Manual leveling involves adjusting the bed height at each corner to ensure it is even. A piece of paper can be used to gauge the distance between the nozzle and the bed.
Auto Bed Leveling
Many modern 3D printers feature auto bed leveling systems. These systems use sensors to measure the distance to the bed at multiple points and adjust accordingly.
Common Adhesion Problems
Identifying common bed adhesion problems can aid in troubleshooting. Issues such as warping, lifting, and poor first layer quality can arise from various factors.
Warping
Warping occurs when the corners of a print lift off the bed. This can be mitigated with proper bed temperature and adhesion methods.
Lifting Edges
Lifting edges can result from insufficient adhesion or improper bed leveling. Adjusting the bed temperature and ensuring a clean print surface can help resolve this issue.
Conclusion
Achieving the perfect first layer in 3D printing requires careful consideration of multiple factors, including bed adhesion techniques and settings. Consistent practice and adjustments can result in high-quality prints with excellent first layer adhesion.




