How to Connect Your Projector to the Office Wi-Fi Network

How to Connect Your Projector to the Office Wi-Fi Network
Connecting a projector to the office Wi-Fi network enhances flexibility, allowing for wireless presentations and media streaming. This guide provides detailed steps to achieve this connection efficiently.
Identifying Compatible Projector Models
Before attempting to connect a projector to an office Wi-Fi network, ensure the projector supports wireless connectivity. Many modern projectors come equipped with built-in Wi-Fi capabilities.
Specifications Comparison Table
| Model | Resolution | Brightness (ANSI Lumens) | Wi-Fi Capability | Weight (lbs) |
|---|---|---|---|---|
| LG CineBeam PF50KA | Full HD (1920 x 1080) | 600 | Yes | 2.2 |
| Epson PowerLite E20 | XGA (1024 x 768) | 3200 | No | 5.1 |
| Philips GoPix GPX1100 | WVGA (854 x 480) | 300 | Yes | 0.9 |
| Epson CO-FH02 | Full HD (1920 x 1080) | 3000 | Yes | 5.5 |
| Epson VS260 | XGA (1024 x 768) | 3200 | No | 5.2 |
Step-by-Step Guide to Connect Your Projector to the Office Wi-Fi Network
- Ensure the projector is plugged in and powered on.
- Access the projector's main menu using the remote control or onboard buttons.
- Navigate to the network settings option, typically found under 'Settings' or 'Network'.
- Select 'Wi-Fi Setup' or 'Wireless LAN' from the network options.
- Choose 'SSID' from the list of available networks; select the office Wi-Fi network.
- Input the Wi-Fi password using the on-screen keyboard.
- Confirm the settings and allow the projector to establish a connection.
- Once connected, test the connection by selecting a source to project.
DomineTec Tip: Regularly check for software updates for your projector to ensure optimal connectivity and performance. For more tech tips, learn how to backup iPhone to computer without iCloud.
Common Connection Issues and Troubleshooting
Wireless connectivity can sometimes be hindered by various issues. Understanding these challenges can facilitate smoother connections.
Signal Interference
Wi-Fi signals can be affected by physical obstructions or other electronic devices. Ensure the projector is within the range of the Wi-Fi router.
Incorrect Password
Double-check the Wi-Fi password for accuracy. A simple typo can prevent connection.
Projector Configuration
Ensure the projector’s Wi-Fi settings are properly configured. Refer to the user manual for specific instructions.
Router Compatibility
Some projectors may not support certain router security settings. Adjusting the router's security settings may be necessary.
Advanced Connectivity Options
For environments requiring higher reliability, consider using an Ethernet connection. Many projectors support wired network connections.
Using a Wireless Adapter
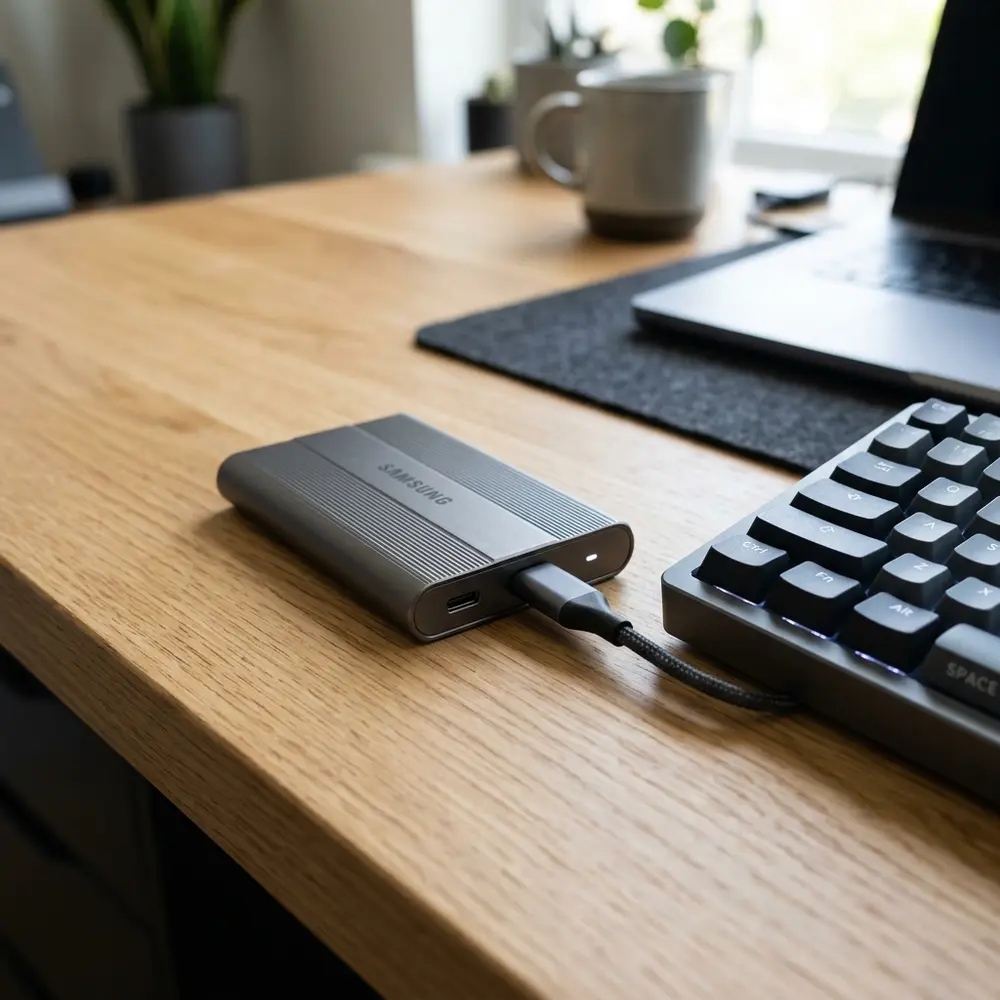
If the projector lacks built-in Wi-Fi, a wireless adapter compatible with the model can be used. Verify compatibility before purchase.
Screen Mirroring and Casting
Many modern projectors support screen mirroring technologies, such as Miracast or Chromecast. This allows devices to project without a direct network connection.
Conclusion
Connecting a projector to the office Wi-Fi network is a straightforward process when following the outlined steps. Ensuring compatibility and addressing common issues enhances the overall experience.
Frequently Asked Questions
1. Can all projectors connect to Wi-Fi?
Not all projectors have built-in Wi-Fi capabilities. Verify the specifications before attempting to connect.
2. What should be done if the projector does not find the Wi-Fi network?
Ensure the projector is within range of the router and that the Wi-Fi network is functioning properly. Restarting both the projector and the router may help.
3. How can the projector be connected to a network without Wi-Fi?
Utilize an Ethernet cable to connect the projector directly to the router for a stable connection.
4. Is it possible to project from multiple devices simultaneously?
This depends on the projector model. Some projectors allow multiple device connections, while others may require switching inputs.
5. How often should the projector firmware be updated?
Firmware should be updated regularly, typically every few months, to ensure optimal performance and security.
Understanding Projector Connectivity Options
Before connecting a projector to the office Wi-Fi network, it's essential to understand the available connectivity options. Most modern projectors, such as the Epson PowerLite 1781W, support wireless connections, allowing for seamless integration into existing networks.
Review the projector's manual to determine the specific wireless capabilities and setup procedures. This knowledge will streamline the connection process and ensure compatibility with the office network.
Preparing the Office Wi-Fi Network
Ensure the office Wi-Fi network is functioning properly before attempting to connect a projector. Check that the router is operational and that there are no connectivity issues that could hinder the setup process.
It may also be beneficial to gather the Wi-Fi network name (SSID) and password ahead of time. This information is crucial for establishing a successful connection to the projector.
Connecting the Projector to the Wi-Fi Network
To connect the projector to the office Wi-Fi network, navigate to the network settings menu on the device. For example, the BenQ MW632ST allows users to access the network settings through its on-screen display.
Select the desired Wi-Fi network from the list and enter the password when prompted. Once entered, the projector should connect to the network, allowing for wireless presentations.
Troubleshooting Connection Issues
If the projector fails to connect to the Wi-Fi network, check for any potential issues such as incorrect passwords or network configurations. Restarting the projector and the router can often resolve minor connectivity problems.
Additionally, ensure that the projector is within range of the Wi-Fi signal. Weak signals can lead to connection difficulties, so positioning may need adjustment.
Using Projector Apps for Wireless Connectivity
Many projectors come with dedicated applications that facilitate wireless connectivity, such as the ViewSonic M1 Mini Plus. These apps can simplify the connection process and enhance functionality.
Download the relevant app on your device and follow the prompts to establish a connection with the projector. This method often provides additional features for screen sharing and remote control.
Securing the Wi-Fi Connection
Security is a critical consideration when connecting a projector to the office Wi-Fi network. Ensure that the network uses WPA2 encryption to protect sensitive data during presentations.
Additionally, consider restricting access to the projector's network settings to prevent unauthorized changes. This helps maintain the integrity of the connection and enhances overall security.
Testing the Connection
After successfully connecting the projector to the office Wi-Fi network, conduct a test to ensure everything is functioning correctly. This can involve projecting a test slide or video to verify the connection's reliability.
Check for any lag or disconnections during the test. Addressing these issues at this stage can prevent disruptions during actual presentations.
Maintaining the Wi-Fi Connection
Once the projector is connected, it is important to maintain a stable Wi-Fi connection. Regularly check the network status and projector settings to ensure optimal performance.
Keep the projector's firmware updated to benefit from the latest enhancements and security patches. This proactive approach can help sustain a reliable connection for future presentations.
How to Connect Your Projector to the Office Wi-Fi Network
Connecting a projector to the office Wi-Fi network can enhance presentations and meetings by allowing seamless screen sharing and internet access. This guide will outline the steps for connecting popular projector models to Wi-Fi networks.
Requirements for Wi-Fi Connection
Before starting the connection process, ensure the following requirements are met:
- A Wi-Fi-enabled projector.
- Access to the office Wi-Fi network credentials.
- A computer or mobile device for initial setup, if necessary.
Popular Projector Models with Wi-Fi Capability
| Projector Model | Brand | Wi-Fi Type |
|---|---|---|
| Epson Home Cinema 2150 | Epson | Wi-Fi Direct |
| BenQ HT2050A | BenQ | Wi-Fi Optional (with adapter) |
| ViewSonic M1 Mini Plus | ViewSonic | Wi-Fi Direct |
| LG PF50KA | LG | Wi-Fi Direct |
| NEC NP-ME401X | NEC | Wi-Fi Optional (with adapter) |
Connecting an Epson Home Cinema 2150 to Wi-Fi
For the Epson Home Cinema 2150, follow these steps:
- Power on the projector and select the Menu button on the remote.
- Navigate to the Network settings using the arrow keys.
- Select Wireless LAN and choose Network Settings.
- Choose SSID to select the office Wi-Fi network.
- Enter the Wi-Fi password using the on-screen keyboard.
- Confirm the settings and exit the menu.
Connecting a BenQ HT2050A to Wi-Fi
The BenQ HT2050A requires a USB Wi-Fi adapter for wireless connectivity. To connect:
- Insert the BenQ compatible Wi-Fi USB adapter into the USB port on the projector.
- Power on the projector and access the Setup menu.
- Select Network and then Wi-Fi Settings.
- Choose the office Wi-Fi network and input the password.
- Save the settings and restart the projector.
Connecting a ViewSonic M1 Mini Plus to Wi-Fi
The ViewSonic M1 Mini Plus features built-in Wi-Fi. To connect:
- Turn on the projector and press the Menu button.
- Select Wi-Fi from the menu options.
- Choose your office Wi-Fi network from the list and enter the password.
- Confirm the settings and exit the menu.
Connecting an LG PF50KA to Wi-Fi
Follow these steps to connect the LG PF50KA to Wi-Fi:
- Turn on the projector and navigate to the Settings menu.
- Select Network and then Wi-Fi Connection.
- Find and select the office Wi-Fi network.
- Input the Wi-Fi password and confirm the connection.
Connecting a NEC NP-ME401X to Wi-Fi
For the NEC NP-ME401X, a wireless adapter is needed. The connection process includes:
- Insert the wireless adapter into the projector's USB port.
- Power on the projector and access the Menu.
- Navigate to Network settings and select Wi-Fi.
- Choose your office Wi-Fi network and enter the password.
- Confirm and save your settings.
Troubleshooting Wi-Fi Connection Issues
Sometimes, problems may arise during the connection process. Here are common troubleshooting steps:
- Ensure the Wi-Fi network is operational and accessible.
- Check if the projector is within range of the Wi-Fi router.
- Verify that the correct password is being entered.
- Restart the projector and router to reset the connection.
- Consult the projector’s manual for specific troubleshooting tips.
Testing the Connection
After connecting the projector to the Wi-Fi network, testing the connection is essential. Here’s how to test:
- Open a web browser on a connected device.
- Navigate to a website to check internet access via the projector.
- Alternatively, use screen mirroring features to display content from a mobile device or computer.
Using Screen Mirroring Features
Many modern projectors support screen mirroring, allowing users to project content wirelessly from devices. Here’s how to use this feature:
- Ensure both the projector and the device are connected to the same Wi-Fi network.
- On the device, enable screen mirroring or casting.
- Select the projector from the list of available devices.
- Follow any on-screen prompts to complete the connection.
Conclusion
Connecting a projector to the office Wi-Fi network is a straightforward process that can significantly enhance productivity during presentations. By following the outlined steps for various projector models, users can ensure a seamless connection.
In case of ongoing issues, consulting the projector’s manual or support website can provide additional assistance. Embracing technology in the workplace can lead to more effective communication and collaboration.
Choosing the Right Projector for Your Office Setup
Selecting the right projector is crucial for seamless presentations. Models like the Epson Home Cinema 2150 and the BenQ HT2050A offer excellent brightness and clarity, making them ideal for office environments.
Consider features such as resolution, brightness, and connectivity options. A projector with at least 3000 lumens, like the ViewSonic PA503S, can ensure visibility even in well-lit rooms.
Additionally, portability might be a factor for some offices. The Anker Nebula Capsule is a compact option that doesn’t compromise on quality, perfect for those who need flexibility.
Common Connectivity Issues and Solutions
Connectivity issues can arise during presentations, leading to frustration. One common issue is a mismatch in display settings, so always double-check the projector's input settings and the connected device resolution.
Another frequent problem is weak Wi-Fi signals. Using a Wi-Fi extender or positioning the projector closer to the router, like with the Canon LV-X320, can help maintain a stable connection.
Lastly, ensure that all devices are updated and compatible. Sometimes, simply restarting the devices involved can resolve unexpected connectivity hiccups.
Enhancing Your Projector Experience
Enhancing the projector experience can elevate any meeting. Consider using a screen like the Elite Screens Manual B, which can improve image quality significantly compared to projecting on a wall.
Incorporating sound systems, such as the Bose SoundLink Mini, can also create a more immersive experience, making it easier for everyone to hear the presentation clearly.
Finally, utilizing presentation software like Microsoft PowerPoint or Google Slides can streamline the process. These platforms offer user-friendly features that can make presentations more engaging.




